Search This Blog

Friday, May 18, 2012

Brisket in Paper

Of late, I have been hearing a great deal about the use of butcher paper for wrapping briskets for the smoker. The process appears to be to smoke the brisket, to the point of the stall, or to where the bark, the coating and surface of the meat, is the color you want it to be. Then to wrap it in a couple of layers of butcher paper to create a slightly moist environment for the meat to cook. Foil does a similar thing, but, since it does not breathe, it affects the bark by making it soggy. Some folks also feel it makes the meat feel steamed in texture.

I decided to give the process a try, but, in searching around, could not find a single 'Choice' grade brisket, so select it was, not my favorite grade of meat to cook. I performed the cook in my UDS, using a mixture of lump charcoal, natural briquettes and apple wood. The temperature was started at 225F for two hours, then ramped to 300F for three hours, two of which were in paper. I then ramped it another time to 350F for one and a half hours. I used standard white, uncoated butcher paper.

The Rub (Bob's Mother Rub sort of)
3 parts Redmond Real Kosher Salt
2 parts Phu Quoc Black Pepper, ground to a medium grind, no fines
1 part each of organic onion granules and garlic granules
1/2 part lime powder
1/4 part Natural sugar, finely ground

The Liquid
2 parts water
1 part Red Boat Fish Sauce
1/2 part Bragg's Amino Acid

I ended up using 2 packers, which is to say, briskets that have both the deckle (aka point) and the flat still attached. They stareted out around 14 pounds, went on to the cooker around 11 to 12 pounces once they were all trimmed up, I like to trim off the excess fat and any meat that looks grayed. One of the things I believe is a good starting point, is if the packer brisket is flexible, I believe this translates to a more tender end product, these were flexible.
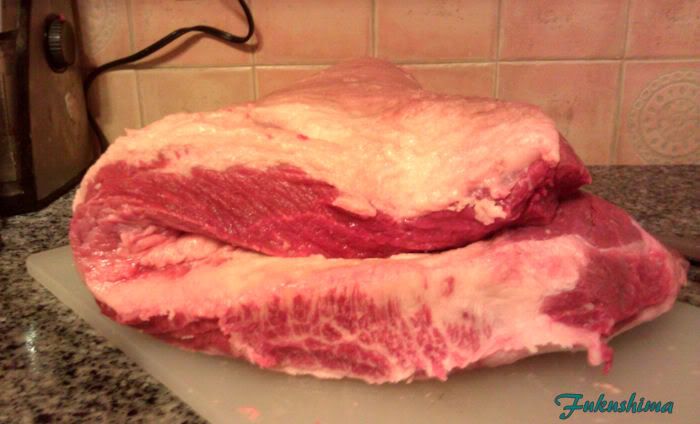
One Packer, folded in half, what you want.

From here, both packers were seasoned with the rub, just the ingredients above blended in a shaker and applied over the meat. I changed my ususal process, which was a mistake. Normally, I apply a base coat, let it melt onto the meat, then apply a second coat once the pellicle forms on the meat surface. I didn't do this, and the price was a mediocre bark. Bummer.
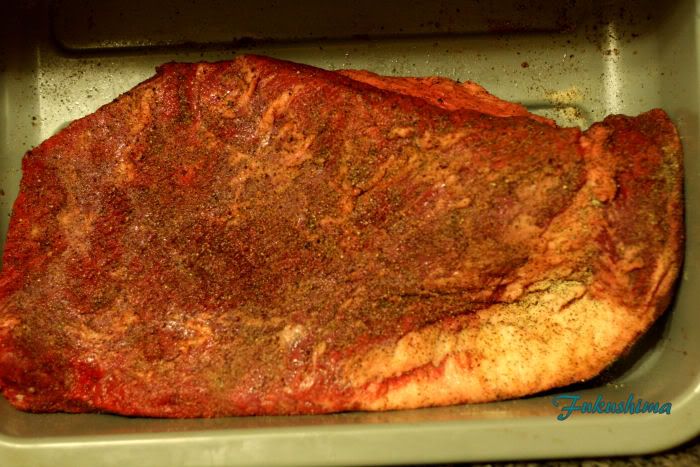
My Rub on Brisket

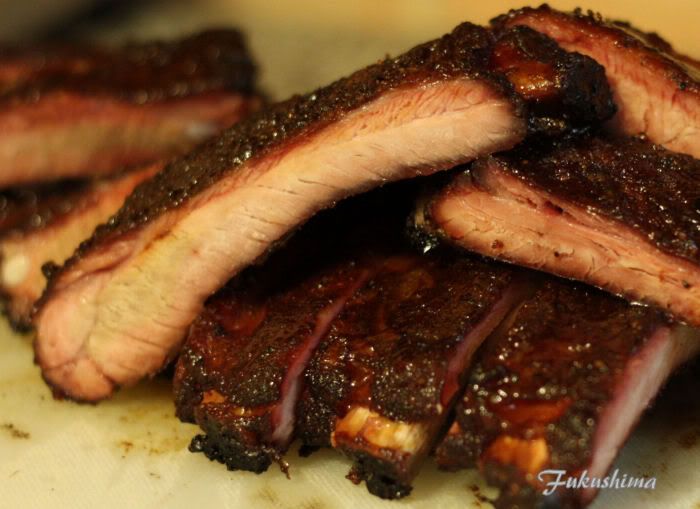
I was also cooking a brisket for my friend Rob, who, with a newborn, doesn't have the chance to fire up his smoker. His rub is more powdery, a much finer texture, which made for a difference in the bark. I prefer a more medium textured rub, which normally gives me more of a textural coating on the meat. I also cooked some whole chuck ribs, I really like these and they are easy to make on a smoker. I hit them with the same rub.
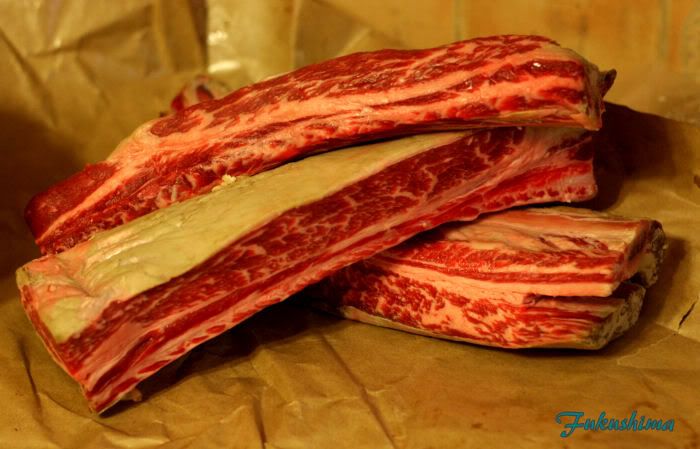
Nice Choice Chuck ribs
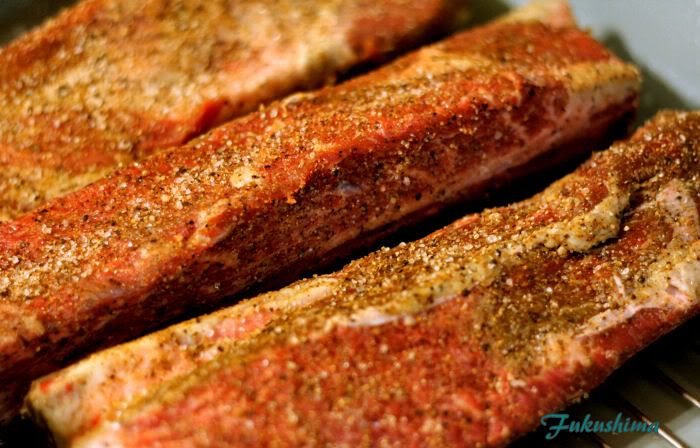
Rubbed Up

Sadly, this is the last shot of the ribs, I ran out of time to deliver Rob's share of the cook and no done shots were taken. I assure you, these were tender, juicy and have a great color, a deep mahogany. Anyways, this all went onto the cooker. Chuck ribs on lower rack, briskets on upper rack.
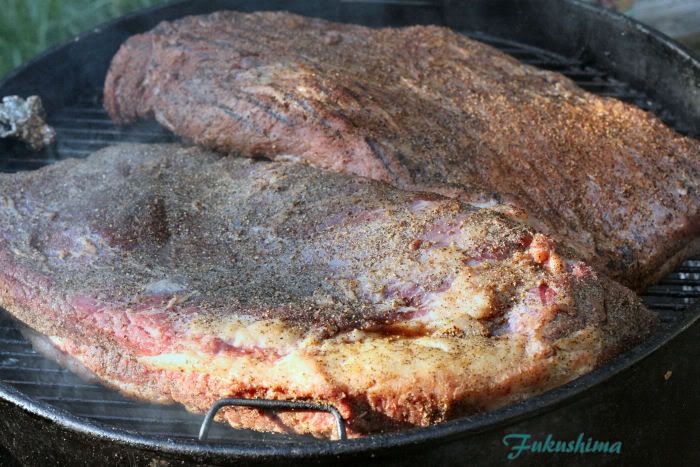
Oops, forgot to change white balance

It was a snug fit. From here, it was just waiting for the color, then wrapped and waiting for the meat to get done. I mentioned the timing above, I do not cook brisket by temperature of the meat. This leads to a lot of bad cooks, judging by internal temperature. I use a method of checking once the meat gets to around 190F internal of poking it with a metal skewer to see if the skewer goes in easy. This often happens at temperatures of 200F to 205F, but, the only way to be sure is to use a probe method. I did have some temperature issues, trying to keep the smoker at 350F, and one of those fancy PID controlled fans would have been nice, but, they are too pricey for me. I do have a small fan and a funnel though, and a BOB controller.
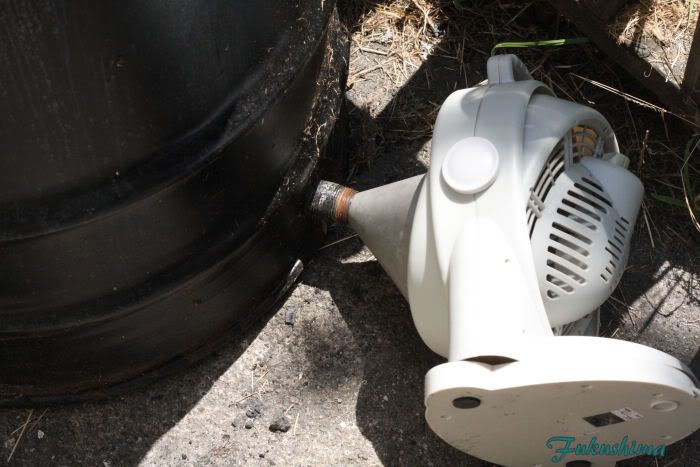
This worked well

Rob's brisket looked like this when it came off the UDS and out of the paper. I have to say, his brisket just about flopped over in half when I pulled it. I am expecting that it will be very tender.
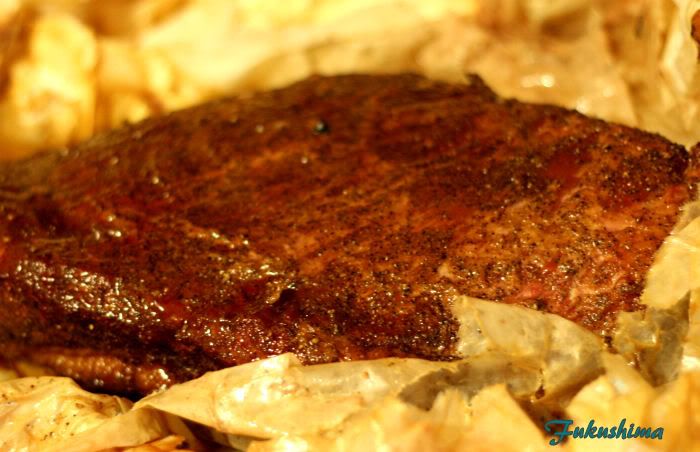
Rob's Brisket (I think)

Mine took a little longer to get done, still working with the whole testing with a probe method. I pulled it after another hour on the cooker and put it to rest in my oven. I prefer to use a cooler, but, it is doing duty as a vessel for bottle conditioning some oatmeal chocolate milk stout. So into the oven for a minimum one hour rest, two or three hours is better. I went with one hour.
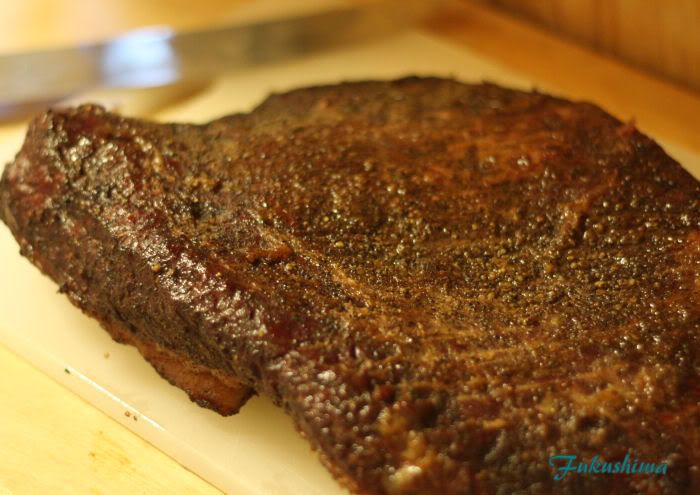
The finished brisket flat

The flat turned out terrific, the surface bark was noticeable, firm yet cut easily. The meat was tender and moist, it could maybe have used another 30 minutes. But, it was very good as it is, with great flavor.
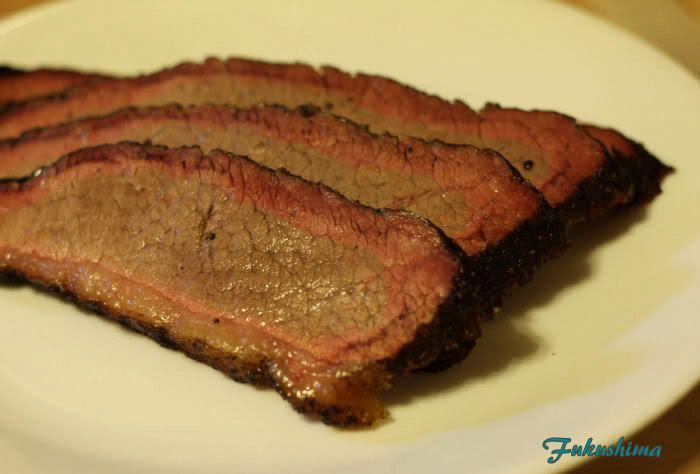
Sliced and plated flat

Often referred to as 'lean brisket', the flat can easily dry out and get hard when being cooked. The use of the paper, along with the liquid I added to the paper when it was wrapped seemed to help with the retained moisture. I am very happy with this product, it sure looks good.
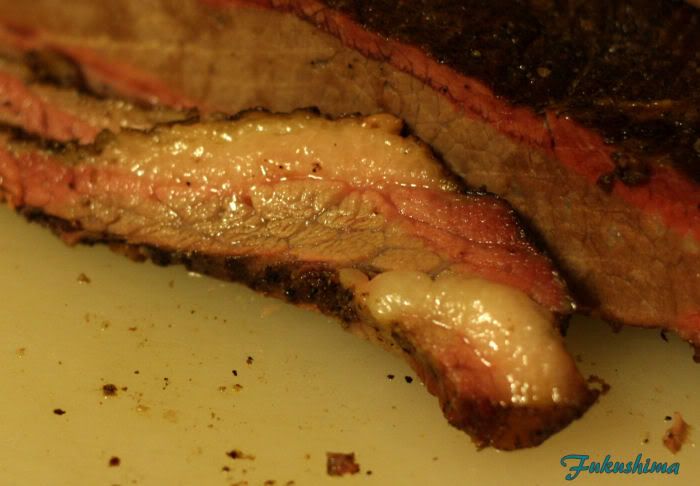
Sliced and plated point (or deckle)

Sometimes referred to as the point or deckle, this is the part of the brisket that you would get if you 'fat' instead of 'lean' at a BBQ joint in some parts of the country. Many folks will cook this down in a sauce and call it 'burnt ends', referring to the old practice of stewing down the hard edges of smoked meat in the sauce to make it more palatable. I prefer it sliced when it is properly cooked. This was unctuous, meltingly tender, salty and peppery, everything I think of for a great piece of smoked brisket. You wouldn't want to eat a lot of it, but, like foie gras, it isn't always about volume.
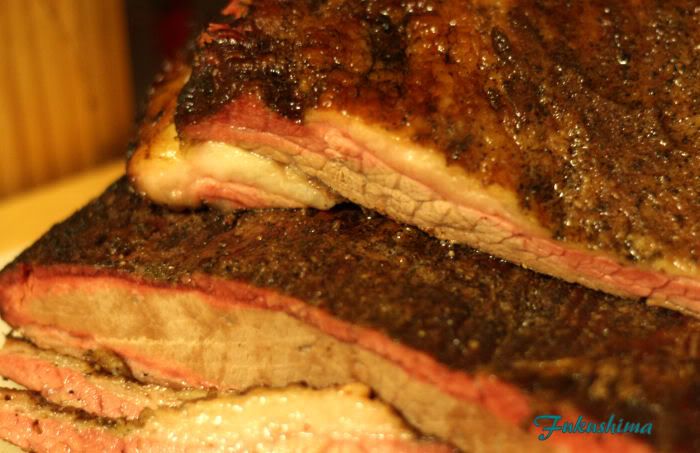
Point and Flat in repose

There is no doubt in my mind, this is an excellent method for cooking brisket, or chuck ribs for that matter. The meat had an excellent bark, great color and the texture and moisture is spot on. I cannot wait to get a nice 'Choice' packer and try this again, see if it is even more tender and moist.

Thursday, April 19, 2012

Burger NIght

Tonight was burger night, I decided it would be interesting to try something new with this classic of the backyard grill. First off however, I needed a bun. I decided to make a small batch of butter dough for some buns. I have no idea what butter dough is, I had no recipe, and decided to wing it.
Butter Dough
1 stick butter, melted
1 tablespoon sugar
1 cup warm water
1 pack Yeast
1 cup each A.P. flour and Bread flour
1/2 cup water
1 teaspoon salt
bench flour, I used whole wheat, about 1/4 cup.

With the butter still warm, I added the warm water and yeast, allowed to proof for 15 minutes. Then added sugar, allowed to dissolve. Added the 2 cups of flour and 1/2 cup water and mixed into a dough. Kneaded for 5 minutes and let rest for 30 minutes. Kneaded again and let proof for 2 hours. Divided and proofed for 4 hours in a oiled oven pan covered with plastic wrap. These were baked, in the pan, in the oven, for 40 minutes at 350F, then finished at 425F for 10 minutes on the rack. At this time, I burned myself taking them out of the oven.

In the Proof and Cook pan

Sliced and Ready for the oven

To the patties, I was lazy and opted not to grind my own. But, since I was able to get some nice grass finished Painted Hills Beef from Oregon, I felt safe that the ground beef was of a high quality. I have found the meat from Paitned Hills to be consistently high quality. This meat was no different. I formed into patties, from here, I made a variance from my normal process. I formed the meat into balls, then perforated the meat with a steel skewer. The idea was to emulate the texture of a granulated burger, a technique created by Heston Blumenthal to create a better burger patty. More on this later. Here are the patties, coated with The Rub Company Santa Maria Rub and Simply Marvelous Season-All. Yes, I seasoned them like I do tri-tip, which I figure makes sense, they are both beef.

My Ventilated Patty

You can't really see it in the photo, but, the holes through the burger were quite apparent in person. You could tell that each 1/3 pound patty had a bunch of holes in them. Maybe this shot will show them better.
 
See the holes?

 Oh well, they were there. These were meant to be classic burger, nothing special in terms of toppings, a true backyard burger with the exception of a home baked bun and a ventileated patty. So, some iceberg lettuce, tomato and red onion were added to the mix. I meant to buy pickles, they were missed.

Fixings

A little mayo and spicy brown mustard, some fresh ground black pepper and some cheddar which was melted on while the burgers cooked on the kettle, which was set to 400F, there was a little apple wood in the charcoals. You could see a little of the effect of smoke in the reddish hue of the patties. I built the burgers, as I always saw at Nations and The Red Onion, mayo and mustard, lettuce, tomato, onion, beef and the top of the bun. Served with tater tots. The tots were coated with olive oil and Simply Marvelous Sweet and Spicy Rub.

Burger and Tots

Section View

Now, I am not sure what the deal was, but, you can clearly see the effect of the butter (oddly more yellow than in real life) in the part of the bun on the back of the plate, but, the front bun is white (oddly much more white than in real life). I am sure this is a lighting issue, odd though, just could not get the color right no matter the angle. You can see the salad piled under the burger patty.

Burger Patty texture shot

Hopefully that last shot shows the texture of the patty, which was actually quite airy and still juicy. The skewer I used was quite dull, my brisket skewer to he honest, and it pushed slits through the meat, as opposed to cutting the fibers of the grind. The patty had a granular texture, the juices sitting in the voids quite nicely. In my real life, there is a thing called a peched water table, where a gravel drainage bed does not drain, becasue the pores in the gravel section are just small enough to allow fluid surface tension to bridge the gaps, desptie being porous, the liquids stay in place. This was amazing to me, as that is exactly what happened. A delicate texture, light to the teeth, meaty on the palate, bursting with juice with each bite flowing with flavor. I may never do patties the same again.

Sunday, April 8, 2012

St. Loius-style Ribs in the UDS

It has been a while and I had some cooking to get done today, so I decided to throw on a rack of ribs, spareribs to be more precise. I have been wanting to try a few things with spares and this was a good time. I hate firing up the UDS to do a small cook, but, I needed to cook some chicken breasts, the ribs and a piece of lunch meat would round out enough to make the charcoal burn worth it.

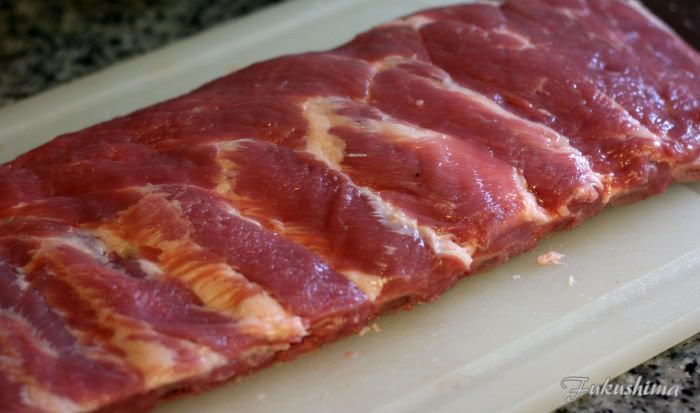
The ribs, St Loius style

The ribs were trimmed in what is called the St. Louis-style, which means the flap meat and the ends, or tips, have been removed. This makes them a little easier to cook, as all of the meat is of a similar thickness and fat content. These were not quite as meaty between the bones as I would normally like, but, I was not able to pick them out this time.

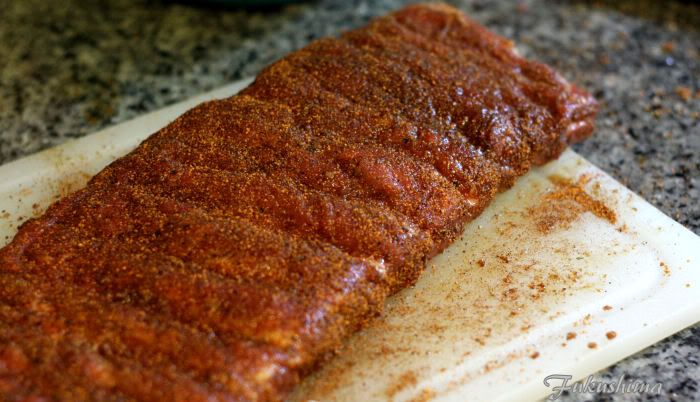
Rubbed and Resting

I applied a coating of a mixture of rubs, equal parts of my mother rub and Simply Marvelous Cherry rub and about 1/2 as much of the Rub Company Santa Maria rub. This was allowed to sit in plastic wrap for an hour. I then applied a second coat of the Simply Marvelous, then another coat of the Mother Rub. I find the two commoercial rubs I used offer great complexity used in this manner, but, the added black pepper punch of my rub suits my taste. Another 15 minutes and onto the UDS, at 225F, apple wood smoke, cast iron diverter on lower rack. Top vent was wide open, as always. I was using Royal Oak lump today.

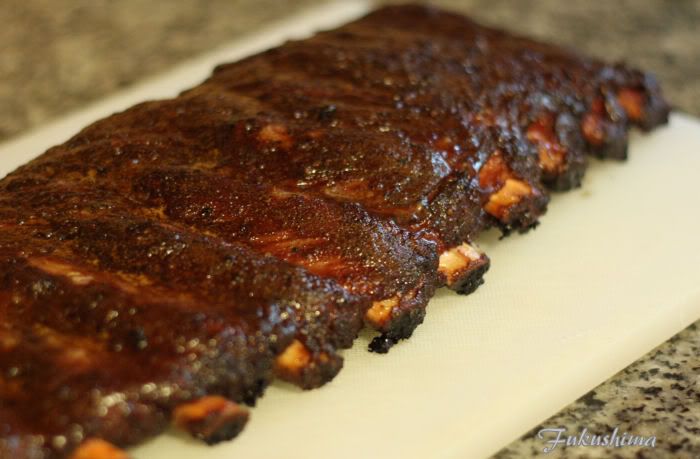
Off the UDS

These ribs are not sauced, but, they were hit three times with my Pig Honey glaze, which offers a bit of honey, vinegar and fish sauce (Red Boat Fish Sauce, of course). This serves two purposes, one is it adds umami and additional complexity to the finished product, the second is that it improved the texture in my opinion. The ribs were cooked straight through for 6 hours.

Mess of Ribs

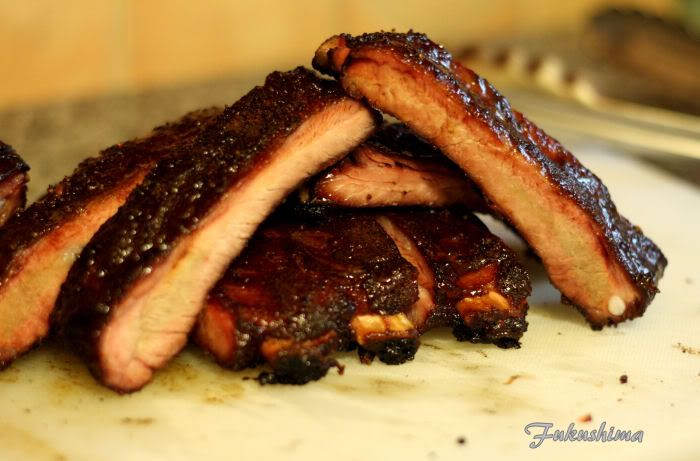
The flavor of these ribs is very complex, yet, if offers an initial sensation of being a familiar taste, then rolls into the more spicy, earthy and finally lingering umami flavors. It is not as sweet as one might think. There is even a nice little smoke ring showing.

Close-up

Hopefully the shot above shows the texture of the meat, the little smoke ring and the fact that thanks to Michael (Northwest BBQ), I finally got the white balance thingy worked out and the texture actually shows. The ribs had perhaps just a tad more pull that would have been perfect for competition, but, they tasted great and the texture was by no means bad. These ate well.

Wednesday, March 28, 2012

Smoked Tri-tip

I smoke my tri-tips, there, I said it. I do not follow the common wisdom that tri-tip is grilled over a hot oak fire. I have my reasons.

But first, the rub I use for smoking tri-tip is based upon a Santa Maria rub, with a few tweaks. I believe that these tweaks end up making a difference in the end product. Here are the ingredients, in their relative proportions, I don't really measure this stuff anymore.

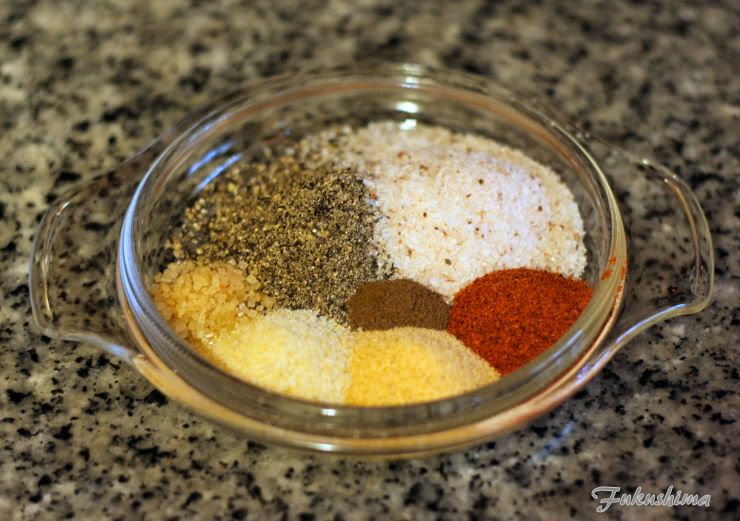
My basic rub...almost

I use what I call a 'mother rub' which, much like a mother sauce in French cooking, forms the basis for almost all of the rubs I use. It is also my basic top rub in any layered rub process. The approximate recipe is what I use for a Santa Maria style rub as well. For this particular cook, in a rough measure...

4 parts each of fresh medium grind black pepper and kosher salt
1 part each of granulated garlic, granulated onion, chile powder
1/2 part of turbinado sugar and allspice

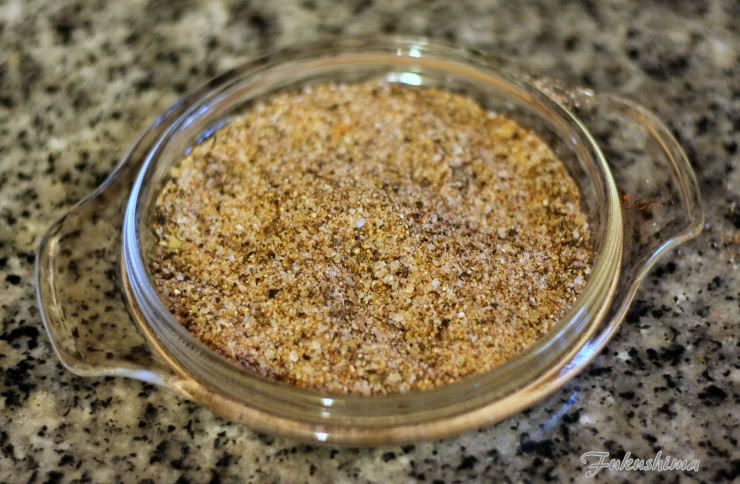
Blended Rub

Now, I use Phu Quoc black pepper, which is rather an intense version of black pepper, this rub will have a pronounced black pepper aroma and flavor, you could use a little less if you are senstive. I use RealSalt Kosher salt as I like the size and shape of the grains. I omitted the citrus peel I would normally add, as I forgot to buy some, normally, there would be 1 part citrus peel as well. I like Allspice or Nutmeg in almost all meat dishes, a small amount adds depth without being obtrusive. The sugar functions as a means of creating better adhesion, aids in creation of a pellicle and actually accents the salt and moderates it's harshness, this rub does not have detectable sweetness once it is cooked.

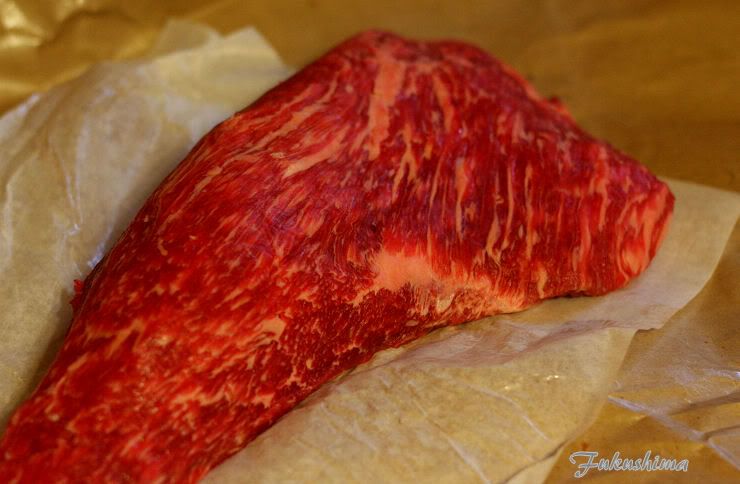
The meat was a Harris Ranch tri-tip, it was on the small and over-trimmed side, but, it had good marbling, I would imagine it could have graded out as choice.

The Raw Materials

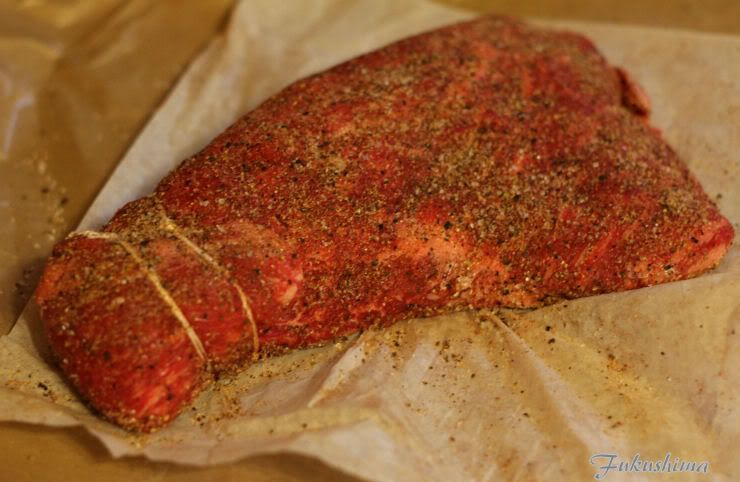
Like many over-trimmed tri-tips, this one has a long thin 'tail' that will easily overcook before the rest of the roast cooks up. I like to fold and tie the 'tail' back onto itself to slow the cooking. The next shot shows the 'tail' tied back and the rub applied. I only used about a third of the rub from the above 'blended rub' shot, this is an aromatic rub and not that much is needed.

Rubbed and Tied

I setup my Weber kettle to run at a nice 225F, or so I thought, with some hardwood lump and a chunk of apple wood for smoke. My plan was to cook it at no more than 225F so it would have a nice even pink color with most of the interior being done to about 130F for pulling. But, I was working on some designs, and was careless is setting up the intake vent. I checked the thermometer, and the internal temperature was 115F in 45 minutes, soimething was wrong. The kettle was up at 325F, not a disaster, just faster than I expected. The alarm on the remote thermometer, which I used since I was working, alarmed me at 125F, and I pulled at 130F internal.

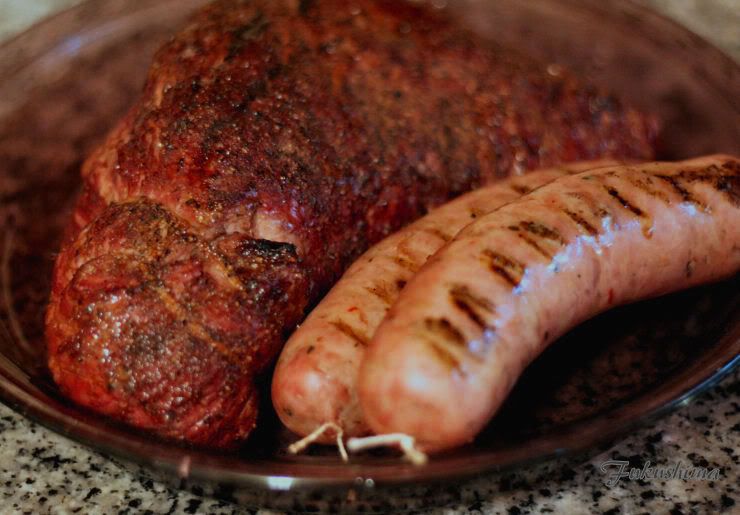
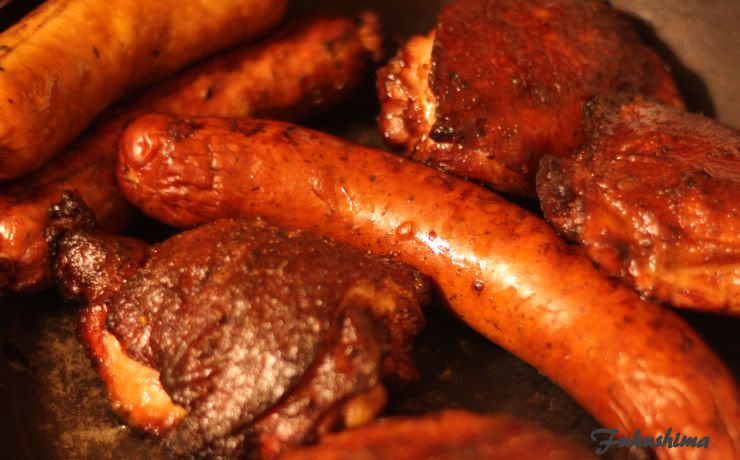
The Tri-tip and a couple of sausages

From here, I tented the meat under a foil sheet and let it rest for an hour, this allowed for cooling and for equalizing of fluid pressure in the meat. Since I was eating it as a sandwich, it being super hot was not a consideration and letting the meat rest really helps in juice retention when slicing. The cooler meat temperature makes slicing easier as well. Here is the cut roast and the slices.

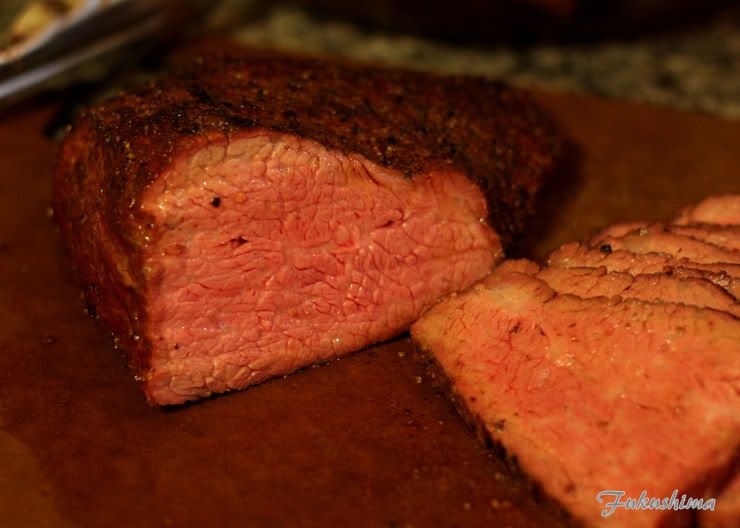
Very close to overall medium rare

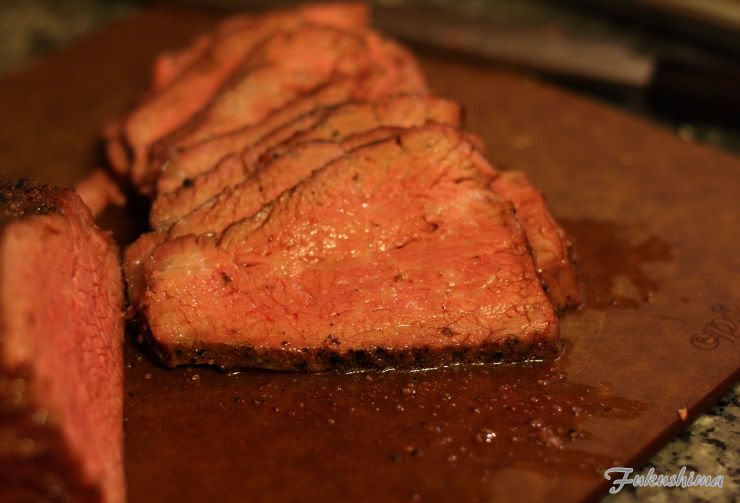
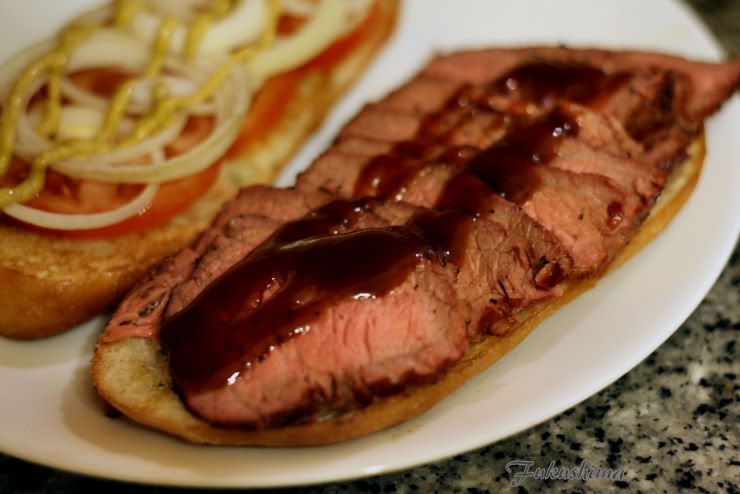
It sliced up nicely

As can be seen, I got very close to having a uniform level of medium rare meat. It was certainly juicy and full flavored, tender to the point of melting in with each bite. I could easily have eaten this off the board and been happy.

Tomatoes, Onions and Sauce
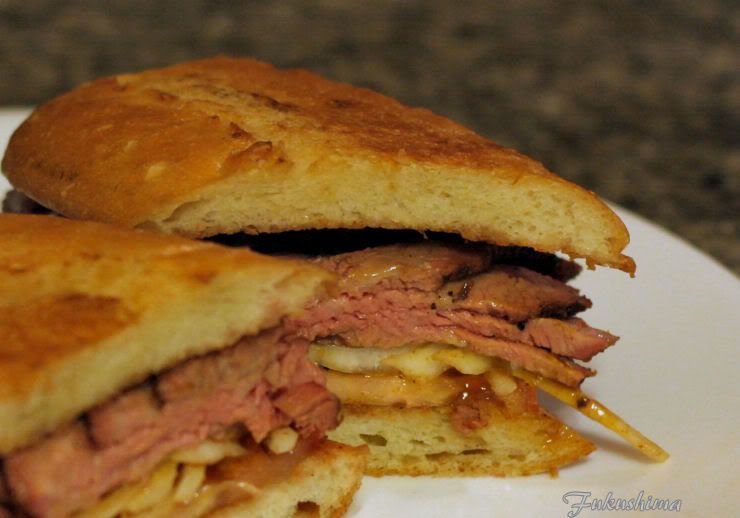
Add a little Bart's Blazing 'Q' sauce and a little spicy mustard, you get a great sandwich. Bart's Blazing 'Q' sauce is a new product being produced by my friends Dave and Deny Bart, a couple of competitive BBQ folks out in Livermore, this stuff is worth finding, complex and unique.

Final Cut

Now, to the idea of smoking a tri-tip, I know many folks consider this to be a blaspheme to the spirit of Santa Maria BBQ and the tradition of open pit grilling over an oak fire. While I understand how this might be seen in that light, I learned a great deal from old pitmasters in the region and realized that they are doing open pit cooking, but, in a manner that replicates the condition of smoking meat. Their old pits, not the modile ones you see now, had the ability to lower the meat into the well of heat and smoke, this created an environment of moist smoke and heat that cooked the meat slowly. It would take an hour to two hours to cook up a rack of tri-tips, this resembles the environment of a small cooker very closely. I have adapted my process to create results the are reminiscent of the final product I learned to cook.

Thursday, March 22, 2012

Store Bought Sauces

It is quite often that I hear that store bought sauces are somehow inferior to the ever increasing number of artisinal BBQ sauces that are hitting the market in ever incresing numbers, especially as competitive barbeque has become more popular. To be sure, these small run, hand crafted sauces feature ingredients, formulations and hard won knowledge that simply does not translate well to the scale of production necessary to provide lower cost sauces at a grocery store level of supply chain. These more common sauces are often scoffed at by more serious BBQ hobbyists and competitors. But, from time to time, you hear of someone using Kraft, Bullzeye or some other brand and doing well. It got me thinking.

I decided to do a cook using both Kraft and Bulls-Eye BBQ sauces, bought from the local grocery store and used straight from the bottle. I would do everything else as I normally do for a backyard cook. I procurred the following bottles.

Yep, Kraft Original and Bulls-Eye Carolina

Here are the two sauces, and a blend, just as an experiment. I noted that the Bulls-Eye had vinegar as a first ingredient, and used sugar for sweetening. The Kraft had High Fructose Corn Syrup as a first ingredient. The overall flavor of each would reflect this difference. Here are the three in prep bowls.

Blended, Kraft, Bulls-Eye

The Kraft Original was quite a bit sweeter, with a little tang in the middle and finishing palate, The Bulls-Eye was tangier and had a slight heat on the finish. Overall, the Bulls-Eye was better than I expected, the Kraft was about what I would expect, but, not as good as I seemed to remember it from years ago. The Carolina sauce had a slight mustard twist, but, was too thick to be used as a mix in for pulled pork, I suspect if I was to use it for that purpose, it would need a lot more vinegar and peppers. The Kraft really did not stand out from what I would consider a normal store bought BBQ sauce. The blended mix was promising as a dipping sauce, although more for chicken nuggets than ribs or pork.

I did cook up some chickenm and sausage to test the sauces for both cooking and dipping. I also made some baked beans with the Kraft sauce. The idea, again, was to do what I normally do with a twist of using the sauce fairly straight. The sausage was smoked straight up, the chicken recieved a rub of Simply Marvelous Season-All, The Rub Company Santa Maria and Simply Marvelous Spicy Apple, all blended then rubbed and bagged for 10 minutes.

Raw Meat, Chicken Apple, Chorizo, Kielbasa, Chicken

On the Grill, Beans below

Cooked Meats, Kraft on left, Bulls-Eye on right

As you can see in the above photo, the sauces cooked down to an almost identical appearance, the Kraft and Bulls-Eye both worked well with the rub and applewood smoke. I would say that the Bulls-Eye actually had a spicier finish and lost a little of the over sweetness once on the chicken. To be honest, either one could be used on BBQ and I doubt most folks would know that they are supermarket sauces. Now, I could have done these meats without any rub, which would have shown their potential flaws more, but, that is not how I use sauce.

The beans, these were made with a saute of onions and garlic, some chopped bacon and chopped apples. Once the vegetables were softened, I added some canned beans, some Kraft BBQ sauce, maybe 1/2 cup and some cider vinegar, bourbon, Red Boat and water, to cover the beans. I was going to cook them in the kettle under the meats, so there had to be plenty of fluid.

Aromatics and Vegetables


Ready for the Kettle

In the end, I ended up with a really good plate of BBQ, if you will allow chicken and sausage as BBQ, which I will, since it was cooked at 300F, over a live fire, and smoked with apple wood. The final result was a bowl of beans with a nice smoky profile, a good sweet base and some bite on the finish, nothing radical here, just good, solid, baked beans. I could easily jump off from here, with some pepper sauce, more aromatics and a little broth and these beans would have been a great bowl. I did add the smoked sausage, so the next time, they will be quite good.

Finished Baked Beans

The plated meats, with some fries and a cole slaw made from the Bulls-Eye sauce, some additional cider vinegar, black pepper and a little sugar. This was a really good cole slaw dressing and showed some surprising versatility. As a dipping sauce, the Bulls-Eye worked great on the sausage, a nice tangy sweetness to offset the sausage flavors. Both sauces on the chicken worked great, I would suspect nobody would pick them off as grocery store sauces if tasted blind. Finally, there were fries, just for kicks. The combined sauce really was tasty with the fries.

Chicken and Sausage Two-way

In the end, I think that these sauces could actually make for a great compliment to a barbequed meat meal, I certainly would not discount them. If I had been doing this cook on a weekend with more than a couple of hours to throw it together, I could really work these sauces into a great presentation. I certainly will not discount store bought sauces, in the end, you just need to cook with them.

Sunday, March 18, 2012

Smoked Corned Beef Pies

Earlier this week, I ended up smoking a corned beef, sometimes referred to as pastrami. The cook was recorded on my other blog over at Pacific Rim BBQ at this link. I decided that I could use this to make a version of corned beef pasty, which then, somehow, morphed into the idea of a pot pie. I had plenty of corned beef left, and I am quite tired of it. It needed a new spin.

I made a basic pie dough for the pot pie, except I cut the sugar amount in half and went with some ground up palm sugar, instead of regular sugar. The pasty dough, which this was a bad choice, I used regular pie dough, which was quite short with both butter and shortening, but, had the full complement of turbinado sugar. This should have been filled with apples, but, I digress.

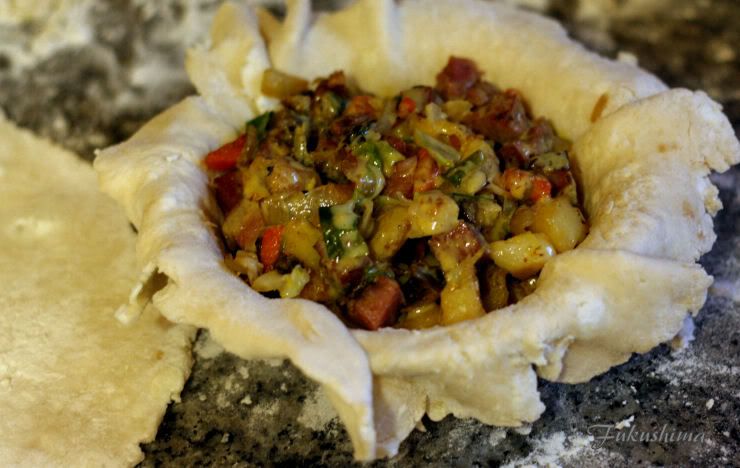
Filled Dough-Pot Pie

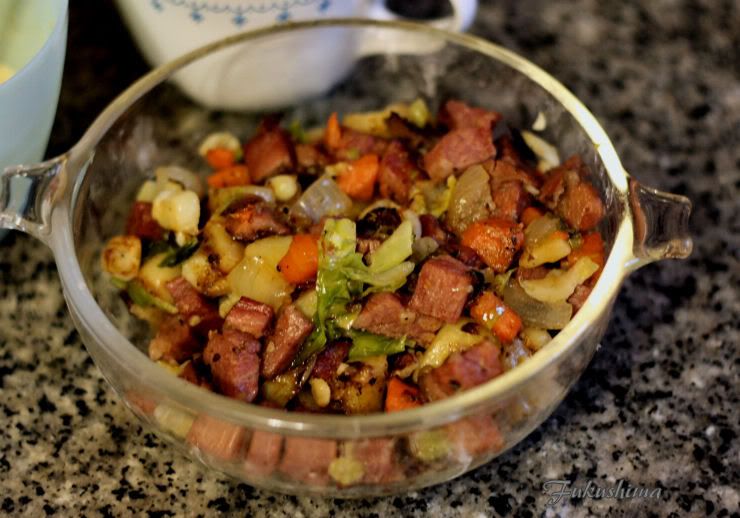
I took some carrots, Yukon Gold potatoes, yellow onions and sliced up Brussels Sprouts (my choice of Cole crop, instead of cabbage for St. Patrick's Day) and fried them up in a large skillet, then added the diced smoked corned beef, this was your basic hash. I seasoned with some black pepper and a couple of cloved of very finely diced garlic. About all it needed, what with all the flavor from the rub and smoke.

Smoked Corned Beef Hash

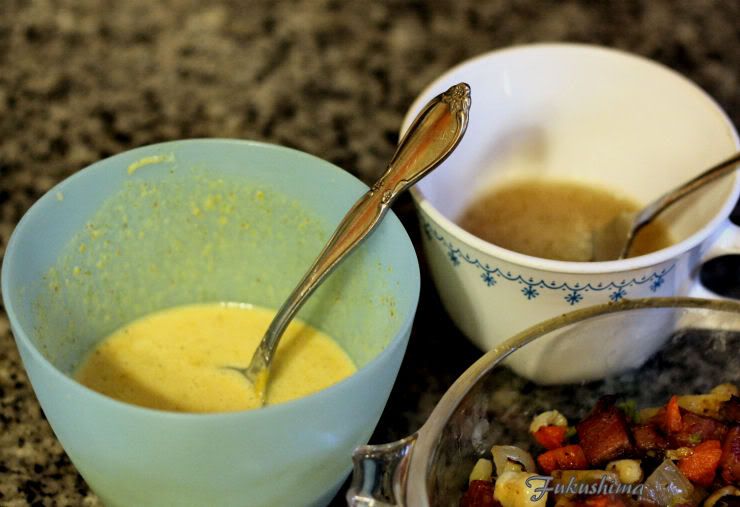
The overall has came out great, very flavorful with a solid punch of flavor, this would be needed as I intended to add a sauce to the pot pie. I made up a 2/3 cup or so of a mustard cream sauce, it was mainly a mix of white port, prepared mustard (I used brown spicy mustard), Red Boat fish sauce and water. This was a little bit aromatic, but heat would calm it down and I wanted a solid mustard profile. Since I had no milk, I ended up adding a little vanilla ice cream to bring the volume up to the 1/2 cup-ish mark. I also added an egg yolk, this was also a mistake. So I ended up with 2/3 cup by the time I was done. There was an egg wash as well, which had a little palm sugar to aid in browning.

Sauce and Glaze

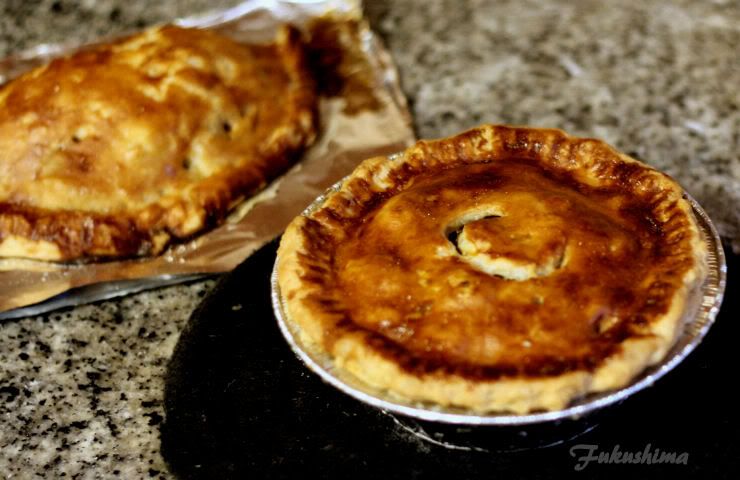
The dough was rolled, things were filled, pies were sealed and shoved into a 385F oven for 45 minutes. Upon release from the oven, the pies had an incredible and perhaps overly dark color, which was the glaze. Palm sugar, mistake number 3. The pies were done perfectly though.

Out of the Oven

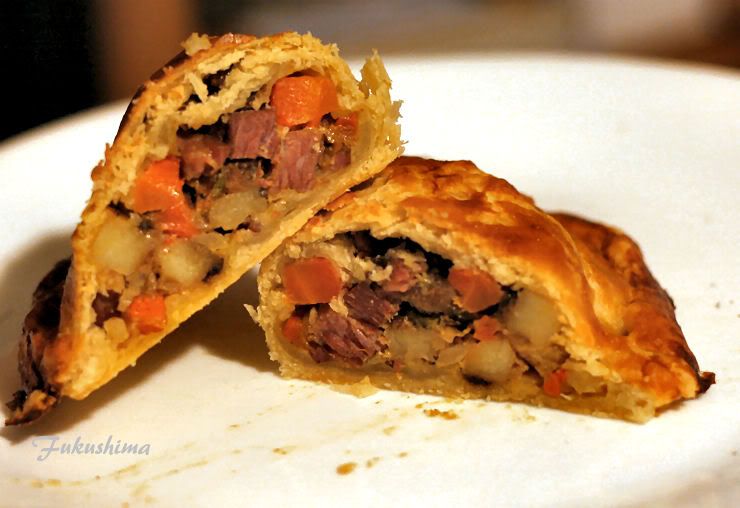
Back to mistake 1, the pasty turned out fine except the pie dough was much too sweet, and delicate, which a pasty dough should not have been. I can deal with the flakiness, as I am not a Cornish miner and did not need to carry it in my pocket, but the sweet was distracting. Still, this was not a bad pie, the hash and rub spiciness came through the sweetness on the finish. It was very good, could have been great though.

Smoked Corned Beef Hash Pasty

The pot pie crust was perfect, the filling was moist and delicious, the flavors were spot on. Sadly, the sauce was not there, at all, the egg yolk, mistake 2, had cooked and did not stay in emulsion, the liquid was just not enough to stay in the pie. I like a saucy pie, not a moist one. Still, the flavor, texture of meat and vegetables and the crust were perfect. This was, despite the sauce issue, was a great dish.

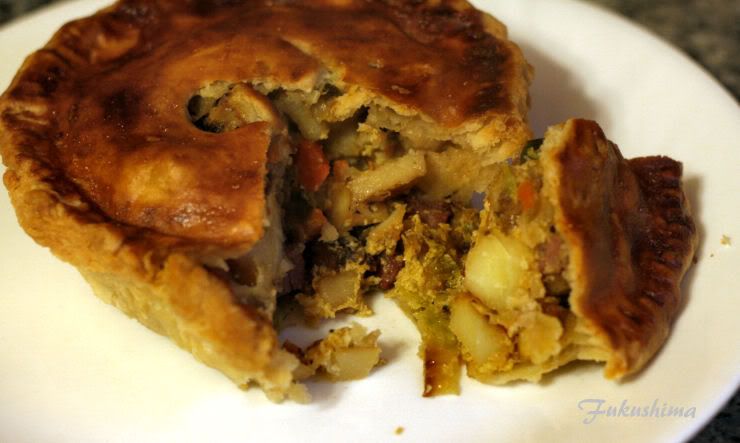
Smoked Corned Beef Pot Pie

Defitely needs a little refinement in the sauce component, I might even go with something like a sherry sauce next time. Still, an excellent dinner was had.

Sunday, March 11, 2012

Leftovers-Pulled Pork Noodles

Well, misfortune has befallen my pocketbook, from backed up drains to a non-functioning car, it came time this month to spend on something other than fine food. But...what to eat, for one must eat. There is that tuna in a pouch, or there is the frozen pulled pork. Well, not much of a choice there. Fortunately, some frozen spinach and pulled pork from the fridge, a couple of cloves of garlic from the rack and some pasta and olive oil from the pantry and we are in business. Oh, and an egg.

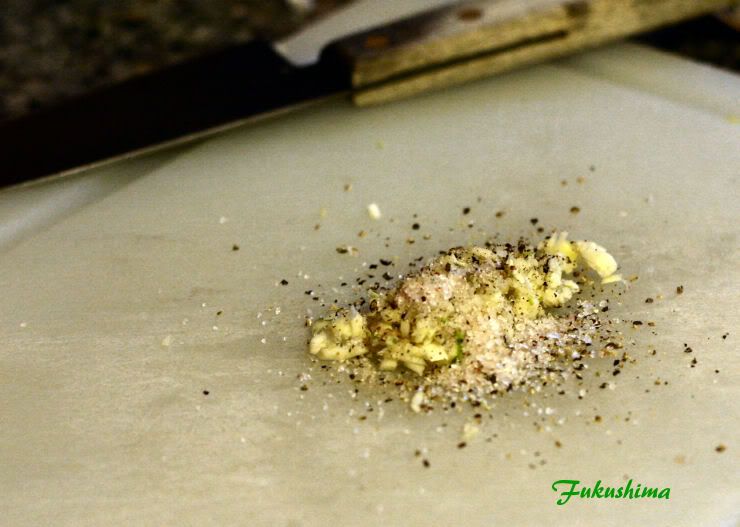
Salt, Pepper, Garlic

Grabbed some of my usual suspects, the kosher salt, fresh ground Phu Quoc black pepper and a couple of large-ish cloves of garlic. Garlic got a quick fine chop, the salt and pepper was about medium grained. Don't want it to just disappear.


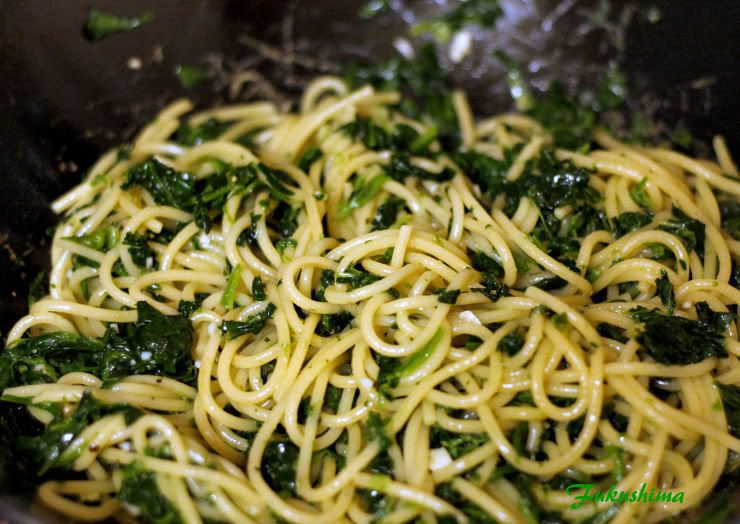
Thawed frozen spinach, well-salted spaghetti

Took the spinach and thawed in in the microwave, just enough to release the moisture so I could drain it. I wanted to get as much easily removed liquid out as possible. No squeezing though, didn't need it to be dry. The pasta was prepared per package, but, I add 3 tablespoons of salt per a quart of water.

Spinach and Pasta, wok tossed in olive oil

I heated up the wok and added some high quality olive oil, the pasta and spinach went in immediately afterwards, as smoking and burning can happen fast if you don't. And yes, I used extra virgin varietlal oil, and no, I do not consider it a waste, unless there is a fire.


Pulled Pork in wok

I removed the pasta and spinach from the wok, deglazed the wok with a cup of pasta water, then added the pulled pork to heat through. There is no cooking here, the pork is already cooked, just a little heat, then add in the pasta and spinach. The pasta water will thicken and dress the entire dish. I removed to a heated bowl and drizzled with some more extra virgin olive oil. Frozen pulled pork is such a great freezer staple, it works into so many dishes and is such a versatile ingredient. I often throw a second butt onto the cooker when I am doing a cook, this allows me to have a pound or two handy.

Plated!

From there, I decided to try a shallow poaching technique, which failed the first time due to a lack of attention to detail, and a lack of oil in the stainless ingredient bowl. I used a shallow stainless steel bowl, the kind I normally use for mis-en-place. I filled the wok with about 1" of water, then placed the bowl with egg into the pan, covered and allowed to setup. At a bare simmer, this took about 3 minutes. I then tilted the bowl (with tongs) and released the egg into the shallow water, which just set the yolk so it was translucent and tender, but, not liquid. I decided a little more salt and pepper on the egg during initial poaching was warranted. That is a little Humboldt Hot Sauce Island-style sauce on top, a nice fruity complement to the egg and pasta.