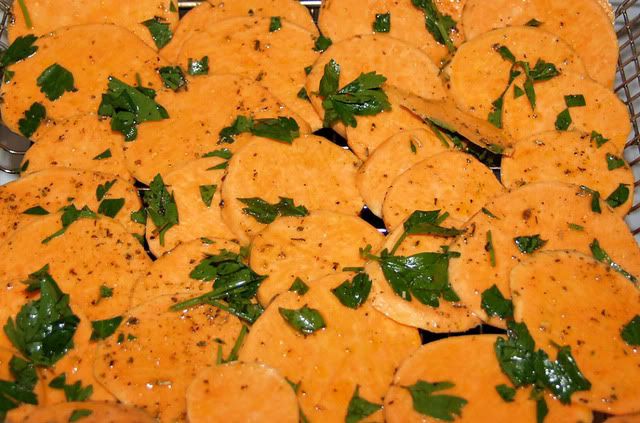
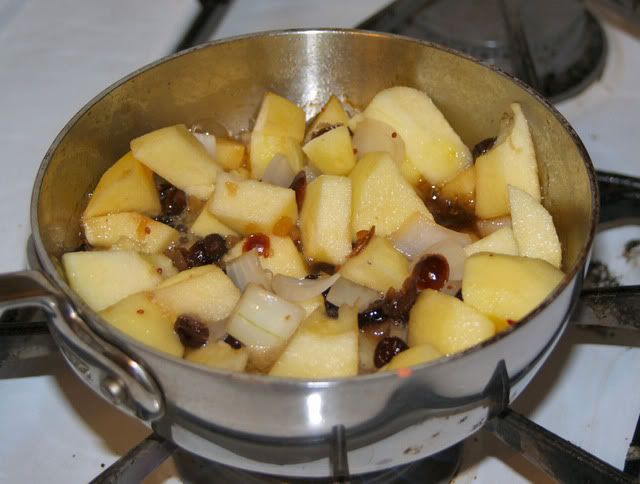
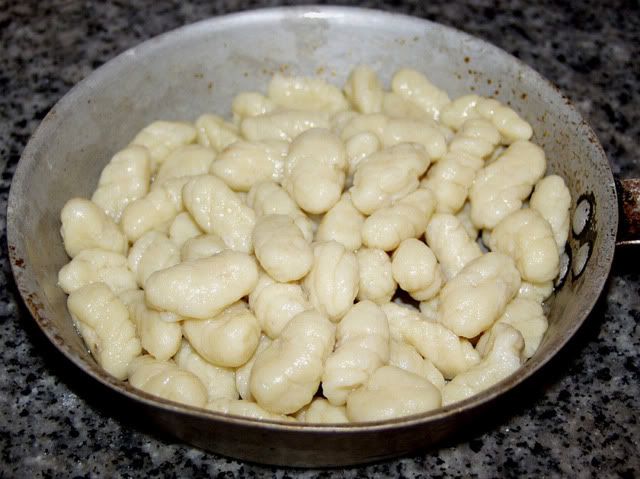
Beet roots and potatoes were roasted over an open flame of charcoal and oak chunks, I was hoping to impart some flavor, but, I can't say I got the flavor of smoke that I had hoped for. I did get some very nicely roasted roots, with a nice texture and some sweetness that I had hoped for. These were allowed to rest over night, peeled and prepared. The beets only needed some heating and a little salt. The potatoes were peeled and then grated through a medium textured microplane grater. Gnocchi were made using a relatively simple recipe of egg, flour, potato, salt and a little nutmeg.
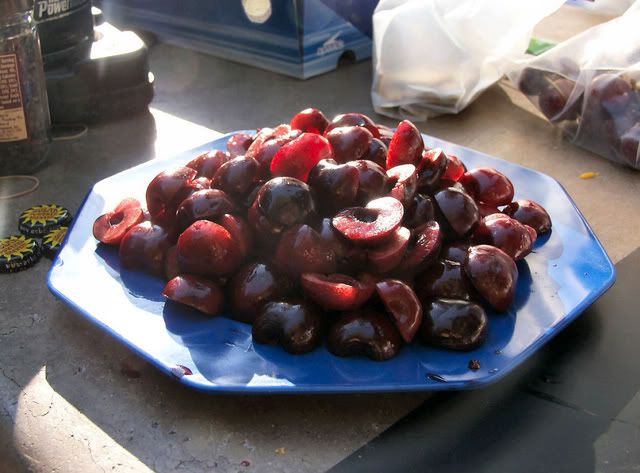
By now, I realize that I have a good main portion for my salad and meat dishes, along with a side that I know will work great. This is the decision point of how to pick up the main flavors for each plate. For the salad, with roasted beets, being primarily sweet (there should have been smoke I tells ya'!) I needed something more punchy, arugula is punchy, baby arugula looks good and is on sale. Done. Now, I have decided to use the kumquats as an element for bitterness and sweetness, what I really want is something salty to balance it. Feta is salty, and goes with arugula and with beets...There we go...
Warm Roasted Beet Salad with Arugula, Shaved Shallots, Feta Cheese and Kumquat Preserve, with a Chervil and Tarragon Vinaigrette.
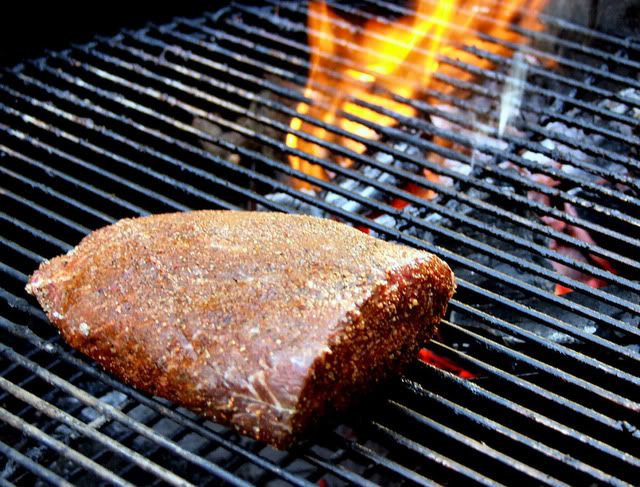
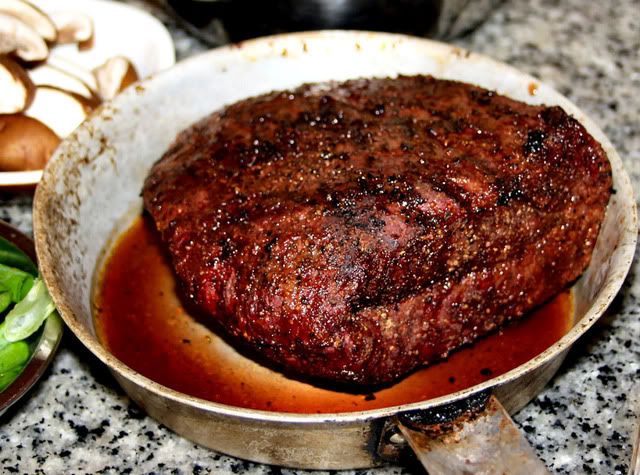
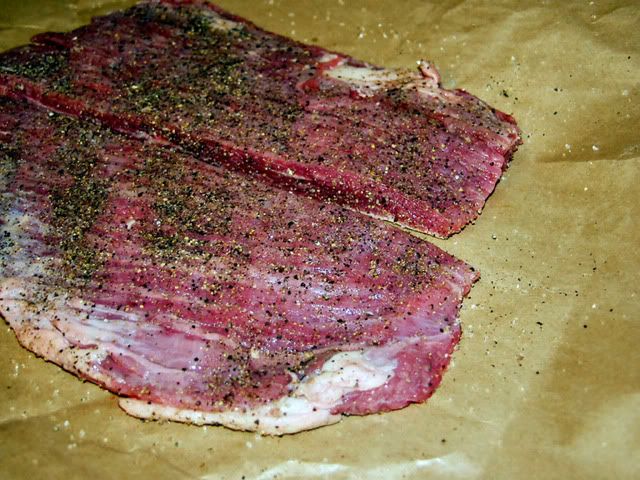
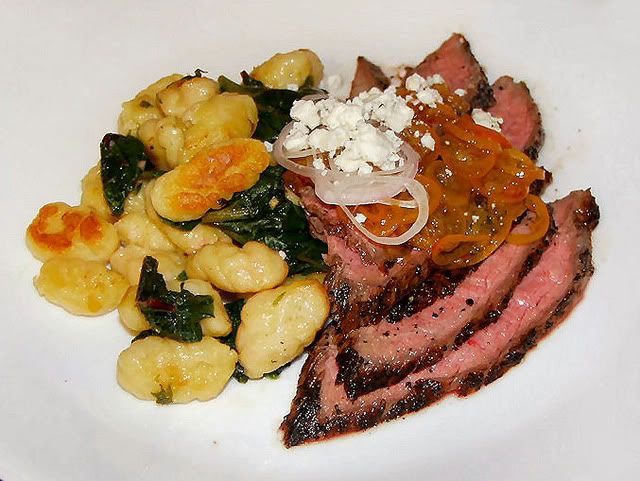
Then onto the main plate, what to do about the flank steak, I was confident that I could pull off the grilled flank steak to a nice medium rare. I knew I had the side dish worked out. How to pop the flavors on the steak. My initial thought was to go with chimichurri, but, that ignored the ingredients and materials I had already prepared. And there were those kumquats. Well, the meat will have a savory profile, some heat from the black pepper and I had some sweet and bitter I could add from the kumquats. The idea of borrowing some of the flavors from the salad to carry to the main plate makes a lot of sense to me. Hence, I worked with what I had already. And thus...
I wish everyone a Merry Christmas and encourage you all to look at my fellow Four Ingredient bloggers.
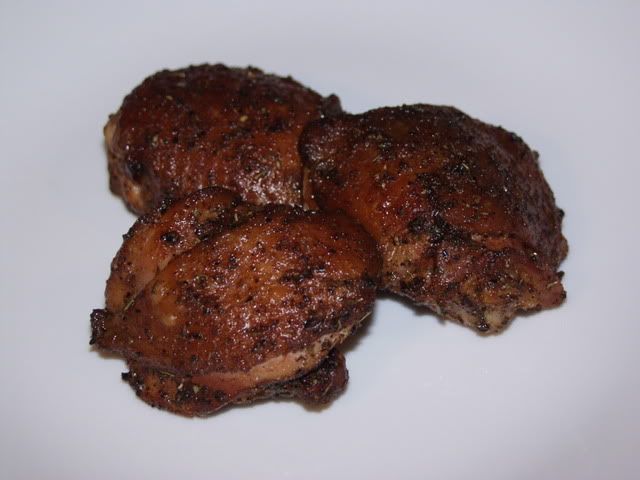
Larry Gaian of The BBQ Grail - Entry Here
The BBQ Grail website was created in 2007, initially to document the author’s quest to find the perfect backyard BBQ experience. Since that time The BBQ Grail has become one of the more popular BBQ blogs on the internet and is listed on Alltop.com as one of the top BBQ blogs.
Paul Haight of No Excuses BBQ – Entry Here
The No Excuses BBQ website was started in January of 2009 as a way to record the author’s goal of cooking outdoors at least once a week throughout the year and showing the results to the world. Somewhere along the way things got out of control…
Rob Bergstrom of In To The Flames- Entry Here
Rob launched Into The Flames in the summer of 2010 as a way to share his passion for cooking, eating, and exploring food.
Marc Van Der Wouw of Grill Adventures - Entry Here
Grilladventures by broadcastmarc is started on march of 2010.I started the BBQ thing when I was 30,before that we eat a lot outside.have fun,but when the kids came in our life We start serious cooking.Most of it is realy healthy I think;-)The grill has a special place in my heart,We love to do things outside..Everything I make is an adventure,and sometimes we use the books.We try to grill as much as we can year round.
Chris Grove of Nibble Me This- Entry Here
Nibble Me This is Chris Grove’s blog about his misadventures in live fire cooking. ”I have no culinary training….I’m just entertaining myself with fire and food”.