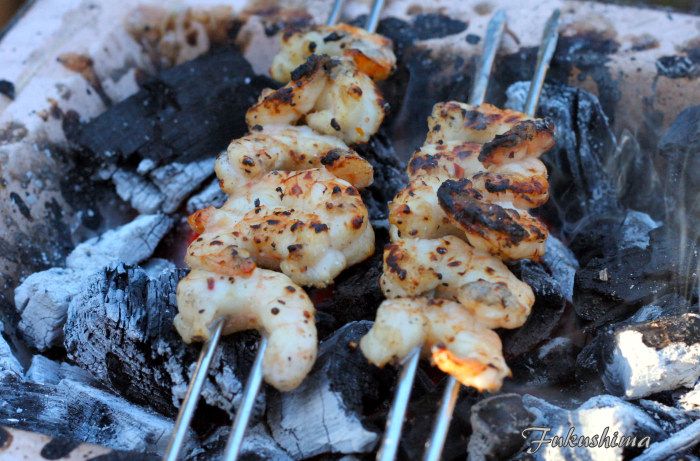
So, the idea of doing an outlandish cook to mark the middle of summer occurred to a few of us, and the subject of meat, specifically something exceptional came up. I have been wanting to do a Santa Maria inspired cook of what I know as Top Block Sirloin for some time now, and figured, why not grab a full-blood line Wagyu steer sirloin from Strube Ranch in Texas. These folks are one of the few ranches in the United States raising full blood line wagyu cattle. And Sterling Ball of Big Poppa Smokers sells a 12-15 pound sirloin, which turned out to be two Top Block cuts.
Top Block Sirloin
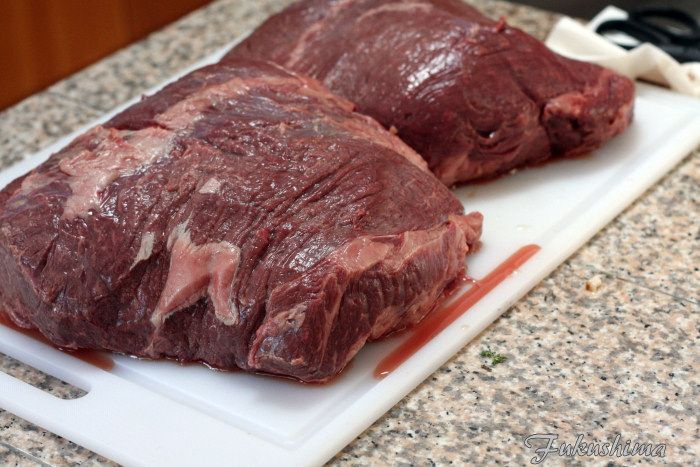
So, what is Top Block, and why do I want it. Top Block is the upper 4 to 6 inches off of the Top Sirloin sub-primal, it is the premium meat from this area of the steer. It is typically very lean, and have a bit of chew, and a distinctly beefy flavor. The color is usually a rich red. Since these were off of a Wagyu, I was not sure what to expect, the meat we got was very soft, but, lacked notable fat veining. It was well trimmed, although I decided to clean up a bit of this and that.
Dressed and aromatic
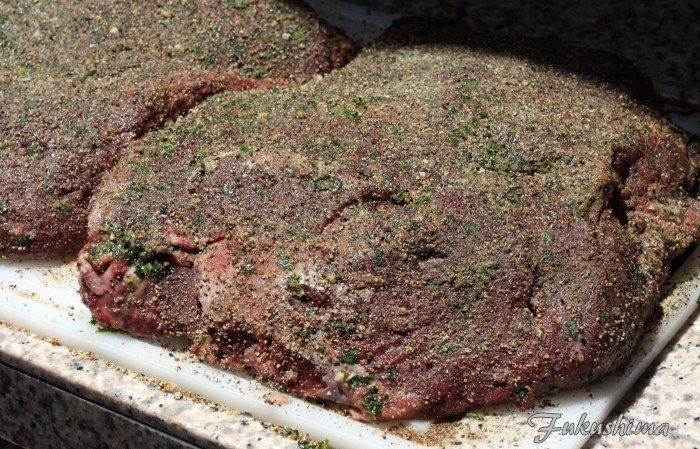
The tradition of Santa Maria BBQ is distinct, in that it was originally a seasonal celebration of the steer harvest, when marketable steer were driven down to the rail head for sale and distribution. The tradition deriving from the Spanish heritage of the California beef tradition, held that the men who worked the cattle drive would be treated to a dinner of beef and seasonal sides. The rub was generally simple and other then pepper, was mostly local products. The choice I made, was to rub the meat with a mixture of parsley, garlic and olive oil.
Rubbed and Ready
From there, the meat was rubbed with a spice mix, that was 45% medium grind black pepper and 45% sea salt, and 5% each of granulated onion and sugar. This was not allowed to melt into the meat, from here, it was straight to the BGE, our cooker of choice for this cook. An open rotisserie pit would have been the traditional choice, perhaps one of those great adjustable grate pits also, but, the BGE was what we had. I had opted to burn down some red oak, white oak and come lump charcoal, to build a coal bed.
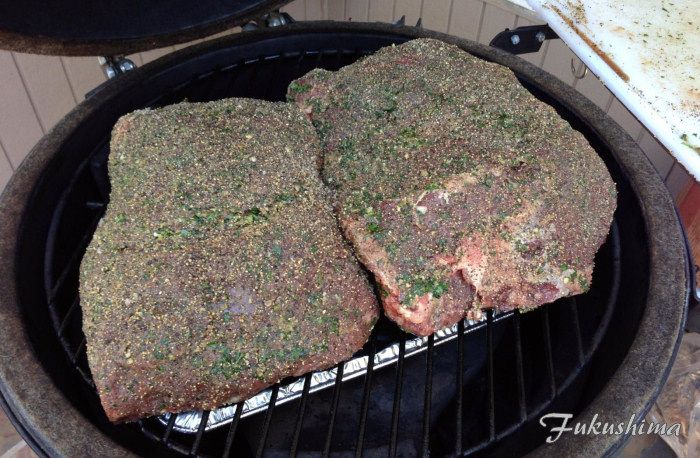
It kinda fits
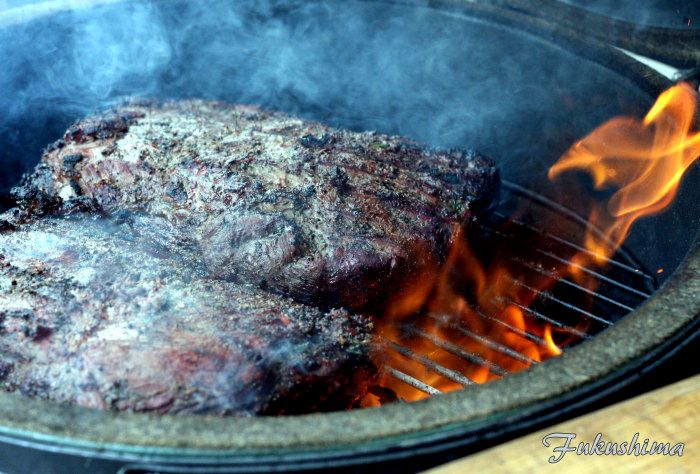
The meat was slowly roasted over this fire, indirect at 250°F for 90 minutes, about 60 minutes less than I expected. Thankfully, since I am still not comfortable with Wagyu beef, I had decided to check early, it was already at 125°F, my target temperature with 3 hours to dinner. I pulled the meat and tented it. About 45 minutes before dinner, I refired the BGE with more oak, this time with no plate setter, as I wanted the heat to be directly firing on the meat, and got a hot fire going.
Oooo...fire!
I put the meat back on, the roasts were both around 6 pounds each, so the internal temperature had dropped just a few degrees. Right onto the flames, and seared off for a nice color and surface texture, took the meat to 135°F, and pulled and rested under foil for 15 minutes.
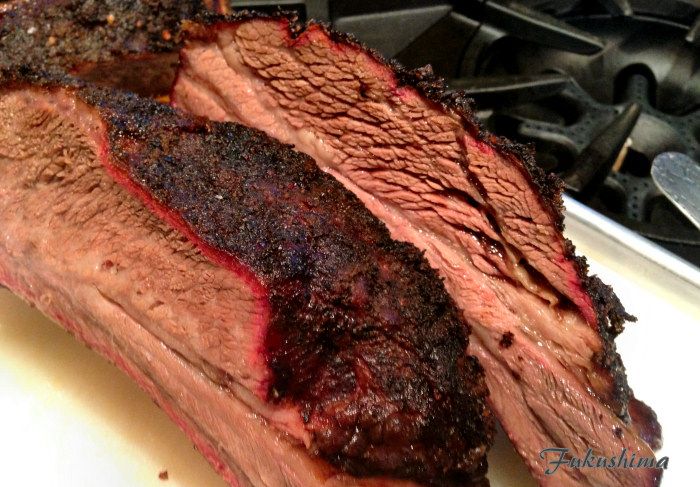
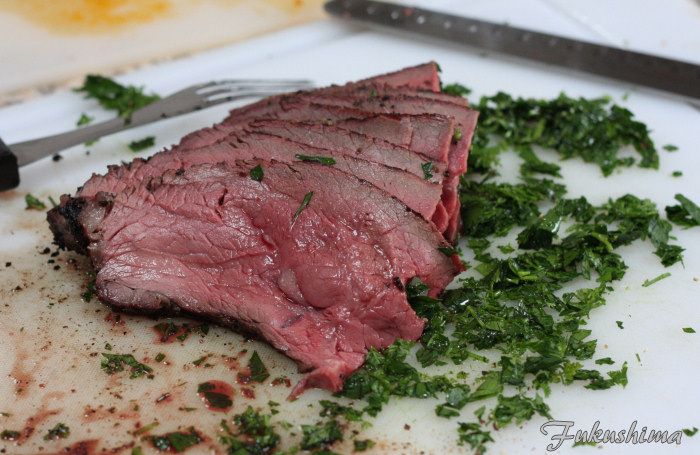
Kinda rare
The slices were mostly what I would call a uniform medium rare, although the center cuts, as you can see, were more rare. And yes, I season the cutting board for this kind of meat, with parsley, chervil, olive oil and sea salt. Each slice gets a little extra seasoning this way. There were a few slices of medium-ish meats, so that those with a background in parasitic sciences could be okay with the meat.
Little bit of a smoke ring
Overall, there was a lot less smoke than I expected, the cook time was much faster than I expected (something I am coming to expect with Wagyu beef) and the meat was leaner than I expected, but, exceptionally tender and with a nice flavor. We discussed the meal after and decided that the meat was well worth the cost and we would do this again. I really would like to add a real wood fired rotisserie grill to make these cooks even more in keeping with what I learned of /Central California coast/Santa Maria BBQ.
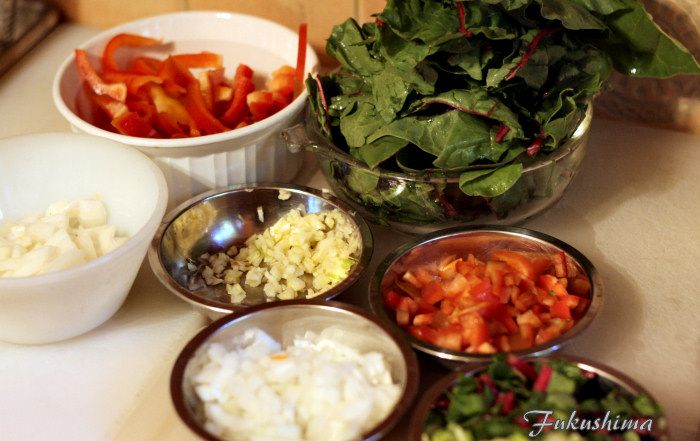
Just a little frou-frou
The most distinct difference I found between this, and the tri-tips and steaks I have eaten off of Wagyu cattle, is that this meat was clean tasting, very beefy, and had less of the mouth coating fat that the more marbled fatty cuts of Wagyu beef might have. This was great meat for summer eating, and remained melting tender, despite lacking the heavy, visible, marbling of what most people think of Wagyu beef.