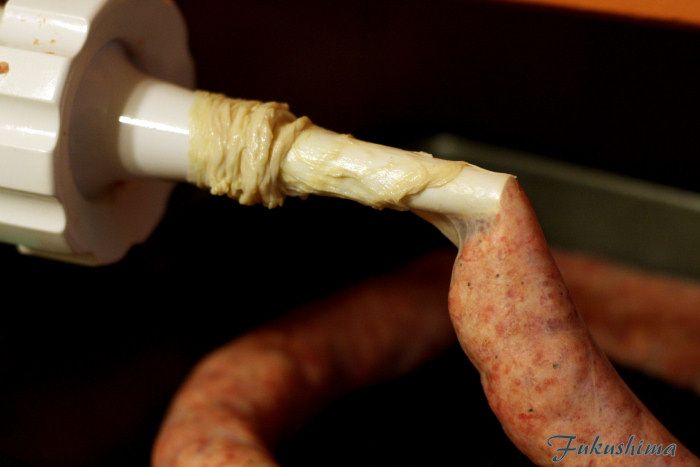
So, it was a beautiful weekend, a long weekend, and it seemed like a perfect time to pull out the stops and try something that my friend Rob and I have been wanting to do for a while. Rob had already secured a Piedmontese Heritage brisket, and he was working on scoring a Snake River Farms American Wagyu brisket. Now, there are a couple of mouthfuls, we will look at those soon. All I needed to do, "you're only job", was to get a Choice Black Angus brisket.
The Three Briskets, before the fire
Using the impeccable skills of timing and planning that Rob and I have honed over years in business, we planned on cooking these, starting at 8:00am, running the cookers at 300F, grate temperature, and we expected to be eating at 6:00pm-ish. As soon as I arrived at 9:15am, we got the cookers fired and the meat prepared.
SRF Wagyu
Trimmed SRF Wagyu
In terms of the Wagyu, this is a hybrid beef, a cross between original Wagyu cattle genetics bred to American Black Angus cattle. The meat is far more marbled, at the point of grading, than USDA Prime beef. In handling this meat, it was clearly softer than regular beef. The image above shows ho the meat starts to pull apart once the membrane is removed. One of the things we noticed, was the when we pushed out fingers into the meat, the indentation stayed, unlike normal beef, that has a notable resilience. The deckle, or point, portion of the packer was so marbled, it was far more than any other brisket I have seen.
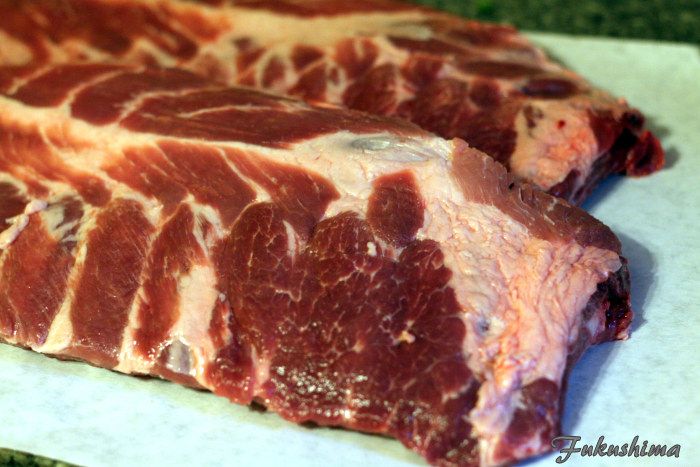
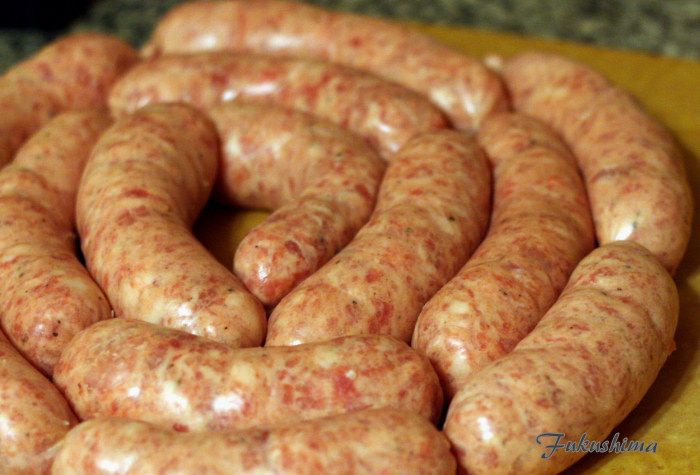
Piedmontese Heritage
Piedmontese Beef
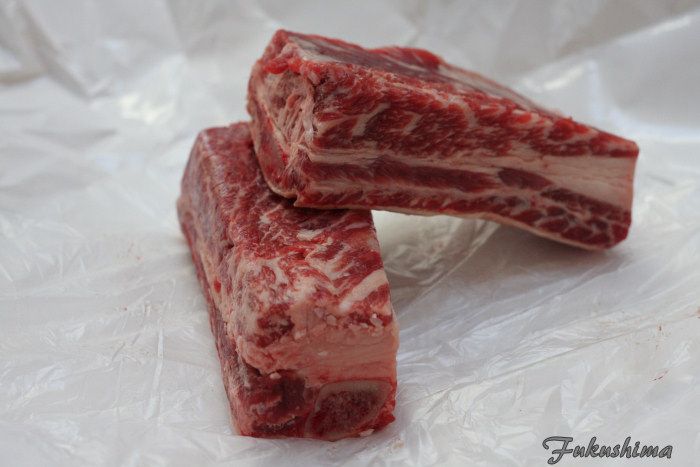
Now, to the Piedmontese, this is a breed of cattle that is barely known in any circles. Originating in Italy, the Razza Bovina Piedmontese is a dual purpose cattle breed, that is most noted for a characteristic called "double-muscling". A genetic mutation that leads to excessively muscular cattle. As it happens, the beef ends up with lower fat levels, lower calories per gram and higher Omega-3 acids, it is a healthy beef. It is also alleged to be more tender. We shall see. One thing was for sure, while trimming, this beef 'jiggled' like gelatin. It was unbelievably soft, in BBQ circles, this was the ultimate floppy brisket. It appeared very lean, and a lot more pink than the other meats. Originally considered a dual purpose breed, this breed of cattle has become endangered, as it is so unknown.
Certified Choice Angus
The Angus packer
Finally, there was my brisket, the Choice Angus beef, which I got from my usual supplier for these types of cooks, this is what I consider my bargain beef, from a local restaurant supply shop, it is normally a very good brisket, I ended up with a 14 pound packer. In the realm of 'you get what you pay for', the Wagyu and Piedmontese briskets required very little trimming or cleaning, a little membrane and some fat. The 14 pound Angus ended up around 11 pounds by the time I got done trimming. Several large hunks of fat had to be removed. This still appeared to be a good packer for our purposes.
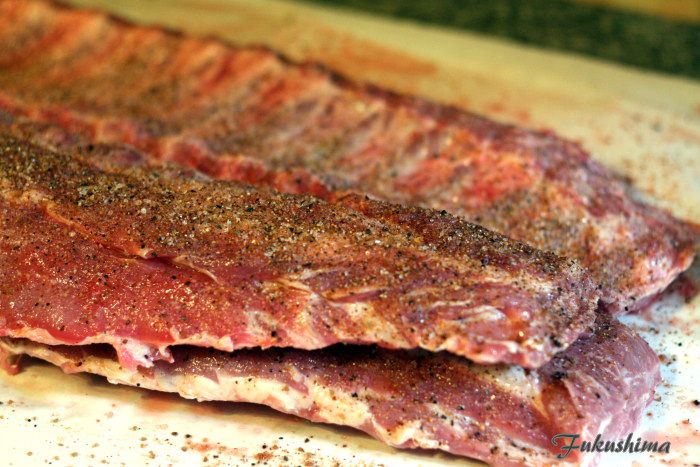
Three Brisket trimmed and ready for rub
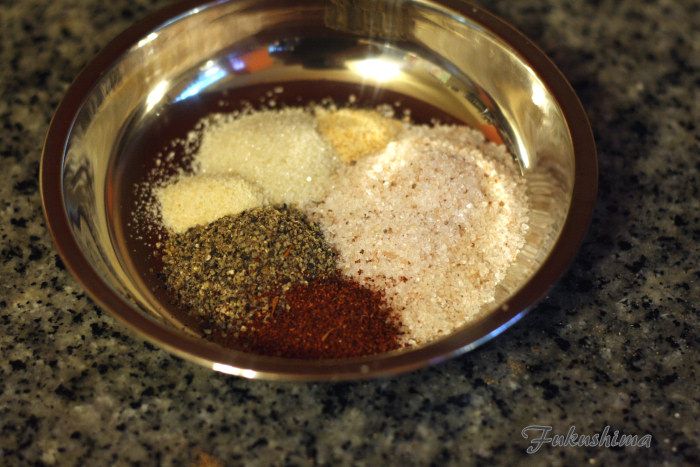
In terms of the rub, the point of this exercise was to pull together three briskets and get a good feel for the taste of the meat. That doesn't mean that adding no spice makes any sense. I prepared what I consider to be a simple rub, consisting of equal parts of Kosher salt and medium grind black pepper. I used RealSalt Kosher salt, and a Kampot Black Pepper/Tellicherry Black Pepper combination, along with small amounts of granulated garlic, granulated onion, citrus peel and sugar. This was applied with a moderate coating to all of the surfaces of the briskets. I do this as the cookers are coming to heat, so the rub sits on the meat for about 15 to 20 minutes, which gives it some time to 'melt' onto the meat.
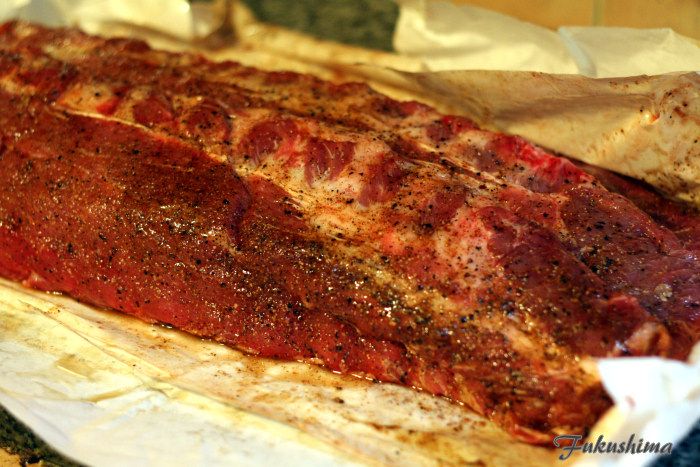
Rubbed and ready
These were places onto the cookers, the Piedmontese, as it was smaller, went on to the large Big Green Egg, the Wagyu and Angus, closer in weight, went on to the 26" Weber kettle. The BGE was fired with Cowboy lump and apple wood, the kettle has a mixture of Cowboy lump, natural briquettes and apple wood. Both cookers were run at an average of 300°F. Barring the fact that I arrived nearly an hour late, and took far longer to prepare, as I was enjoying fussing with the fancy beef, this was the last point where we were even close to staying on the plan. Did I mention we started the morning with Bier de Chocolat slushies? Anyways...
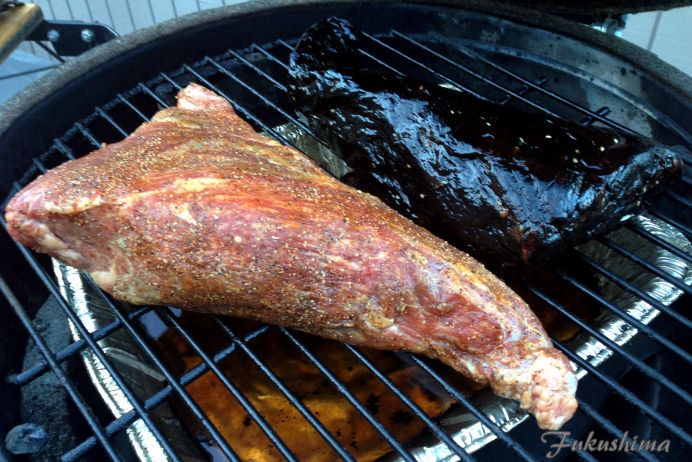
Our host
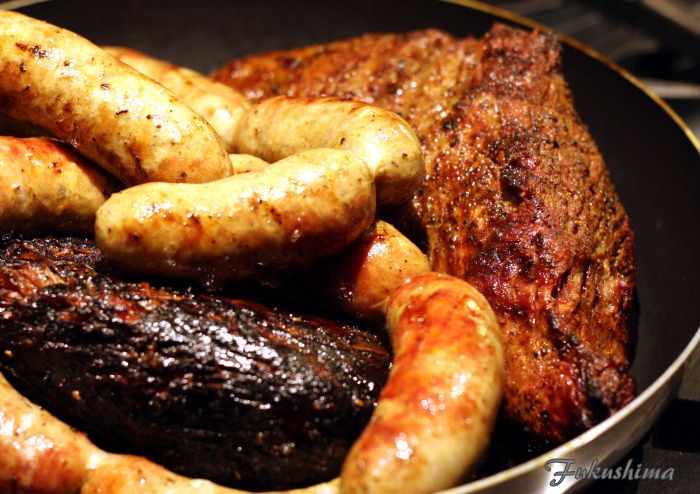
Maple and Pepper rubbed fatty
Fatty Sandwich, with Arugula slaw and fried egg
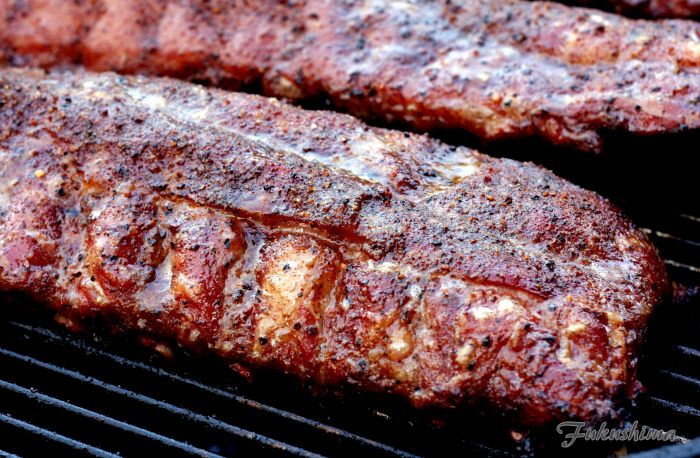
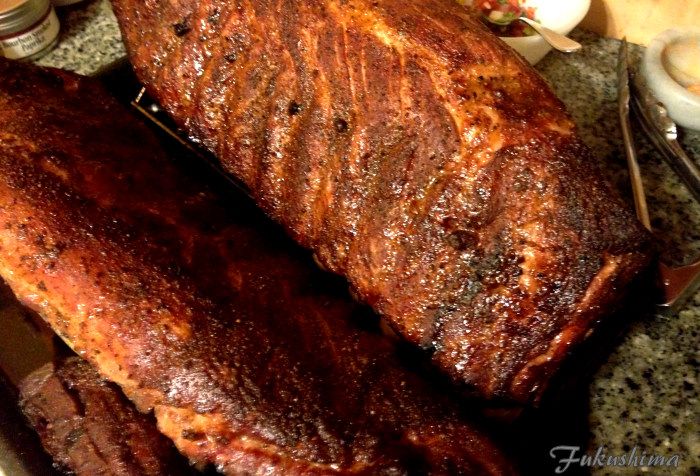
Angus on the left, Wagyu on the right
No, I did not forget about the brisket, but, a man's got to eat breakfast. This was a few hours into the cook, no foil or paper, these were run straight through. briskets were flat down for most of the cook, I flipped after 6 hours, yes, 6 hours at 300°F, go figure.
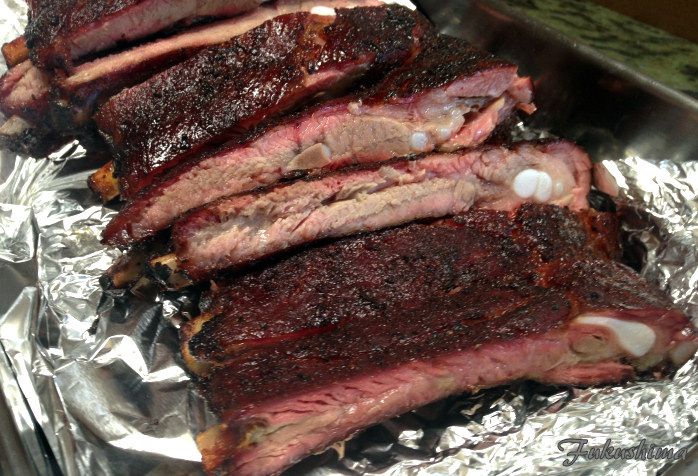
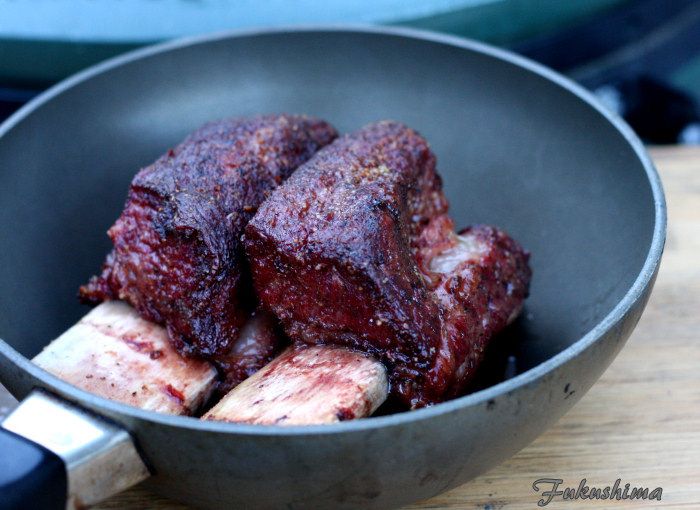
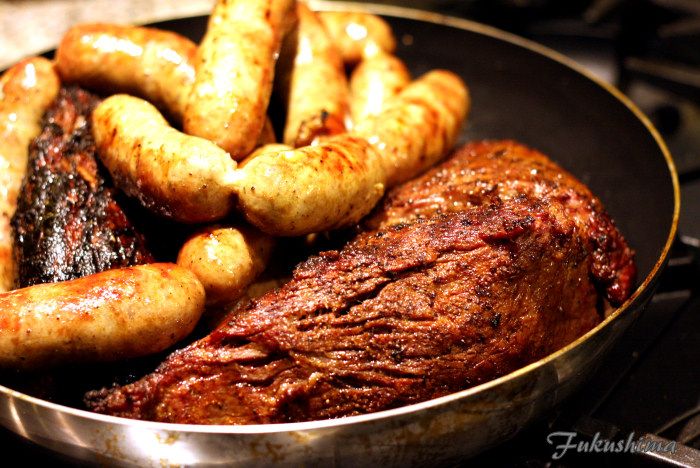
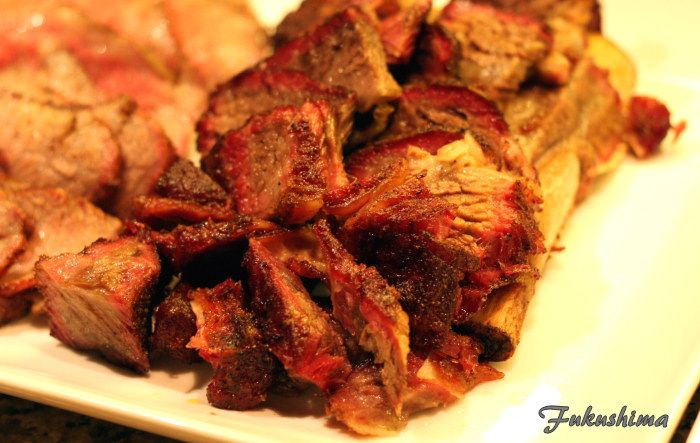
Piedmontese and Burnt Ends
Well, a couple hours later, the Piedmontese was ready, as were some Burnt Ends. These were made form the Angus, which was nowhere near ready, but, I figured I would separate them point and do this. Rob and I had discussed burnt ends for a few days, I don't care for them, at least, compared to properly cooked and sliced point. Rob loves them, the compromise was the Angus was cubed and braised. It is worth noting, that along the way, some guests arrived, some bacon wrapped jalapenos and padron peppers were eaten, along with fried squash blossoms and loofah in tare.
These people did not smell of smoke
The Cookers
Okay, burnt ends do not suck..but, lookie...
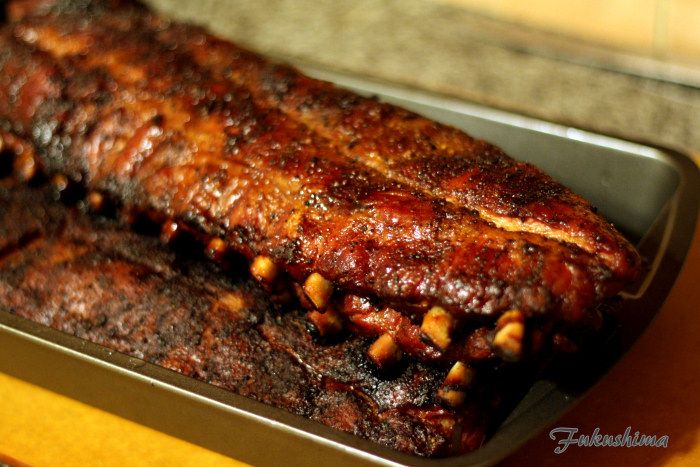
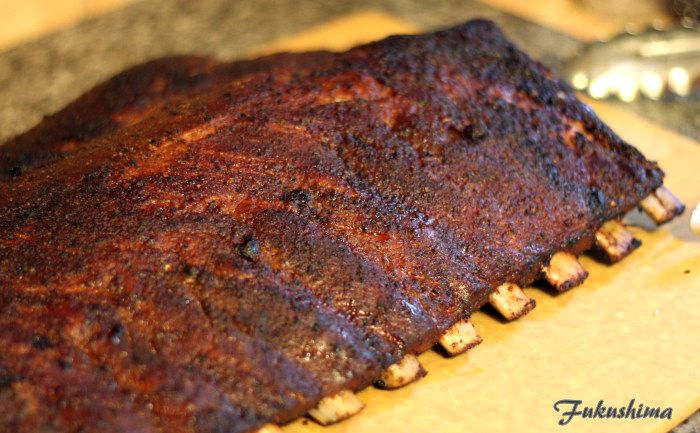
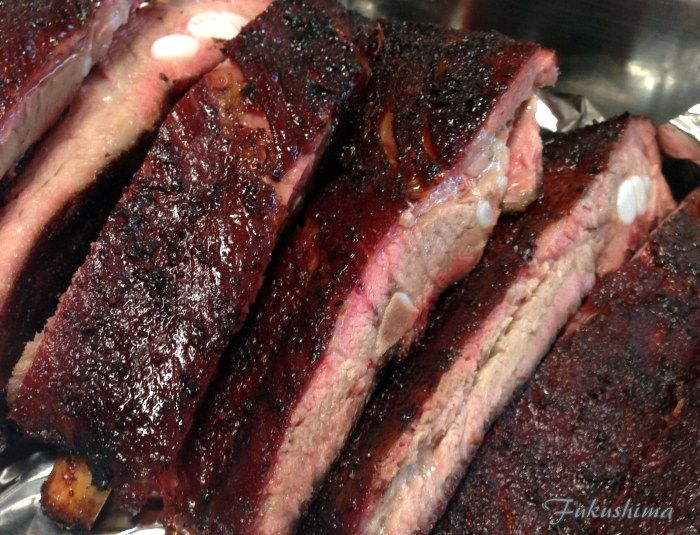
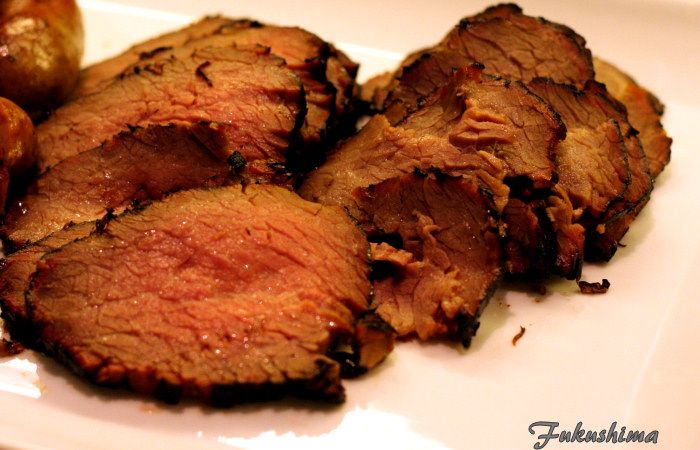
The finished Piedmontese
Piedmontese Flat
Piedmontese Point
What you see there, is a moist and very tender flat, and a point that is perfect, absolutely perfect, rendered out, tender beyond belief. You could actually pick up those slices, but, once you placed it in your mouth, it melted. The flat was amazing, moist and just a little pull, so tender. But, the key thing, was this tasted so much better than any beef I have had in years. To this point, this was the best taste of beef I have had in a long time. In terms of what we had this night, this tasted the closest to the beef I grew up eating from my uncle in Idaho. What beef should taste like.
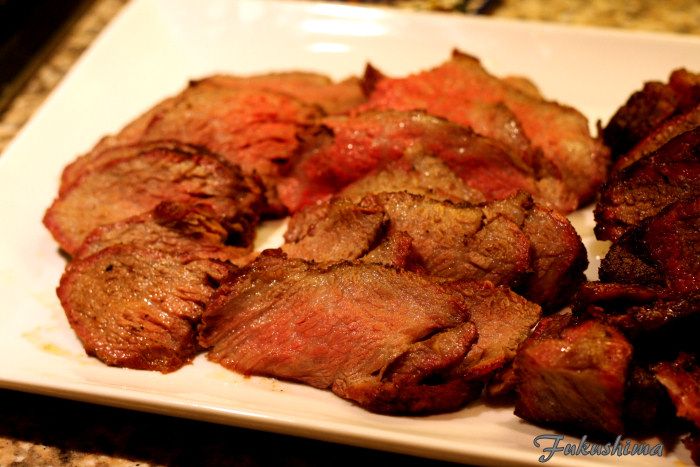
Wagyu Flat
Wagyu Point
The Wagyu, my photos don't do it justice, the flat was dripping with moisture, that shot is after wiping the board. It literally flooded the board with juice, to the point I thought I had pulled it too soon. But, the flat draped over the knife, it was supple, and just perfect to the tooth. As I was cutting, fingers from other people kept swiping the meat off the blade. The point, unbelievable texture and moisture. It was not as rendered as the Piedmontese, which would be true to the difference in fat and marbling, but, this was delicious fat, rendered almost to liquid, a perfect cut of meat. The difference in flavor was marked though, like other Wagyu I have had, the beef flavor is quite subdued, refined, it lacks the edge of blood and minerality of beef. This is not a flaw, so much as a difference in taste. If I was going to cook one brisket, to stake my reputation on, it would be a Wagyu brisket.
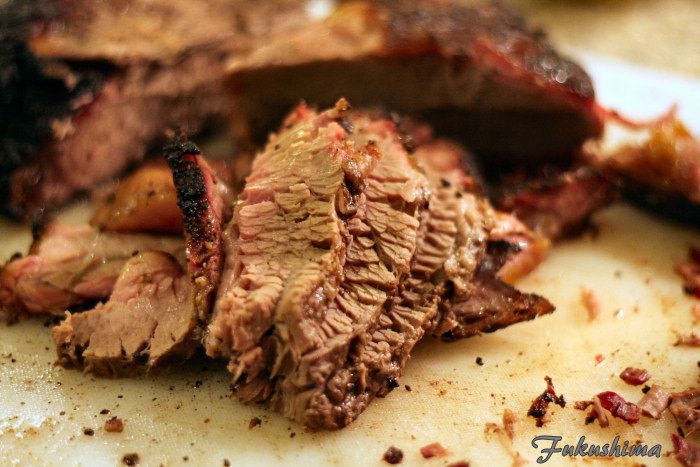
The Angus Flat
I'll some right out and say, that I was not happy with this Angus brisket. Almost from the point it hit the heat, it felt and looked wrong. It cooked painfully slow, refusing to color at all for 4 hours, despite a 300°F grate temperature. The flat that I pulled and ended up cooking at 400°F for the last 30 minutes never rendered. I had little hope for the flat. In truth, having gone on the cooker at 10:00a.m., this brisket was not pulled until 10:00p.m. But, when it finally came out of the stall, that stall, it sat at 165°F for 6 hours, it was actually pretty good. Even after eating the other two briskets, this flat was tender and juicy. It may be the worst cook I have had of a packer in 5 years, but, the end result was certainly good.
In terms of the take away, if I had it within my means, I would never cook another Choice Angus packer again. The Piedmontese had such a great flavor, something that was a throw back to when beef had a stronger flavor, with the blood and muscle still in beef. The Wagyu was subtle and transcendent in texture, the point was amazing, the flat was the most moist and tender flat I have ever had. I loved this cook, despite the blown schedule, good company, too much junmai daiginjo, and a lot of good eats.