Search This Blog

Wednesday, October 16, 2013

High heat Spareribs

Pretty straightforward post here, I wanted to throw together a sparerib cook with the conditions, beyond my control, that I had to get them cooked Tuesday night for serving on Wednesday morning. No all night cooking, no getting up at 3:00 a.m. It was to be hot and fast, no nonsense cooking, but, it had to be at least decent.

Cooker of choice: The NorCal Brethren UDS
Fuel: Royal Oak lump charcoal
Wood: Pecan and Apple chunks
Temperature: 300°F

The meat was two racks of spareribs that I got from my local carneceria, decided to give this place a try, as I figured it would not be worse than Safeway, and might well be better. And because I ended up having to sit around at the courthouse for jury duty, I was not able to hit my usual restaurant supply place. This was some great pork, quality was excellent, and at around $3 a pound, priced like spareribs and not pork loin.

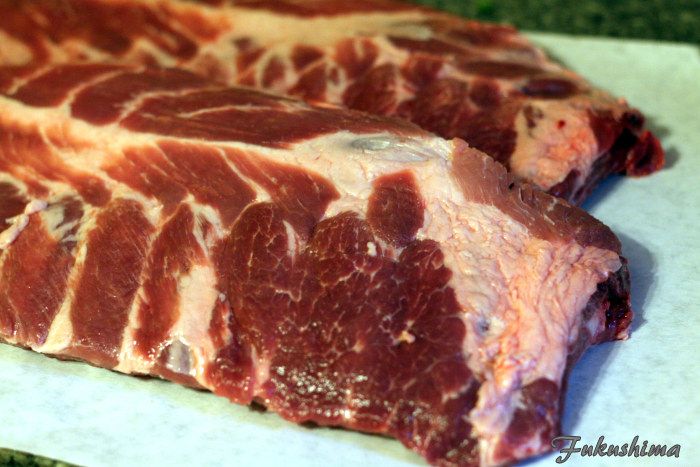
Trimmed and Ready

Gave them what I know as a modified St. Louis cut, I have heard this called a Kansas City cut rib as well. Essentially, the flap of meat and membrane under the bones are removed, the tips are cleaned up, the surface fat is removed and if there is any chest bone, it is removed.

Chest Bones, never on Cryo-vac ribs

The rub was a Maple and Pepper rub, which was applied in two layers, one was a medium layer, as seen in the photos below, the second was a dusting, more on that later.

Maple and Black Pepper Rub:
5 parts maple sugar
3 parts medium grind black pepper
2 parts Kosher salt (I use Redmond RealSalt)
1 part smoked Spanish paprika
1/2 part each granulated garlic, and granulated onion
1/4 part Allspice

Made one and a half batches of this stuff, used one as it was, for layer one of the rub. This was sprinkled and patted onto the meat and left to melt for one hour (I use that time to get the cooker fired up).

Medium coating, could be more even I suppose

Or not, should be fine

Once things were ready in the cooker, the ribs went on, and were left to run, flat on the rack for 2 hours, then I put them over a pan, and onto a rack, with the fatter ends up, this encourages a little higher heat on the tip ends, which gets the cook more even. The second layer of rub, that was the half a recipe of the rub that I had made, which I ran through the mortar and pestle, to grind it into a powder. Fine powder. This was then used in conjunction with my Pig Honey spritz, first the Pig Honey was spritzed onto the meat, then a layer of the powdered rub was sprinkled over. This was done when I moved the meat to the rack. Another coating of the Pig Honey was applied about 15 minutes before I moved the whole thing into the oven.

Here they are on the rack

I ended up bringing the ribs in at this point, and putting them into the oven at 225°F for another hour. They actually were very close to being done, and I could have let them go in the UDS, but, I wanted to control the last two hours, and it was dark outside. I cheated. 225°F for one hour, then off for another 2 hours, while I was in bed reading. I foiled and tossed them into the refrigerator, wrapped in foil for reheating the next morning. Started at 3:30 p.m. was in bed by 11:00 p.m. Not too bad.

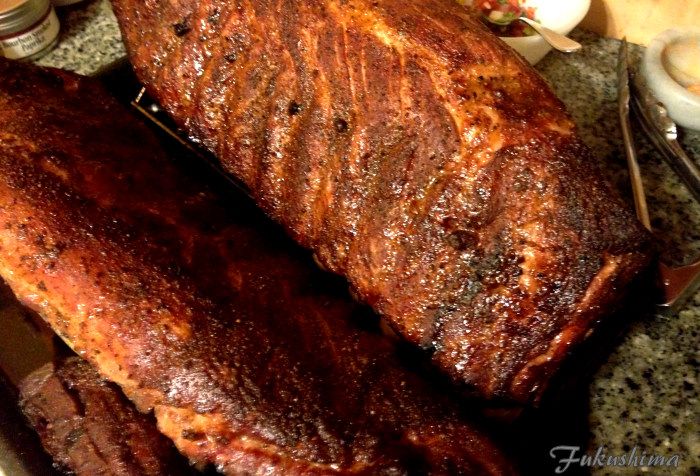
Tossed them, still wrapped for 40 minutes at 225°F this morning, then unwrapped for 20 minutes at 245°F unwrapped. Got this.

Looking good so far

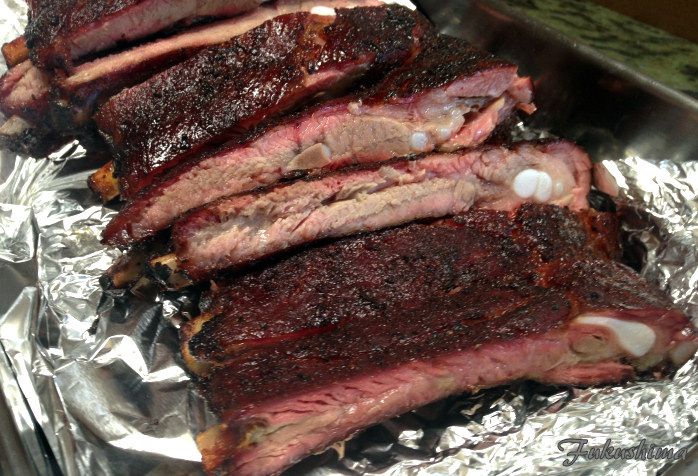
From here, they were packaged up in a pan and taken to their final destination, waited for around 30 minutes for serving, still hot and looked like this.

Nice Texture

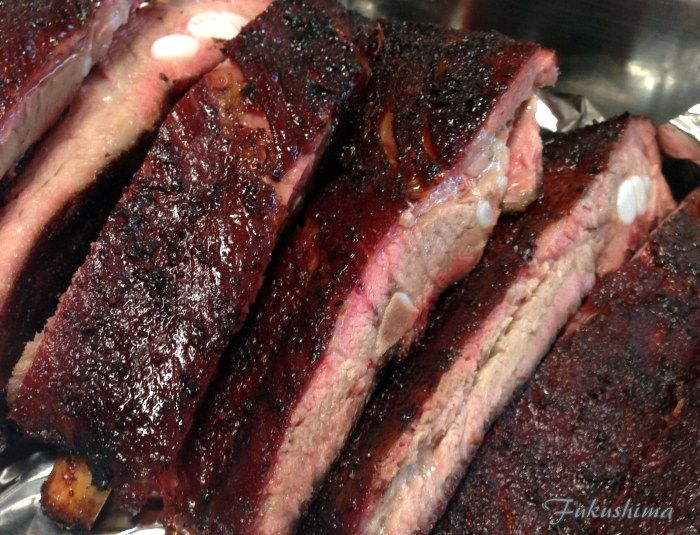
Nice bark too

All in all, a very successful cook, the ribs were moist and tender, not fall off the bone, but, just short of that. The overall flavor and texture were about as good as I would expect from myself. I would never turn in full spares for a competition, but, the flavor and texture of these ribs were good enough for just that.

Monday, October 14, 2013

Tri-tip, more Tri-tip, Sausage, Short Ribs, Gluttony!

After a brief hiatus, during which my friends Rob and Michael, along with I, recovered from the last run of ridiculous dining, we decided it was time to start up with the next round. Farmer's markets and butcher counters were hit up, home made sausage was attempted, coffee was imbibed and the feast was organized. There would be sausage, tri-tip and short ribs as the main meats. Roasted baby squash and beets, tomato and burrata salad and some Drakonic stout from my local brewery to welcome in fall.

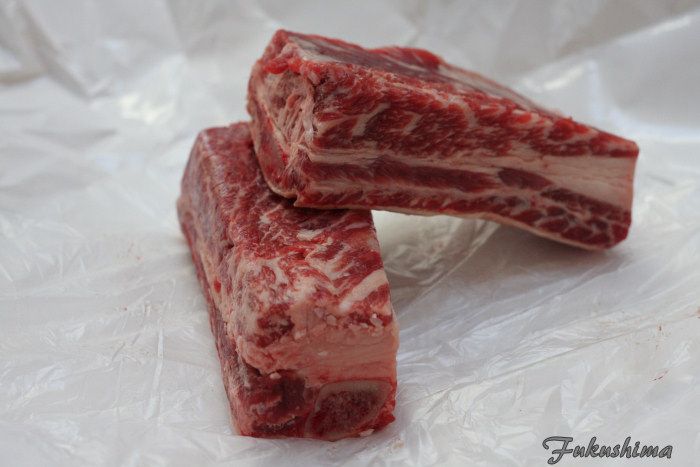
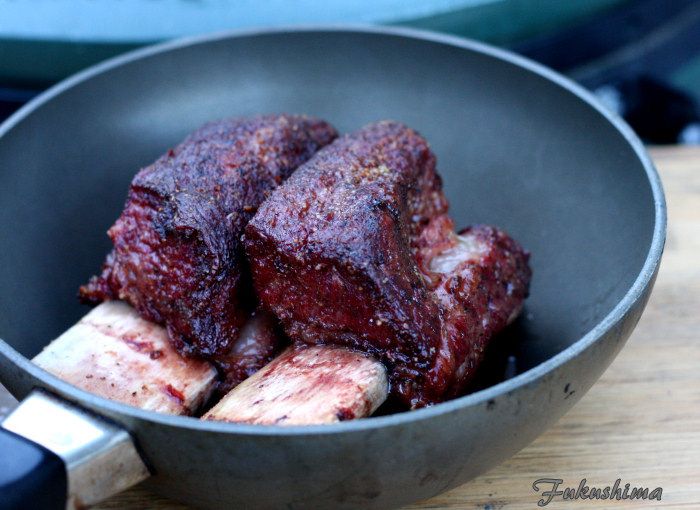
Step one was to prepare and smoke the short ribs, as these would take the longest to get right. I wanted to take these to fully done, previous attempts have been a little under done for my taste. I gave these a basic rub, and let sit while I lit the BGE up. Once the cooker was up to 300F, I put the meat on to the cooker and let them run for 3 hours.

Prime short ribs

Basic Rub (used on tri-tip and short ribs)
3 parts Kosher salt
3 parts medium grind black pepper
1/2 part Spanish paprika
1/4 part Cayenne
1/4 part fresh lemon zest
I mix the ingredients together by hand, kneaded the salt with the zest and other ingredients to infuse the citrus oils through the rub, and to bind the paprika and chile powder into clumps.

After three hours, I wrapped in foil as time was getting short and they needed a kick in the pants to get done. 30 minutes later, and another 10 over direct heat, I had this.

For the rest period


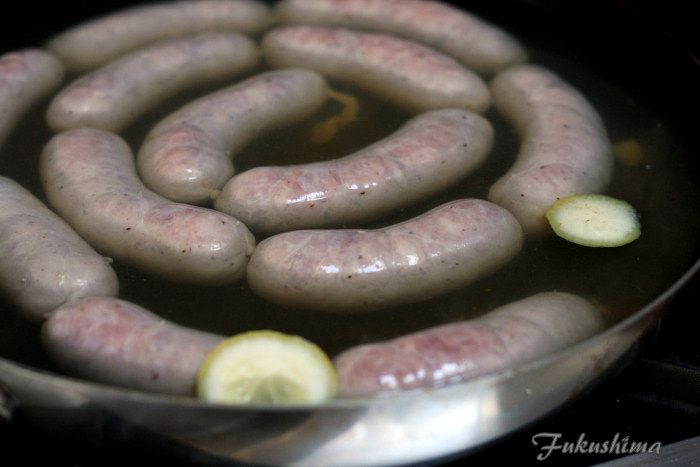
Step two was the home made sausage, detailed on this post. I decided to poach them in a court bouillon first, just to tighten up the skins and assure myself that things were cooked. Then, cooling, and into the smoke for an hour, which gave the sausages a nice smoke flavor. These would be grilled shortly before dinner.

One hank for dinner

Poaching

And on to Step three, the tri-tips. We ended up buying something called a Black Jack tri-tip, which seemed intriguing, although we have passed on these many times before, we finally broke down and bought one of these. They are jet black and shiny, marinaded in some mixture that seems quite odd, so few black foods out there, and I hoped that this was not some horrible licorice experiment. There was also the Wagyu tri-tip that we have some to love. It is so incredibly tender and rich, this time, I hit it with the aforementioned basic rub, and onto the BGE running closer to 285F to 295F. These two tri-tips were to be cooked for an hour or so.

Wagyu marbling-obvious

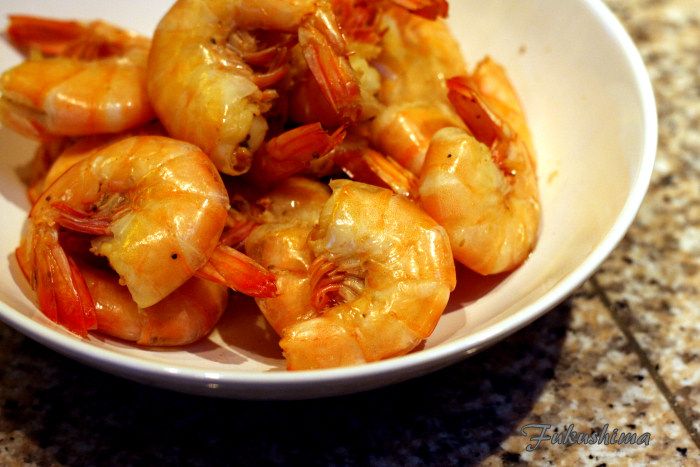
Oh, there were snacks too, some wild caught prawns, which we gave the Zatarain's boil treatment...

Snacks for the cook

Okay, back to the tri-tips, onto the BGE and cooking along...

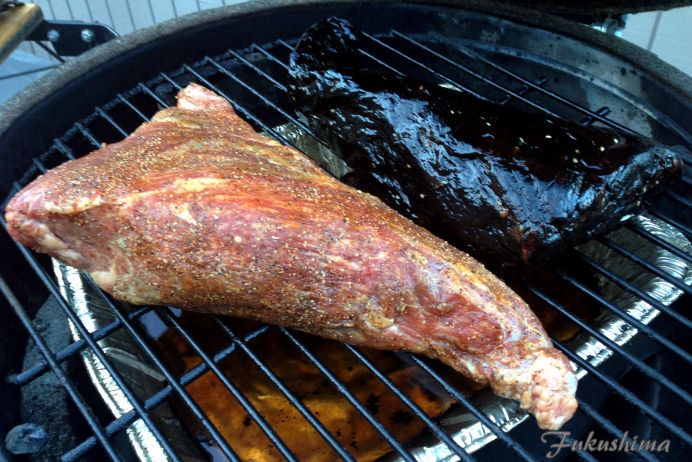
You can see that black tri-tip

That is not a shadow or weird exposure, that is a jet black and shiny tri-tip. In any event, things got cooked, these were slow cooked at 300F, until 128F internal, then the BGE was setup for direct grilling, my fingers were burned a bit, all things went along fine here.

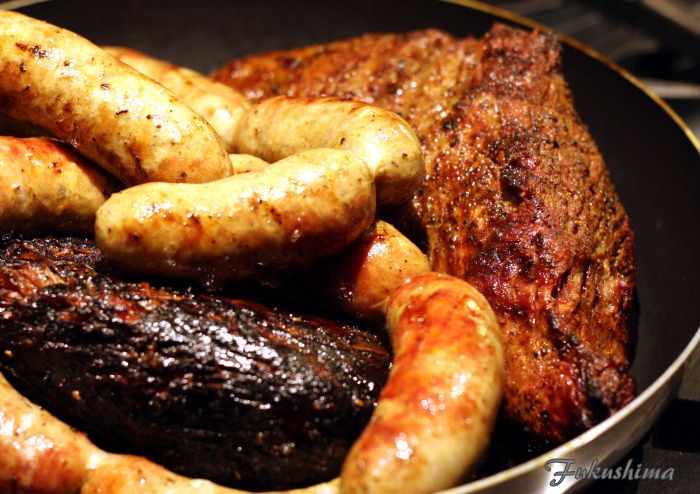
Pan O' Meat

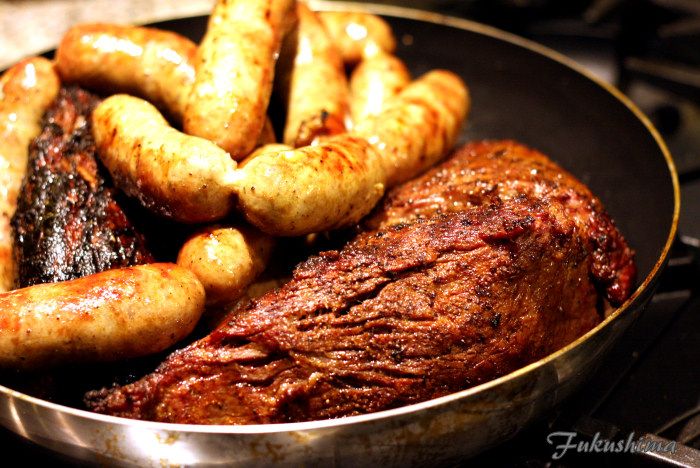
Pan O' Meat again

You can see the texture of the meat here, with Wagyu, I have found that the lean parts barely hold together when the cooking is done. These were reverse seared, which I don't do very often, but, working with the cooker I have, and the expectations, reverse sear was the best option. I prefer a slow, direct fired, method of cooking for tri-tips, which gives me the best texture and appearance, but, that is a different story. The short ribs had rested for over an hour, these meats were given a 30 minutes rest as well.

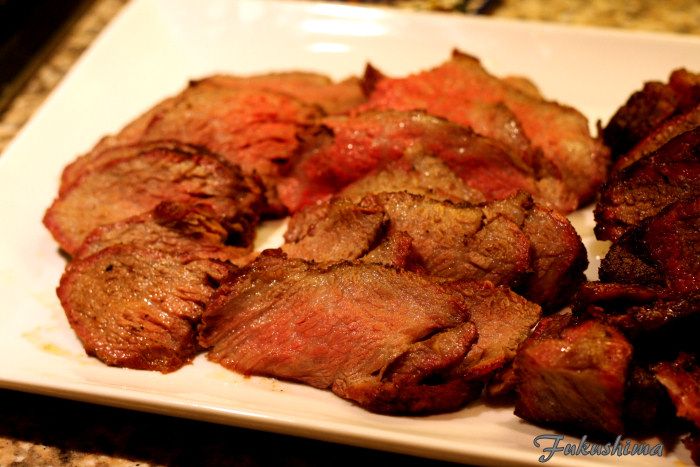
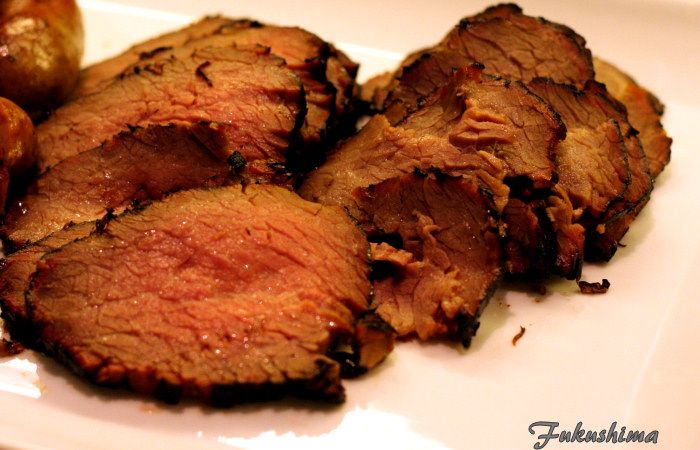
Wagyu Tri-tip

Black Jack Tri-tip

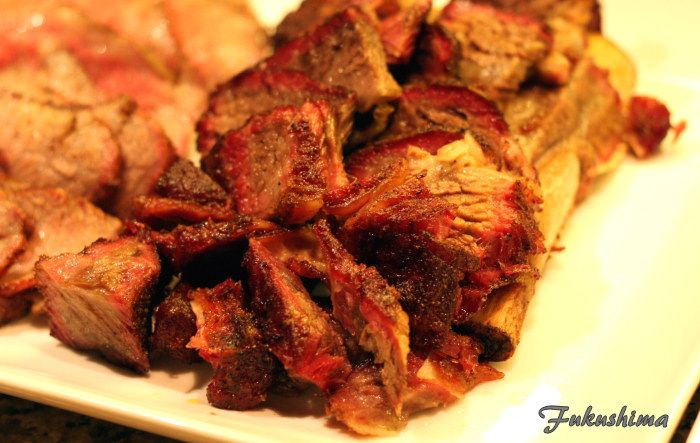
Short-ribs

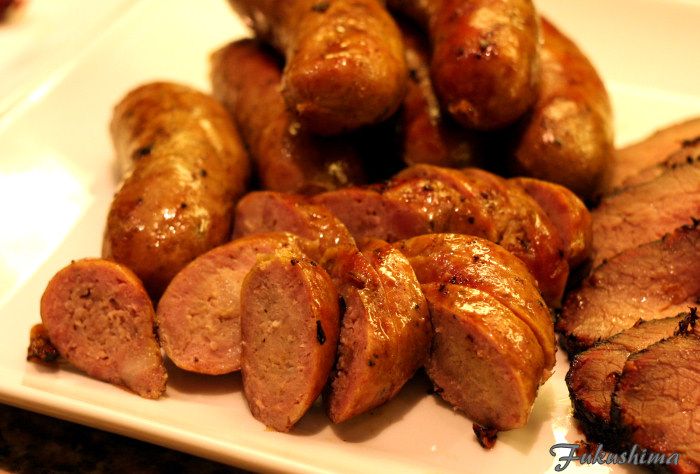
Pork sausages

Even though the Wagyu tri-tip looks pretty lean, it is deceptive, that meat is so tender texture, almost melting on the tongue. Even the parts I cooked to medium (one member of our group does not eat rare meat) were tender to almost a falling apart level. The Black Jack had a great texture and a complex flavor, similar to Hoisin sauce, it is one of the very best marinaded tri-tips I have ever had. The short ribs were perfect, flat out, as good as that cut of meat can be. The sausage was also a winner, despite an almost too mild flavor, the smoke and texture held the day, they were even better with a little mustard. Overall, the meats were nailed. The salad and vegetables were incredible as well.

We won't mention the Radish Tsukemono.

Homemade Sausage, Attempt One

One of my favorite foods in sausage, in all of it's permutations. And over the years, I have always thought I was going to try making it. I even went so far as to start collecting equipment along the way, that would make the act of sausage making easier. And I have made my own bulk sausage many times, but, never the real deal, in a casing. An impulse purchase of some casing finally lead me to make the move.

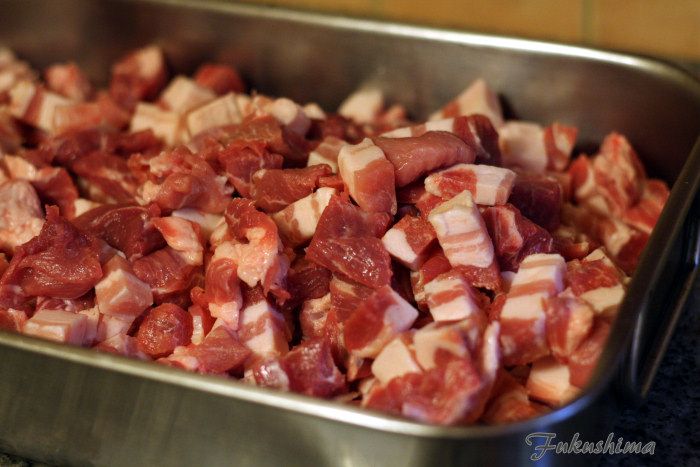
I started with the aforementioned purchase of some dry cured hog casings, which would yield a nice medium sized dinner sausage. From there, I decided to go with a simple pork sausage recipe, why get fancy when everything else was going to be a learning experience. So, some pork shoulder (3 pounds), some pork belly (1.5 pounds) and some spices. The meat was nearly frozen and then cut into small cubes.

Very cold cubes of meat

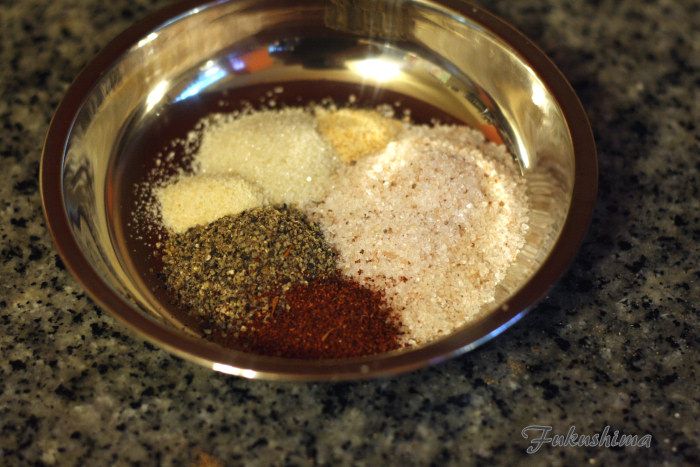
Spice mix

2 tablespoons medium grind black pepper
3.5 tablespoons kosher salt
1.5 teaspoon fine sugar
1 teaspoon New Mexico chile powder
1/2 teaspoon each granulated garlic and onion

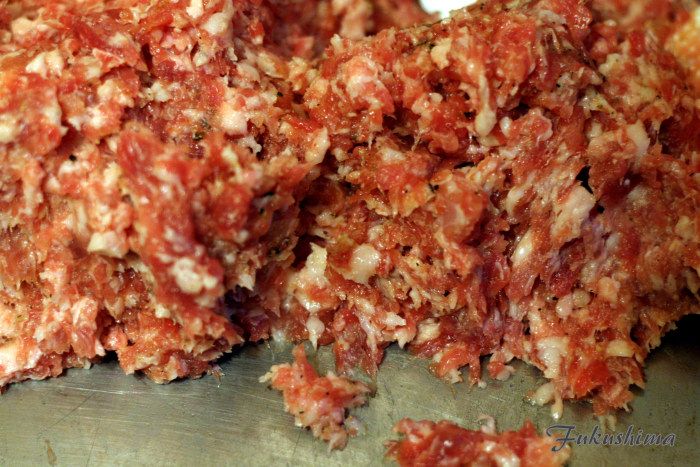
The spices were dissolved in 1/8 cup warm water and 1/8 cup bourbon and allowed to bloom for one hour. That was the amount of time it took for me to grind the meat and cool it again in the freezer. Here is the grind just before stuffing. Up to this point, this was pretty familiar, the process of making a mild bulk sausage. Normally, I would have gone with a lot more seasoning, but, since I was going into casings, I went light, just in case.

Bulk sausage

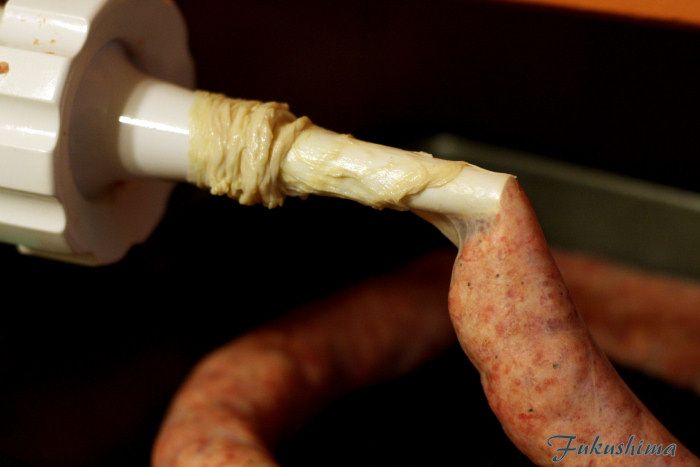
The casings were soaked in warm water, 4 rinses for an hour, that was done before I even started with the meat. Just made sense to get out in front of that process. The KitchenAid was setup for stuffing sausage casings. I have owned the stuffing horn tool for years, they are still brand new. In any event, off we went, stuffing meat into pig guts.

Not the prettiest thing

It turns out, getting the casing into place was the hardest part of the process, it just took more time and patience than I expected. I now see why some people pay extra for pre-stretched casings. In any event, stuffing went smoothly, if slowly and somewhat unevenly. Some quick smoothing and the whole thing looked like I had an idea of what I was doing.

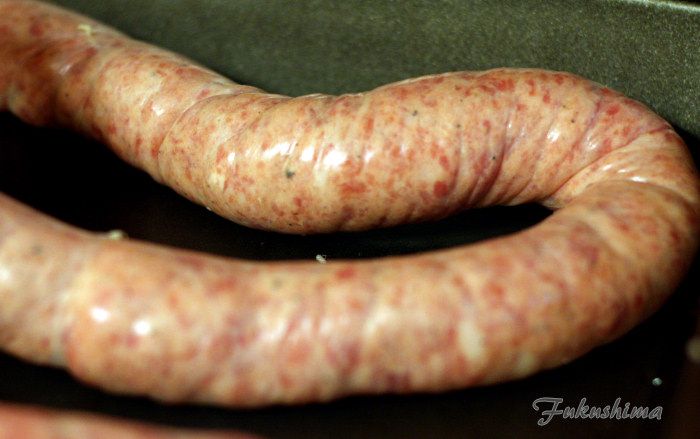
Texture looks okay

The texture looked okay, but, next time, I am going to split the total amount of meat into smaller parts, and keep some in the freezer, to keep it colder. Once the force meat got at all warmer, it started to emulsify in an unsatisfactory manner. That was lesson one. Lesson two would be not to sweat the size, as long as you don't over stuff the casings, when you are linking, things even out nicely.

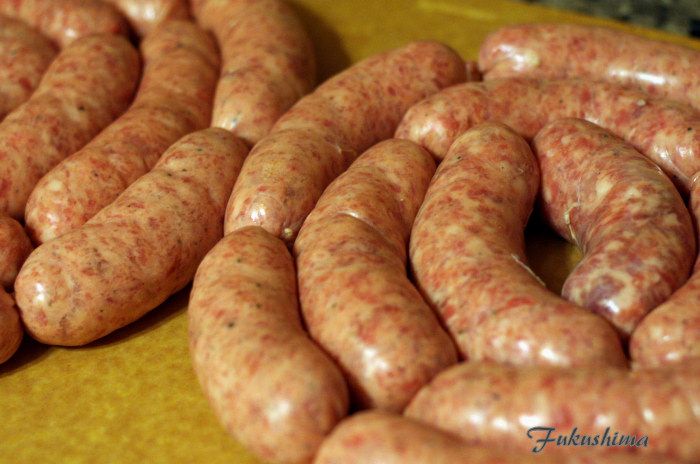
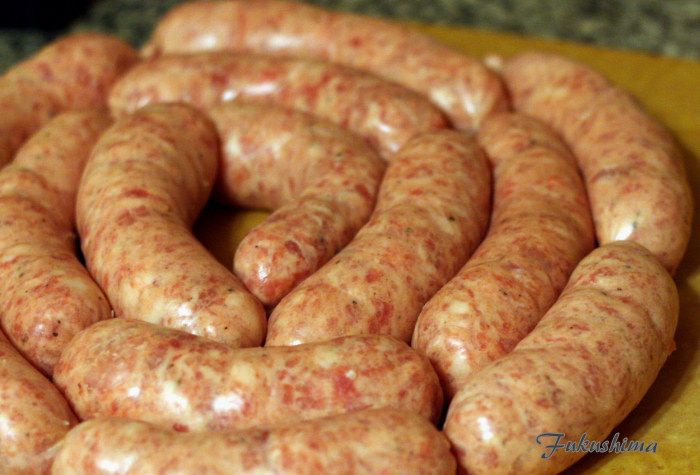
Coiled up and ready

From here, the linking went fine, I decided to store them in the coldest part of the fridge for the rest of the day, somewhere, I read that this leads to a better overall flavor in the sausage. I think this was as good a result as I could have expected for a first try.

Final Product

The final product was a nice, mild, sausage, with great texture. Lesson three would be that I could have easily doubled everything but the salt in the seasoning mix and it would have been fine. The flavor was so mild, the sausage had great texture and was just a little too mild. It had a fine pork base note, but, nothing to brighten up the flavor. These were poached, then smoke and grilled.  Very much a success and great first step.