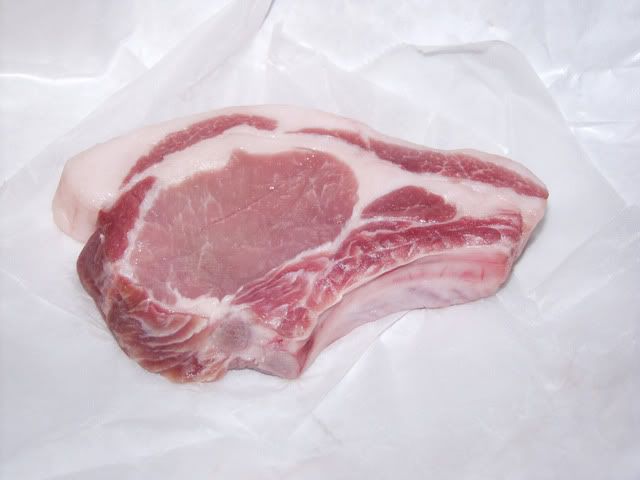
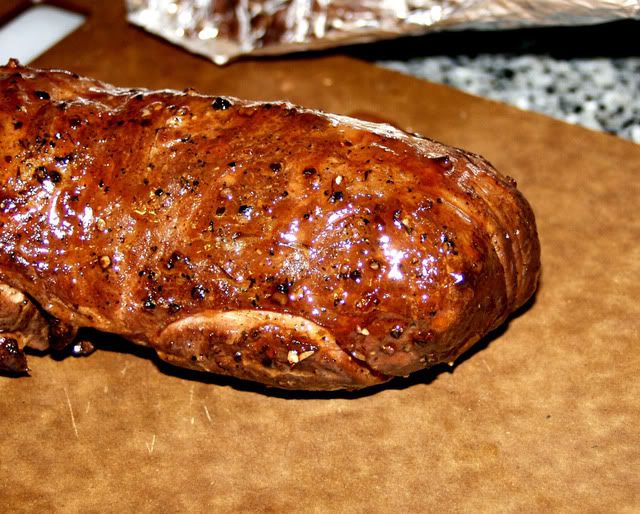
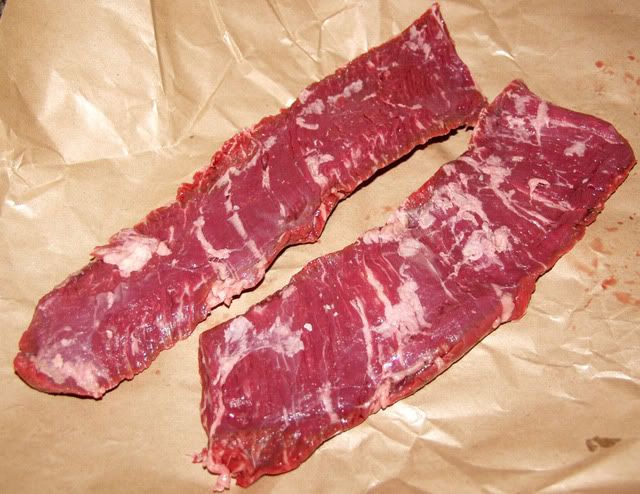
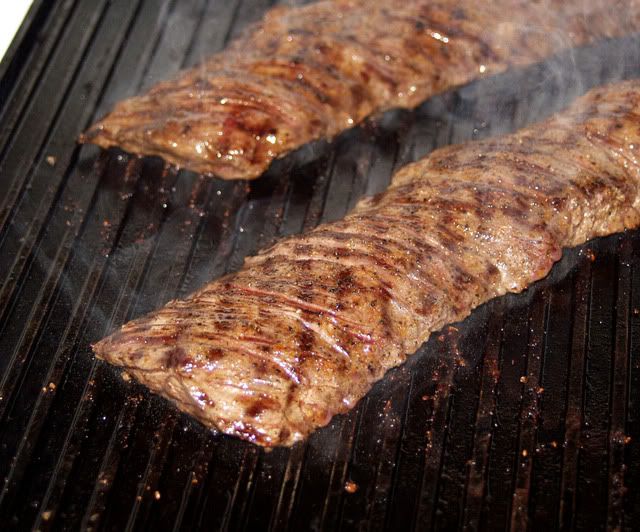
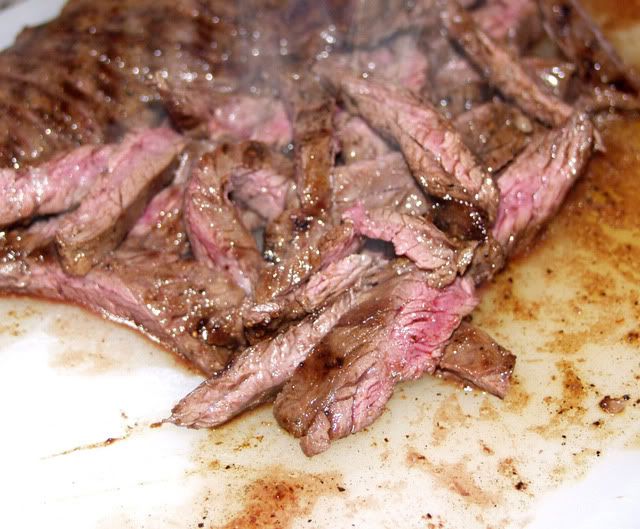
Well, there are words today. I found myself at The Fatted Calf in Napa, CA today and there they were, some incredible loin back chops. The Fatted Calf is, amongst many things, an artisanal butcher that offers very special cuts of pork from the heritage pig supplier. In this case, I selected a loin chop with the bone in and the fat back still attached. Here is the unadorned chop...
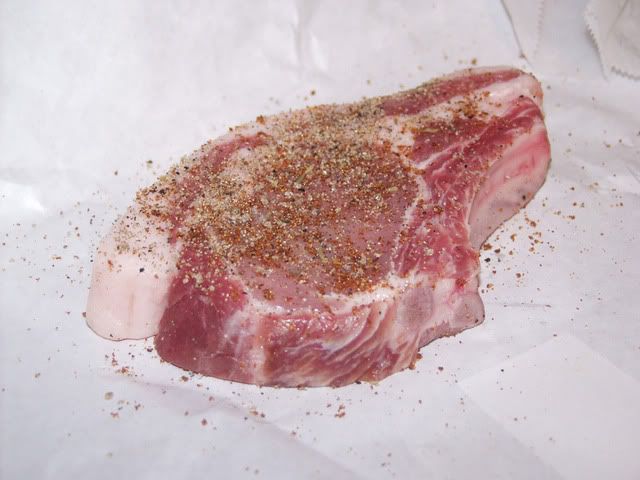
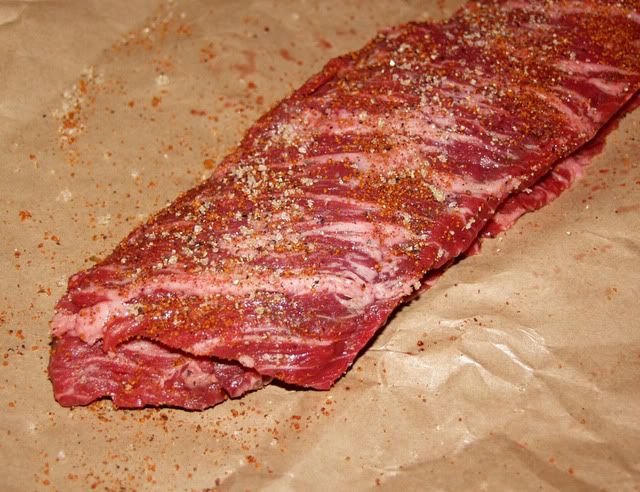
Note the pale pink color of the meat and the pure white of the fat. This is a very fresh cut of pork that is showing no signed of having sat around in a meat case. I decided the best way to pursue this was a simple rub and some time in the kettle. I used my top rub augmented with a small amount of Simply Marvelous Sweet and Spicy rub.
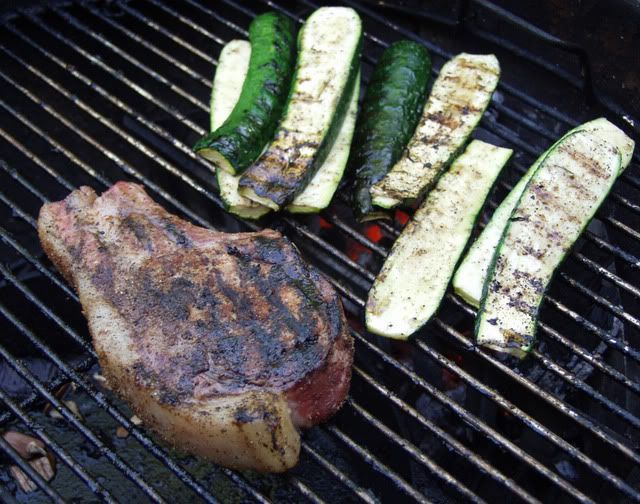
I did a light rub coating, I expected the pork taste would be excellent with this cut and did not want to over-dress the flavor with a strong spicy rub. I ran the kettle up to sear the meat and then moved the meat off of the direct heat and lidded the smoker to keep it humming along around 300F.
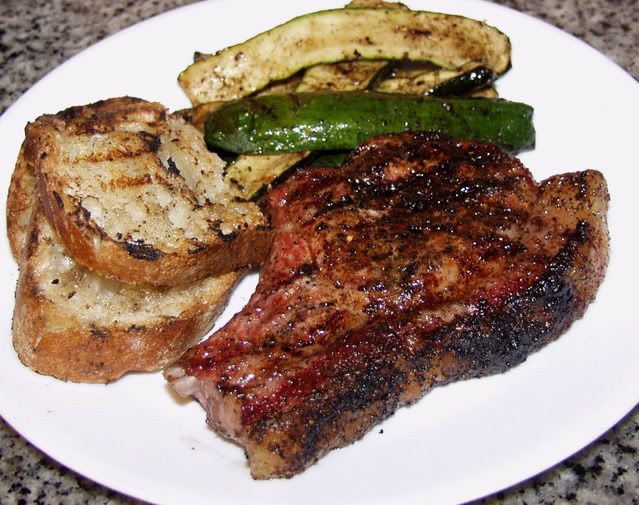
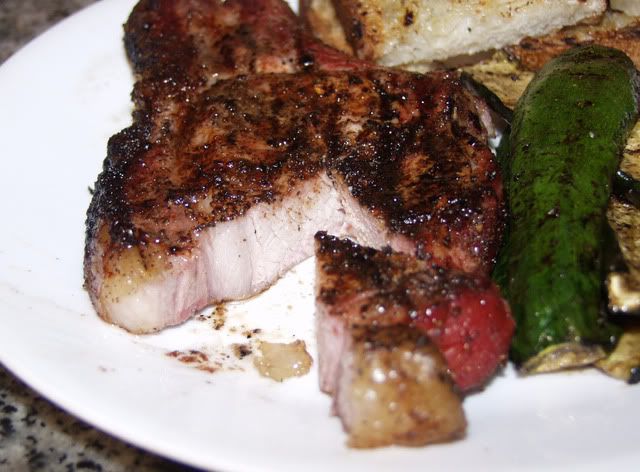
This was plated with the grilled zucchini which received a light coating of seasoned pepper/salt mix and was grilled until almost soft. I like my grilled vegetables to have a mild crunch.
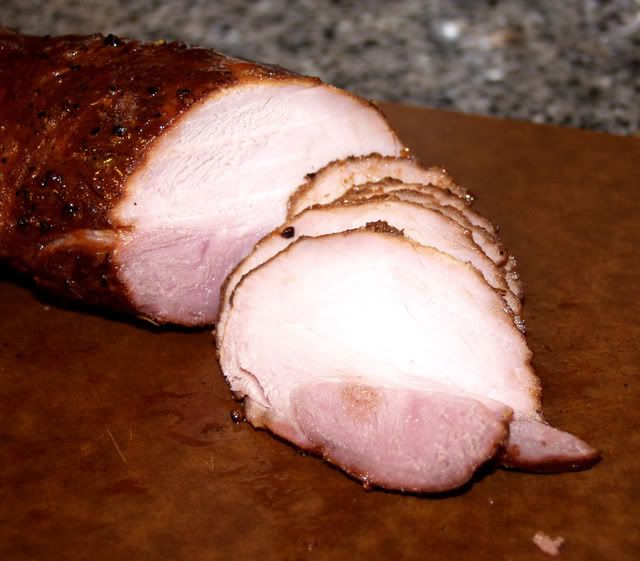
A couple slices of garlic bread and you have dinner in all it's pork chop glory. And here is the de riguer sliced detail shot.
It may not look like it, but, this was a very juicy cut with a distinct pork flavor. A beautiful chop simply prepared makes for a nice dinner.
Search This Blog
Wednesday, April 28, 2010
Saturday, April 24, 2010
Salt-free BBQ Rub
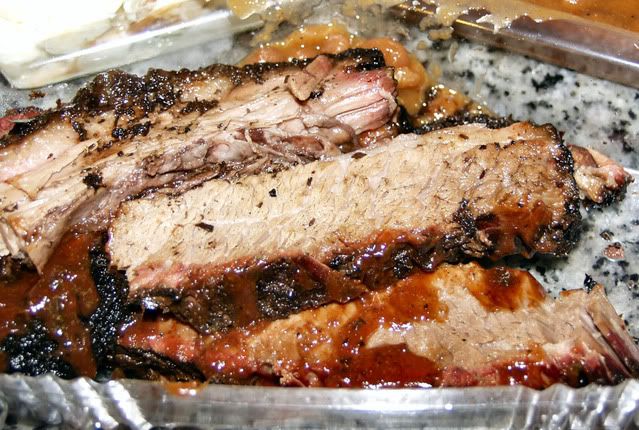
Just a quick post here, I have always been a believer that BBQ rubs requires salt. This is not so good with my efforts to limit my blood pressure. I have to say that while I just deny myself salt on some meals to allow it for other meals, Charlotte Gonzalez of Phat Matt's BBQ took a different tack. To take better care of herself, she set about to create a rub that does not use salt. I find myself back at the Phat Matt's counter all too often buying thier brisket. Here is why...
Look at that bark and flavor on the surface of that meat. If you can't tell by the photo's, I will tell you this was some 'Texas-style' tender brisket with juice running out of the meat as well. By 'Texas-style' I mean that is tender to the tooth, yet, holds together when sliced and has a slight snap when bent. Good stuff and lower in salt than traditional BBQ brisket by far.
Look at that bark and flavor on the surface of that meat. If you can't tell by the photo's, I will tell you this was some 'Texas-style' tender brisket with juice running out of the meat as well. By 'Texas-style' I mean that is tender to the tooth, yet, holds together when sliced and has a slight snap when bent. Good stuff and lower in salt than traditional BBQ brisket by far.
Friday, April 23, 2010
Chicken with Ginger Garlic oil
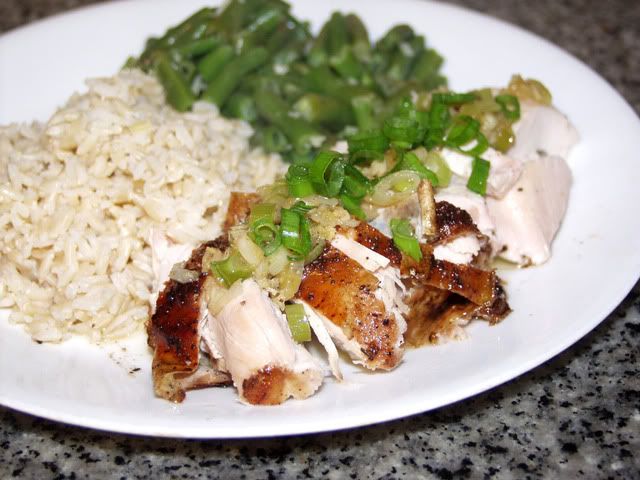
In my continuing idea of fusing the flavors of my American and Japanese heritages, I present this dish. It leans on a traditional combination of Japanese and Chinese flavors and techniques with my preference for putting everything in the kettle for cooking. So, I present in full title, Applewood Smoked Chicken with a Ginger, Garlic and Scallion sauce with brown basmati rice and garlic dry fried beans.
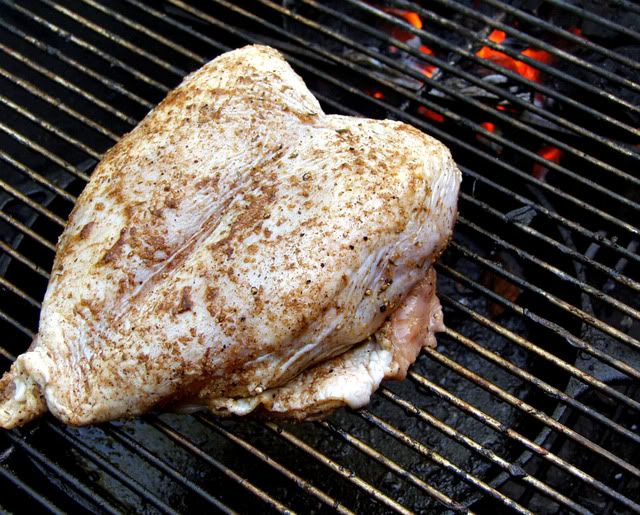
I started with a organic, cage free chicken breast (this matters as it is larger than a normal pen-raised factory chicken) which was split and rubbed with an Chinese inspired rub. This was wrapped tightly and placed to rest and come to room temperature. A fire was started and allowed to come to 350F with two small chunks of apple wood, total size about the size of a man's fist. Here is the chicken on the grate.
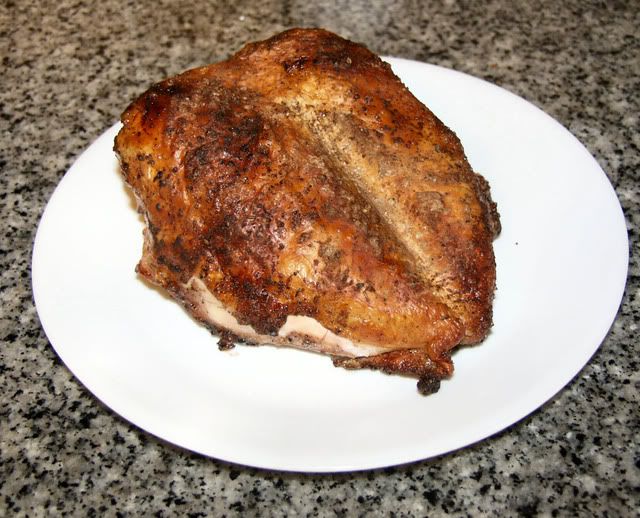
In about an hour, the chicken was ready. I do not turn or adjust the chicken during cooking, I make sure to place the thickest part of the chicken towards the fire and let the kettle do it's thing. This is the result I got, my goal always is to get the chicken just done.
I removed a breast and sliced it, in this instance I wanted the skin crispy, so when slicing, I turn the skin down and slice through the breast and skin with a sharp-thin bladed knife. I used less than one-half of a breast for dinner, it was plenty due to the size of the breast. I find that to my taste, the organic cage-free (a misnomer for sure) chicken breast is easier to cook correctly and tastes better as well. I then made an infused oil using thin sliced scallions (white part only), fresh ginger and fresh garlic and a little secret pepper sauce. This was brought to a high heat and poured over the chicken after plating. Here it is with some brown basmati rice and green beans with garlic.
This was some good stuff, the chicken was cooked perfectly moist and the oil was intensely flavorful and savory. The beans and rice made this an incredible dinner.
Ginger-Scallion Oil:
3 medium scallions, cut into 1/8" thick slices, white and light green parts only
4 medium to large cloves garlic, finely minced
2" long piece of ginger root, scraped and sliced about twice thickness of quarter
1 cup oil, I use canola or canola and peanut oil
1/2 teaspoon hot sauce or 1 finely sliced red chile de arbol or green serrano
1. Prepare all vegetables, keep separate.
2. In small sauce pan heat oil until hot, reduce heat to medium-low. Do not burn oil.
3. Add ginger slices and cook until soft. Remove and reserve.
4. Add green onions and garlic and cook in oil, should bubble vigorously at first.
5. If using peppers, add pepper slices and then press ginger in a garlic press into oil.
6. Add hot sauce at this point.
7. Remove from heat and spoon over chicken, the oil should he about half oil and half vegetables.
Wednesday, April 14, 2010
Tuesday, April 13, 2010
Chile Verde
I decided to take a stab at making chile verde on the kettle tonight. This would include some ranch beans to use up my failed pork sirloin (I assume there is no need to link to that failure).
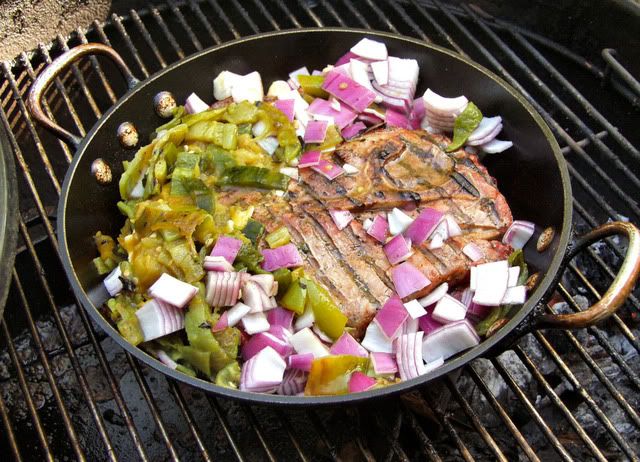
The meat would be pork blade steaks, rubbed with a simple chile powder/lime powder and Bob's Top Rub blend. These were placed onto the grill after the peppers were roasted. The steaks were allowed to smoke at 250F for 2 hours.
After 2 hours, the meat was starting to get a nice color and showing some signs of break down of the connective tissue. It was panned and the chopped up roasted peppers, some additional Hatch peppers, red onions and garlic were tossed in to sweat with the meat on the kettle.
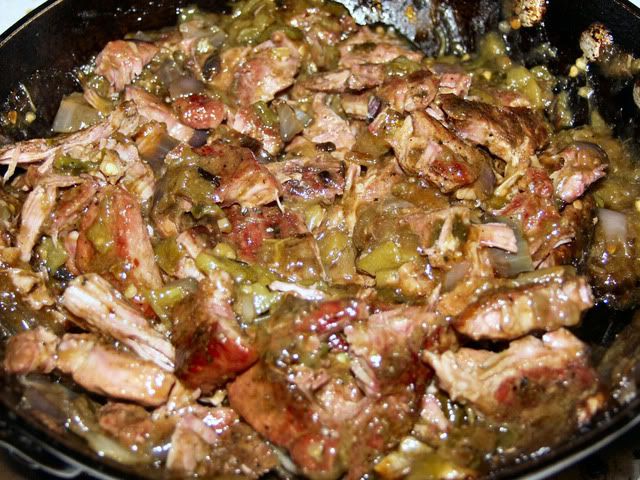
This was allowed to sweat down and begin to release some of the juices of the vegetables. Some green chile enchilada sauce was added to bring into play some more moisture to aid in breaking down the connective tissues. Another hour at 250F and this is where we end up.
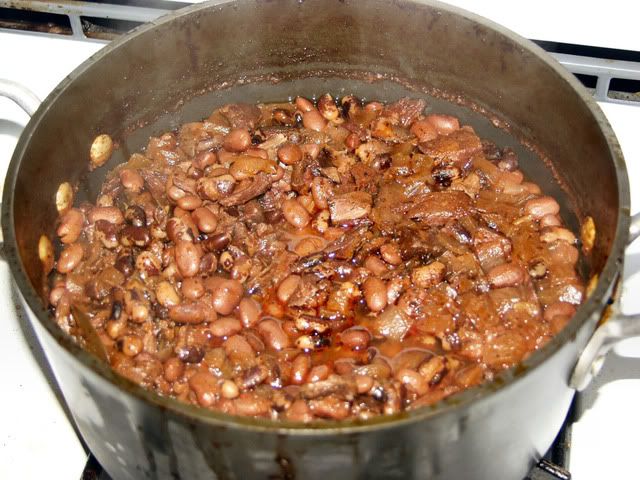
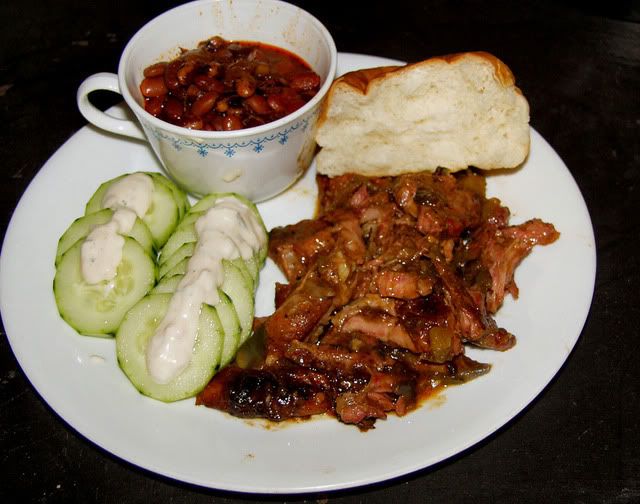
Add to this some ranch beans made with some Rancho Gordo Vaquero and Pinto beans along with some onion, garlic, spices and the failed incredibly salty pork sirloin, which worked great in place of a ham hock.
And then there is the finished plate, along with some cucumbers with yogurt herb sauce to help provide a cooling element to the dish. This was some good stuff.
This would have been really good with some beer...I mean cerveza.
Monday, April 12, 2010
Burger Time
Tonight's dinner, burger and fries, but, not just any burger and fries. In tribute to my friend at The BBQ Grail, I made a MOINK burger. Yes, a burger that basically follows the rules of MOINK. For those who do not know what the heck I am talking about...
International MOINK Ball Appreciation Society
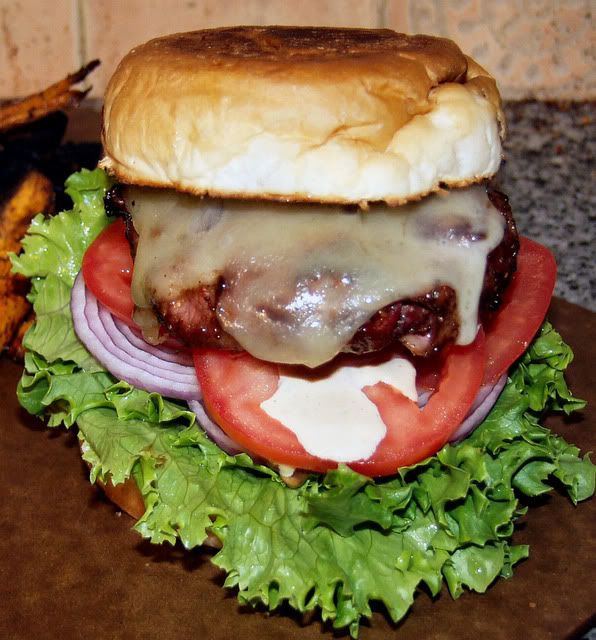
But, back to my burger, that guy gets enough coverage already. Here is the end product, yes, I am going to work backwards, such a rebel...
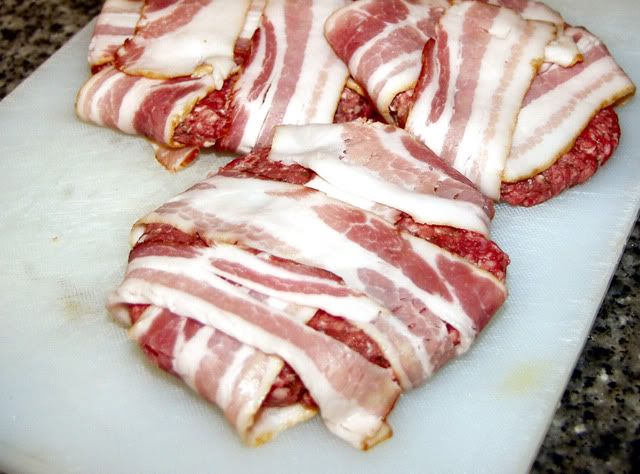
Yep, there it is, and more...I bought some Pacific Prairie grass fed and finished beef from a ranch up near Hydesville, CA. This was extra lean ground beef, somewhere around 93% lean, but, not to worry, as I added bacon. BACON!
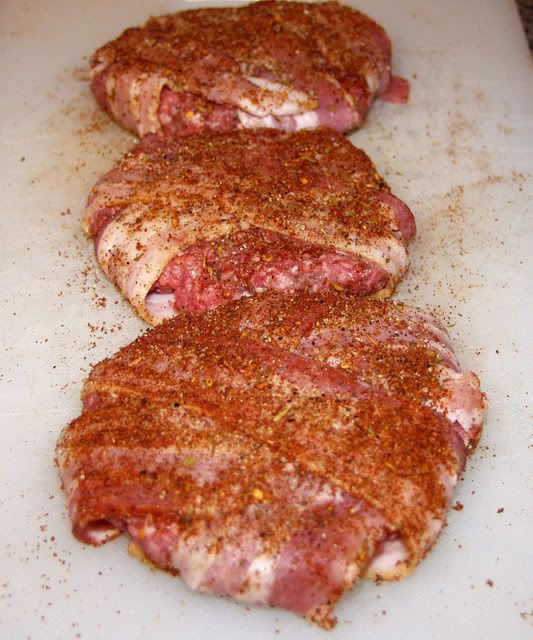
In this case I bought Applegate extra thin sliced bacon, uncured and tasty. I find the smoke on this bacon to be a little too subtle for breakfast, but, I am gonna fix that for this burger. I then added some rub, done in my now usual two layer method. This case it was a sweet and savory rub experiment made by another friend at Simply Marvelous BBQ. Then my usual medium grained top rub.
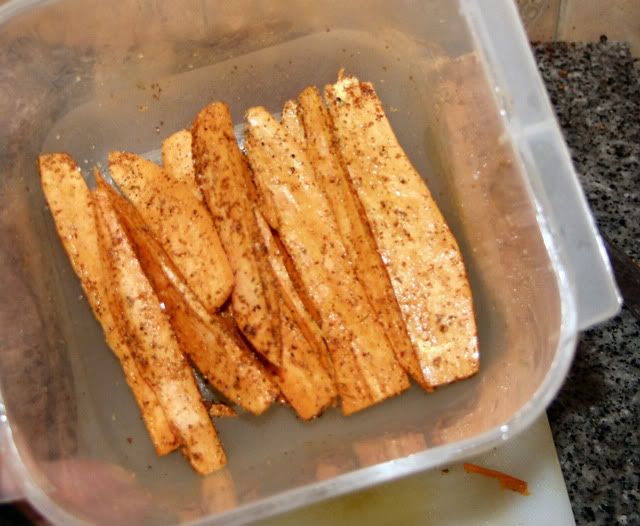
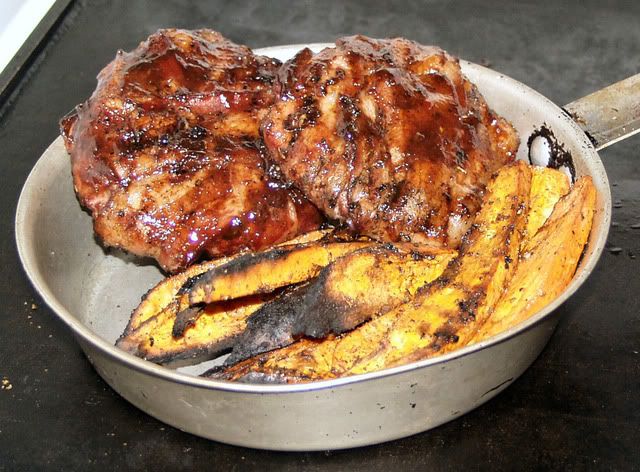
Don't those look good, well, onto the grill with some highly seasoned sweet potatoes, in this case one of those red skinned/orange fleshed ones. I just rub then with a little olive oil and then hit em with the rub.
Well, the whole thing hit the kettle which was smoking along with a load of oak lump charcoal and a couple of chunks of pecan. This ran at 250F for about 40 minutes, the MOINK burgers got hit with some sauce and allowed to cook until the sauce was set. Off the grill and ready for plating, except for one that got a cheese treatment, some white cheddar melted onto the burger. Here is a good look at the unadorned MOINK-like objects.
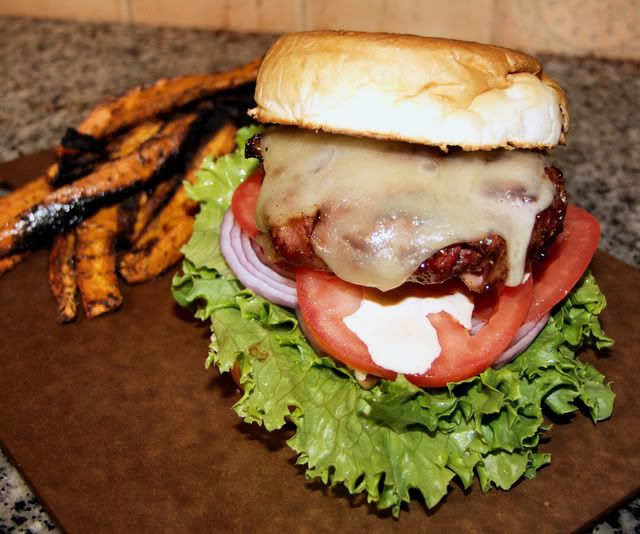
And finally the plating, burger built with the classic condiments and a sauce made from mayonnaise, dill relish and some soon to be marketed by yet another friend jalapeno-garlic sweet and spicy sauce.
And enough of that, what a long post.
Friday, April 9, 2010
Pork Sirloin FAIL
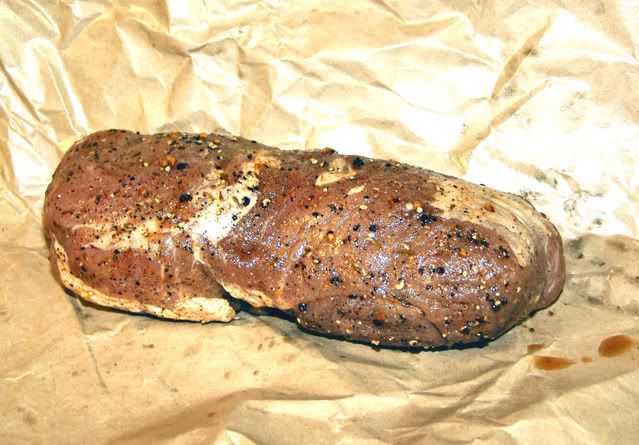
Well, all does not always work out for the best. I tried an experiment in which I brined a pork sirloin that seemed to call to me. It was a Beeler's Pork sirloin, a provider and cut that I am very familiar with. I brined it with a heavy dry rub process that pulls moisture out of the meat and allows it to brine in it's own juices. This has worked well before also. Not so good this time, way too salty and inexplicably dry. Here it is, out of the brine and ready for the smoke.
Here is the same hunk after 1 hour on the smoker, at 250F, over charcoal and oak smoking chunks. One of the other issues was the selection of oak and the strength of the oak. It was just too strong for this cut of meat. It sure looks good doesn't it.
And here it is sliced, it really looks this good, really a nicely done piece of severely over salted and over smoked piece of meat. Oh well, I like Chinese take-out. There is something particularly sad about a great looking cut of meat that tastes bad.
I don't really know, other than the oak, what went wrong. I doubt I will repeat brining a sirloin with a dry rub like this again, it really tastes awful.
Tuesday, April 6, 2010
Strip Steak...not BBQ
I bought a nice strip steak and it was destined for the grill. I had plans for a really hot kettle meeting a nice spicy strip steak. But, by the time I got done with taxes, I ended up not feeling up to going out in the cold and firing up the kettle. I know, weak excuse, but, there it is. On to the meat!
Pacific Pastures strip steak, a lovely pasture grass finished piece of beef.
Treated with a sprinkling of Plowboy's Bovine Bold and then a topping of my medium grained top rub.
Then out on the very hot grill pan for a few minutes per side.
Then the strip was sliced on the bias and across the grain to create a nice tender pile of beef. While not cooked over live fire, this was a good quick meal. Served over a pile of brown Basmati rice and some salsa.
Subscribe to:
Comments (Atom)

