
The ribs ended up being the extra meaty ones, which I actually dislike, and then they were pricey, as the local grocery store didn't have the pork I like, so off to the butcher counter. Now I was spending more time and money than planned. Oh well...made up this stuff.
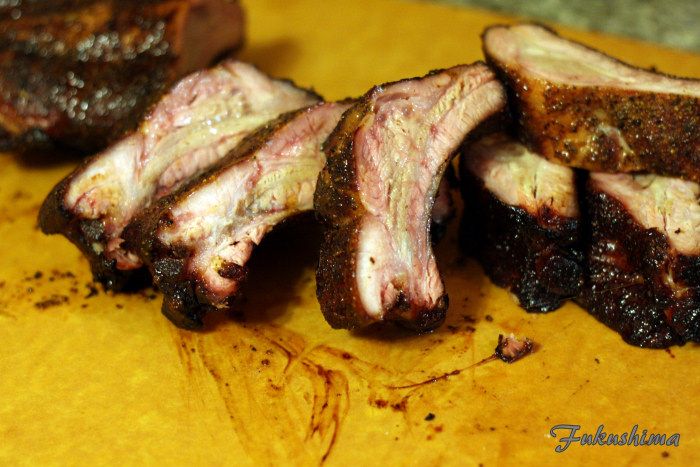
Ready for eating
The Rub: (total 1/3 cup)
3 parts kosher salt (I use Redmond Real Kosher Salt)
2 parts medium grind black pepper (Tellicherry from Oakland Spice Shop)
1-1/2 parts Maple sugar
1/2 part smoked Spanish paprika
1/4 part ground nutmeg
The Injection:
1/4 cup apple juice
1/4 cup white wine vinegar
3 tablespoons Red Boat fish sauce (brand matters, no MSG, no sugar, no wheat)
2 tablespoons of Yuzu hot sauce
1/2 teaspoon of the above rub
Combine all ingredients, load into injector
Pig Honey:
1/2 cup water
1/2 cup apple juice
4 tablespoons Red Boat fish sauce (brand matters, no MSG, no sugar, no wheat)
1/4 cup maple syrup
Heat all ingredients to combine, do not boil.
First off, I used a typical injector and injected each of the spaces between the ribs, as well as the top part of the extra thick ribs. You could see the meat plump with the liquid. The membrane was left on for this part of the cook. I wrapped the ribs up and let them sit for an hour in the fridge. Then they were removed and sat on the counter for a few minutes.
Step two of the process was to strip the membrane, I feel this makes for better bite through once the cooking is done. I apply the rub using a shaker bottle, trying to get a fairly even coating, although it doesn't matter all that much. I do manage to get it around all sides of the meat. I let it sit while I fire up the cooker.

Injected, Rubbed, Ready
The UDS was fired, largely because I hadn't used it in a while. I loaded about half the basket with charcoal and chunks of apple wood. Set it on fire and let it ride up to 215F. Got the light, sweet, smoke I wanted, so put the ribs on and left two of the vents open. The UDS rode up to 300F and settled in, so I left the vents set and went about with doing other things. After 4 hours, I hit it with a dribble of the Pig Honey, and then again an hour later. By now, the cooker was almost out of fuel, temperatures were down around 225F, and the ribs were just about done. Took them off between 5 and 6 hours in, tented in foil for 20 minutes. This looked promising.
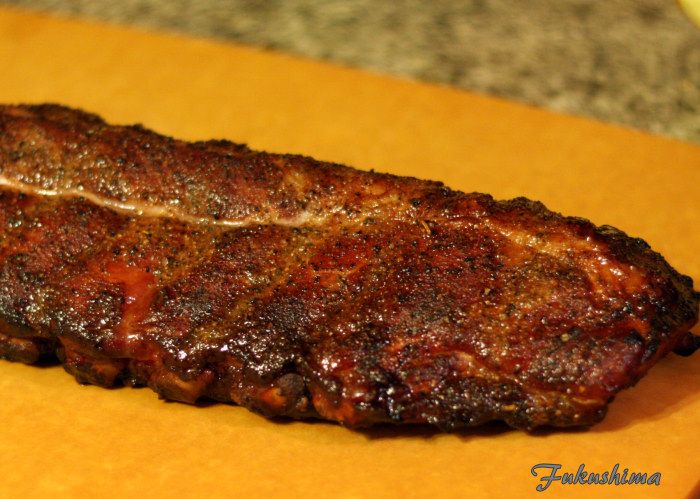
The ready to eat rack
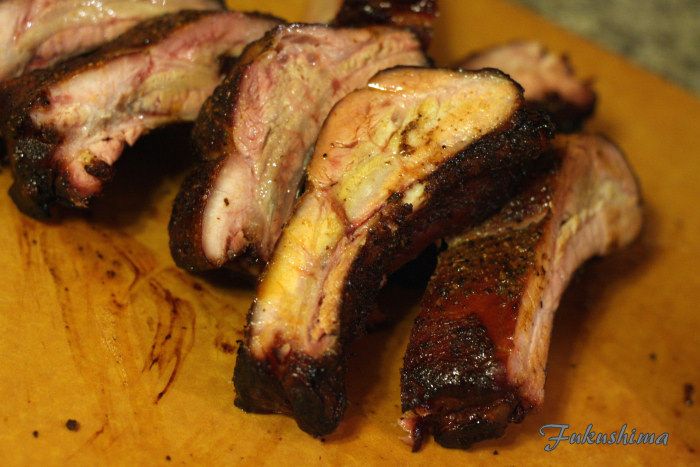
Sliced off a few bones, and was a little concerned about the texture, but, as I sliced more, things seemed to be alright. Very juicy and the knife slid right through.
Dinner
There was a slight smoke ring, the texture was terrific looking, there was a lot of juice and some fat, the yellow discoloration showing the fat that stayed in the meat. I find that this is common with the extra thick baby back ribs, there is a layer of fat in them, that renders and leaves that extra grease. It takes that extra hour to render them up right.
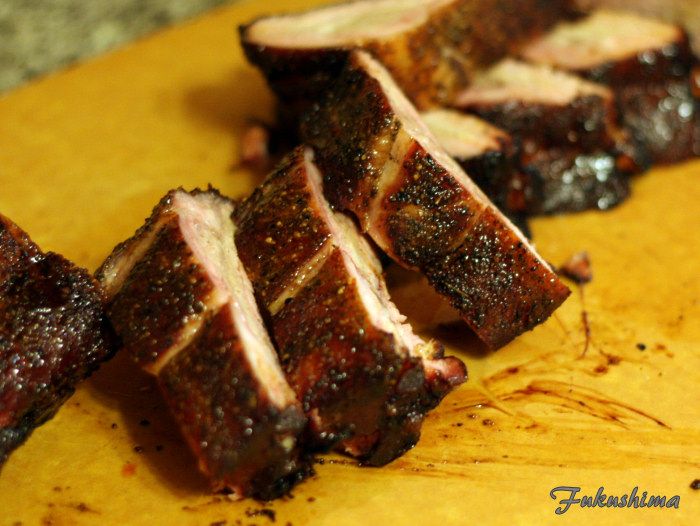
The Bark
I neither use, nor believe in the use of a slather. I have never seen the reason for it, as the rubs I use build up fine without it. This rack had beautiful color and the bark was just crisp, but, broke with just a slight bite. Texture of the meat was tender, with a little pull when you bit into it, but, leaving a clean bone. Once off the bone, the meat had great texture. And there was loads of juice. I need to try this with spares, as I was really happy with the cook.
I'm with you, I find the fatter loin back ribs difficult to cook. If I cook it so the fat end is perfectly cooked, the thinner end is overcooked. If I cook the thin end right, the fat end has unrendered fat and chewy. That's one point for spares but I like the flavor of loin back ribs.
ReplyDelete