Search This Blog

Friday, September 12, 2014

Smoked Beef Plate Ribs

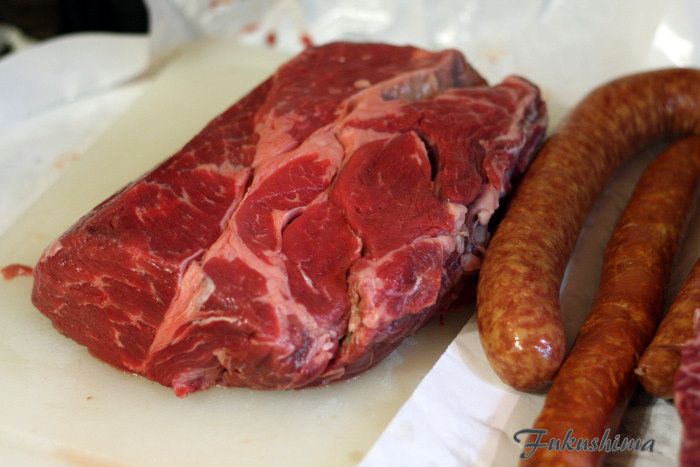
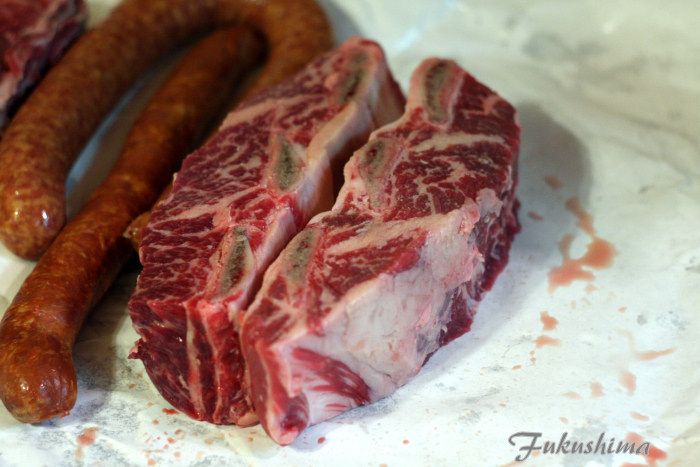
One of the things I have wanted to try my hand at cooking for rather a long whole, was a whole beef plate rib section. This is perhaps the most visceral of meat cuts off of the steer, often sectioned into short ribs, or chuck ribs, I don't often see them as a rack. I finally got the chance, as my frequent cooking partner in crime and I got away, largely to do some work on a rental property of his, in Lake Tahoe. Prior to leaving, Rob managed to secure a dry aged, Angus, three bone rack of plate ribs for us to cook. We would cook this on his BGE, which is a great cooker for the altitude at Lake Tahoe. We ended up using lump, two medium sized chunks of white oak, running at 275°F for the first 3 hours, and then bumping to 300°F for the last 2 hours and change.

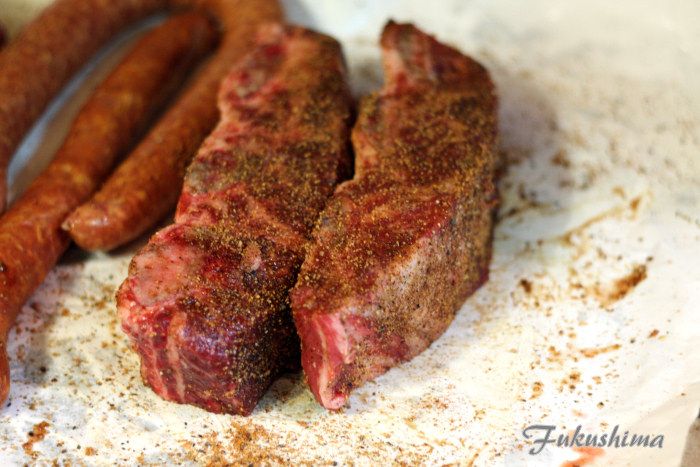
The rack, unadorned, was well trimmed, and required little more from me that unwrapping from the paper. I decided to use a commercial rub, Ted and Barney's H3, with some added black pepper and a small amount of smoked Spanish paprika.

Nice Rack

Rubbed and Ready

From here, it was onto the cooker, not a whole lot more to do, than sit and wait. Or go build a bunk bed and sort of do what I was supposed to be doing.

About halfway

The reason for the split temperature was just to get a little more smoke around the meat before getting the meat cooked. I find that if I go hot early in the cook, the smoke flavor and aroma is a lot more faint. There was no hurry, sitting on the deck, about the only worry was calling in a bear or something.

Yup!

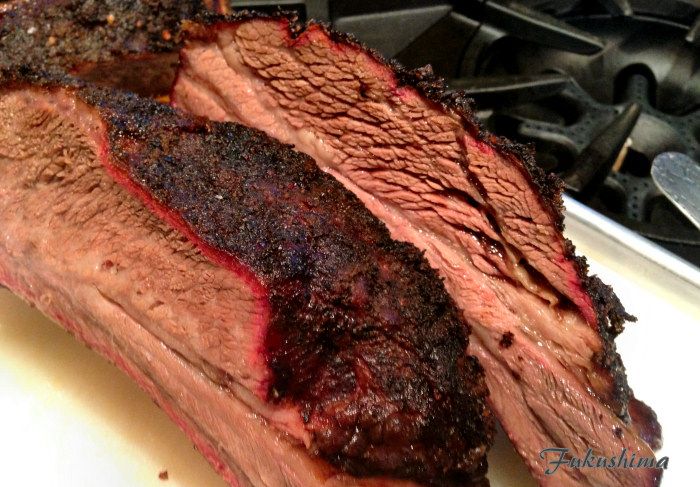
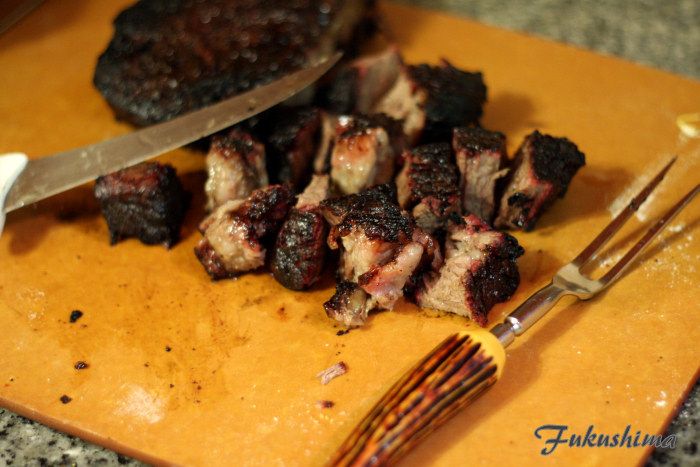
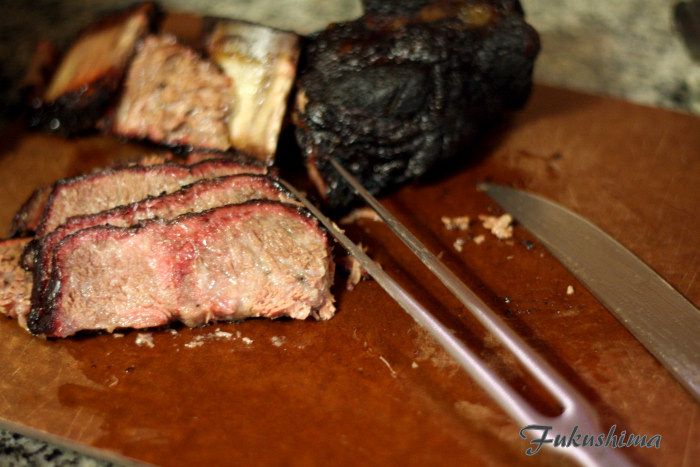
Well, that looks about done, check it with the thermometer, I have no idea what temperature it was, it was tender and the thermometer slid right in. Time to wrap and let it rest for a couple of hours.

Done, look at at that smoke ring

Some vegetables were harmed in the making of this dinner.


If you need captions to understand those photos, I just don't know about you. In any event, dinner was served.

No Sauce!

Without a doubt, this is the way to cook chuck plate ribs, and the dry aged beef was outstanding. Yes, those are just simple Japanese quick cure pickles. A really nice complement to the rich and smoky beef.

Sunday, August 31, 2014

Shrimp and Grits, with a Cali twist

For some reason, I got to a place where grits were on my mind. Growing up in California, and in a Japanese-American community, grits were never on my mind, and to be honest, the first few times I tried them, they did not make any sense. Along the way, that changed, cheesy grits, and then shrimp & grits suddenly became a dish I could really enjoy. Herein, is my riff on that classic.

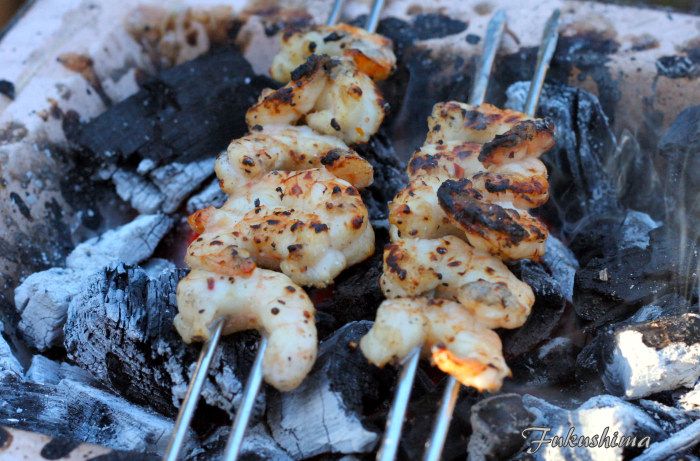
For starters, I marinaded the shrimp for 4 hours, the recipe was really just to get some seasoning on the shrimp for the grill.

Shrimp Marinade:
3 tablespoons Sudachi juice
2 tablespoon whiskey
1 tablespoon Kosher salt
1 tablespoon black pepper
pinch of sugar

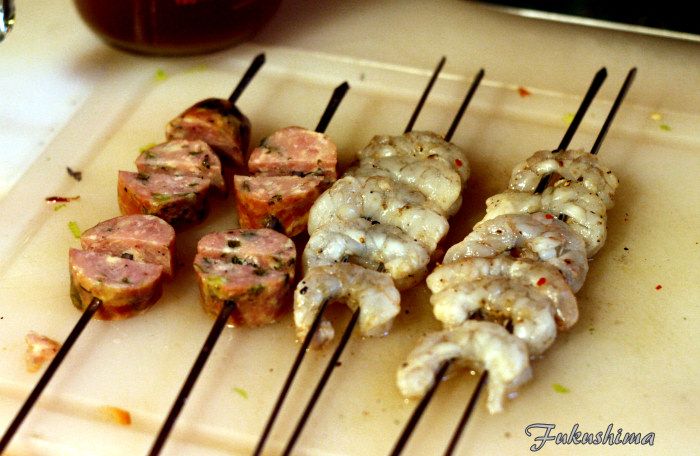
I just mixed it all up with 1/3 pound of shrimp. Later these would be skewered for cooking on the Konro. A word on that, what most folks call a Hibachi, is actually a device called a Konro, in it's original form, it is a ceramic cooker with metal grating. Skewers are either laid on the grate or directly over the charcoal. In one form or another, these exist all over Asia.

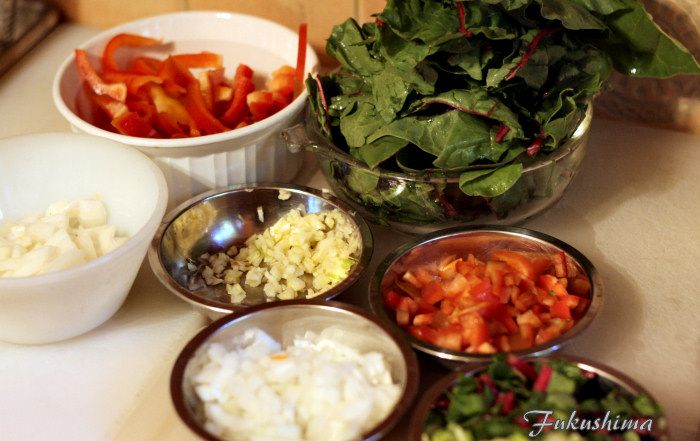
The Veggie Players


Back to the meal, I decided I wanted to have a complete meal, and that meant vegetables. I found some great Red Chard, so that was the play, a quick riff on what could really have been Collards. The red bell pepper just looked great and I needed some of it for my gravy. So, some onions, Chard and red bell pepper went for a ride in the wok. At the end, I adjusted with a pinch of salt, a teaspoon of white pepper and a splash of vinegar, I would guess about 1/2 cup. Want to keep it southern here.

Meat on sticks

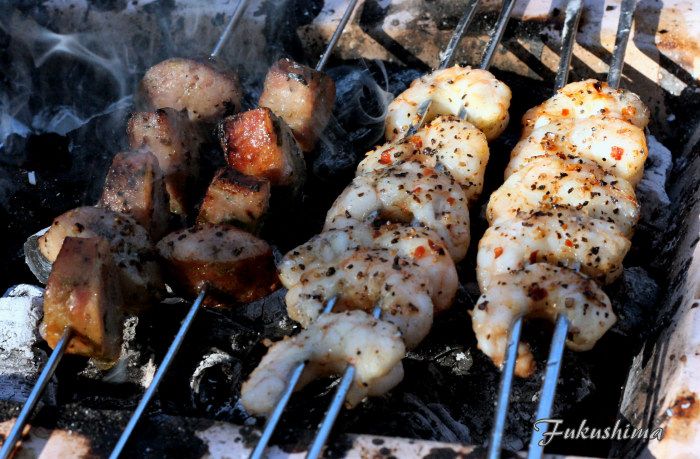
I also planned to make a roux, to support the gravy with the shrimp, that is what the finely diced onions, red bells, chard stems and some celery were going to go in to. But first, prepared the grits, kept them a little watery as they would tighten up while I did other things, had the Konro fired up, using basic hardwood lump. Once the grits were on stand-by, it was off to the grill. I skewered up the shrimp, some wild caught stuff I found, along with some chicken jalapeno sausage from Roundman's Sausage in Fort Bragg. Then it was all seasoned with a dose of Ted and Barney's H3 butchers rub. This is a spicy version of their salt and pepper rub. I find it adds a very nice piquant heat, I can imagine it doing very well in their home market of Humboldt County.

On the fire

A little color

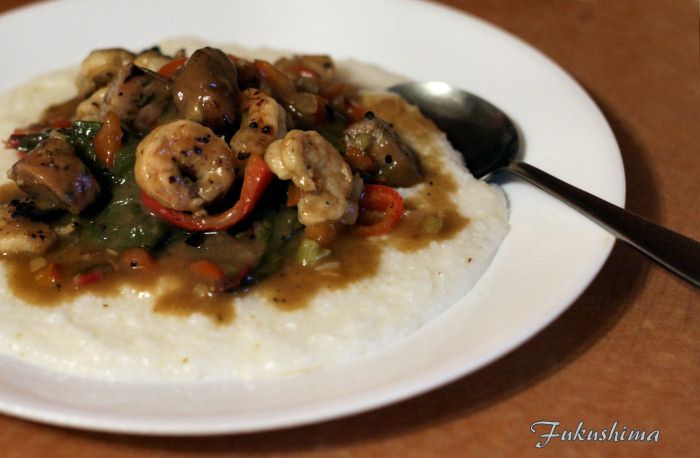
Once this was done, I built the roux, a basic affair of oil and flour cooked until a dark brick color was achieved, I didn't take it to the full gumbo stage, I wanted the lighter brown color and to retain some of the nuttiness of the toasted flour. Add in the veggies, then the meat, and then on top of the grits, which I reheated and seasoned up with some butter, white pepper and a touch of Kosher salt.

Almost...there...

Decided to forgo the parsley, didn't get that done. Plated the grits, then the chard and red bell peppers and finally the shrimp and sausage. The final touch...

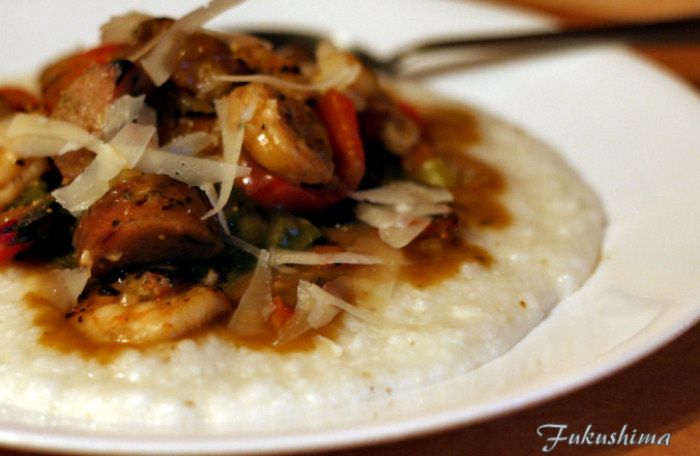
Cheese!

A few shavings of Parmesan cheese to round out the flavor and give it just a bit of that cheese aroma. I know that taking an Old South favorite and playing with it is not everyone's cup of tea, but, these grits are outstanding, hitting all kinds of flavors, while definitely hitting all of the traditional flavors as well.

Sunday, August 10, 2014

Boudin Sausage

I do love sausage, and it doesn't take much to get me wanting some. In this case, it was a thread about Boudin sausage on the BBQ Brethren that got me wanting some of this classic Louisiana pork and rice sausage. At one time a ubiquitous staple of any road trip or celebration in the Acadian areas of Louisiana, this sausage represents the height of a poor food economy, often made with liver, leftover rice and pork that has already been cooked, it was an ideal dish for using up food from previous meals. In it's most native version, it is an acquired taste, usually served boiled, and mostly consisting of rice, it was squeezed out of the casing, a  soft, screaming hot, liver-y road side meal for many travelers. 

Fresh off the smoker

Here is what I used for a recipe

 Bob's Boudin:


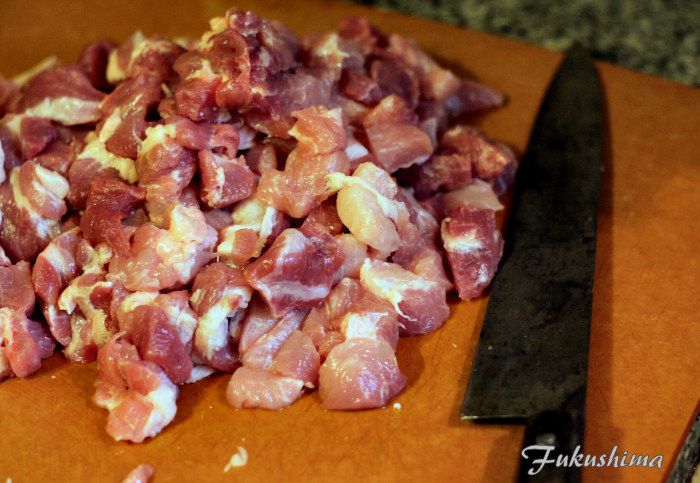
4 lb Pork Butt, trimmed and cut into 1" cubes
2 lb Pork Liver, cut into 1" cubes
1/2 Vidalia Onions, diced
4 stalks Celery, diced
1 red bell pepper, diced
6 Garlic Cloves, peeled and chopped
2 Jalapenos, seeded and diced
3 TBS Kosher Salt
1 TBS Black Pepper
1 TBS White Pepper
1 TBS Cayenne Pepper
1 TBS Chili Pepper

Also:
3 Cups Cooked Medium Grain Rice
1  Cup Italian Parsley, chopped
1  Cup Green Onions, chopped
Hog casings (32-36 mm)
 
Pork and Grandma's knife

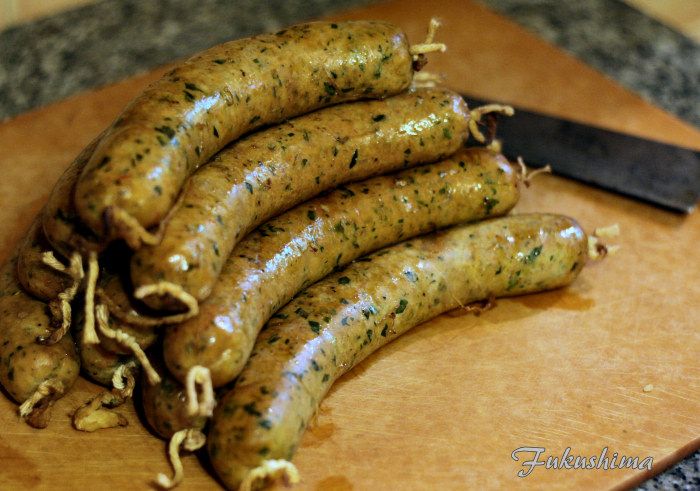
Note, that I did not find any liver handy, and I flat forgot to add the jalapeno.  In any event, I cubed up the pork, diced the veggies and added it all to a stock pot, with enough water to cover the entire thing about 1" under. I simmered this until the pork was tender to the touch, you want it to fall apart with a light pinch. Strain the stock, and save it, you will need it later. Grind up the pork, adjust the seasonings with the salt, pepper and chile powders. Since the filling is cooked, you can simply taste until you have the desired levels of salt and spice. 

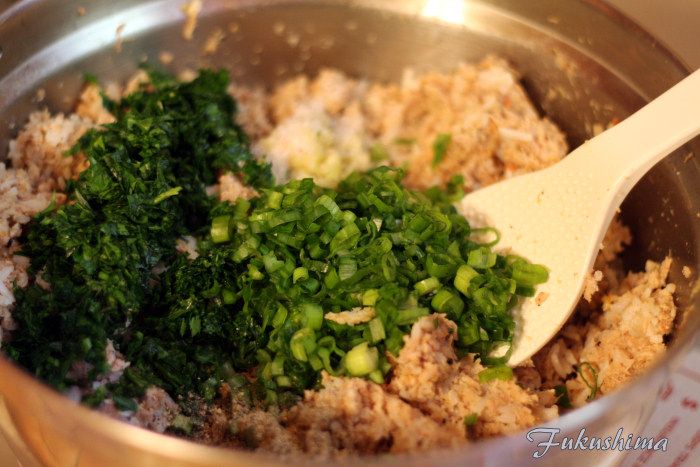
Stuff added

From there, add in the rice, which I moisten with the pork stock to get it to fall apart easier, also note that the aromatics are in there as well. Lightly blend the mixture, folding from the outside, the rice will turn to mush if you are too rough. I added additional pork stock as the rice absorbs it along the way.  The mixture ends up being quite soft, too soft to easily hold a ball shape. I opted to stuff the sausage into casings, it is often served fried into balls. I wanted to stick with the casings as I intended to smoke these.

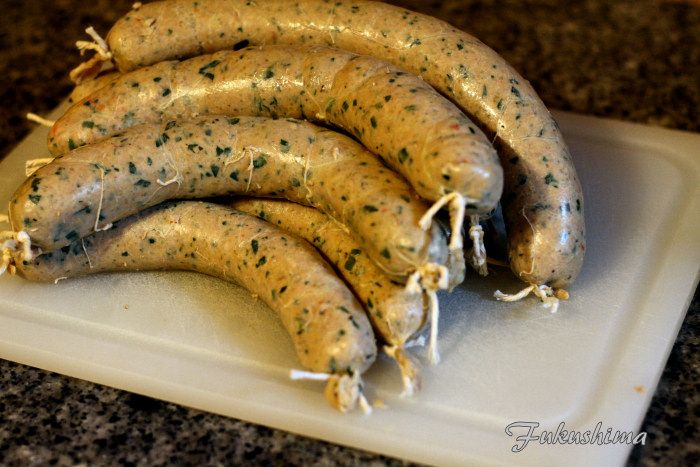
Raw and Ready

From thence, it was into the smoker, running at 225°F, with some pecan wood for flavor. The sausage was allowed to smoke until the casings became firm and the sausage was heated through, about an hour, give or take. Rested for 15 minutes, and ready to slice. Since these are already cooked, there will be less juice than what you might normally expect from a sausage.

Rested and Ready

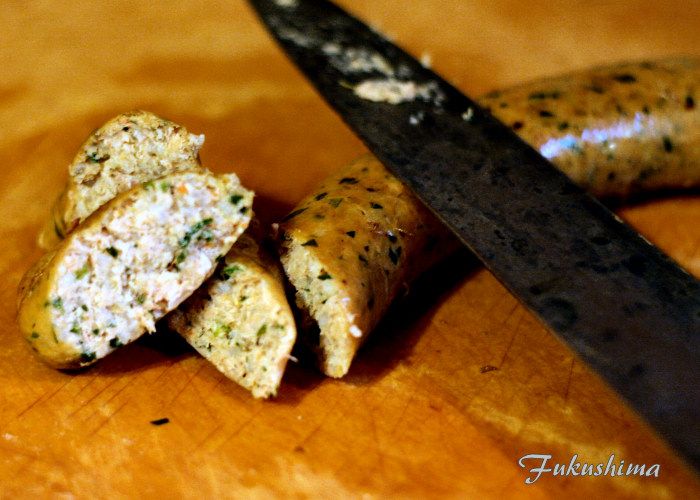
The rice does a great job of absorbing the flavors throughout the process. The actual texture, even off of the smoker is a very soft and tender sausage, with a slight juiciness from the rice. It is distinct from just about any other sausage I can think of. 

Fine texture and lots of flavor

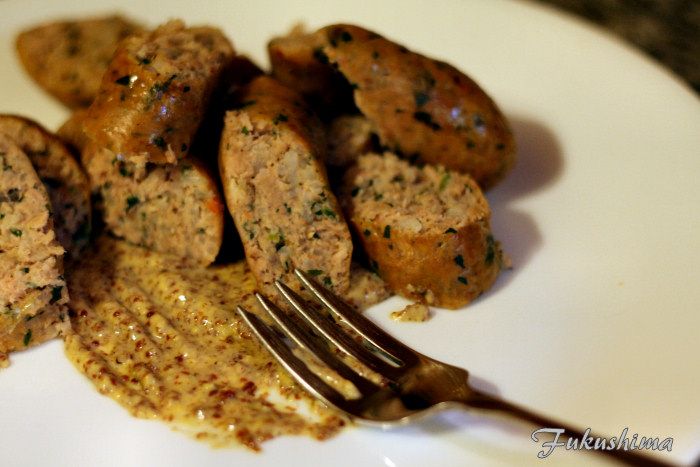
Grainy mustard is perfect

I went with a Creole Mustard and some Lucky Dog Dia del Perro hot sauce, to finish off the dish. Pretty much what I was looking for, a subtle yet complex flavor and the addition of a little smoke, made for a satisfying sausage dish. And I have quite a few to freeze for a later meal.

Monday, July 21, 2014

Wagyu Top Block Sirloin, Santa Maria style

So, the idea of doing an outlandish cook to mark the middle of summer occurred to a few of us, and the subject of meat, specifically something exceptional came up. I have been wanting to do a Santa Maria inspired cook of what I know as Top Block Sirloin for some time now, and figured, why not grab a full-blood line Wagyu steer sirloin from Strube Ranch in Texas. These folks are one of the few ranches in the United States raising full blood line wagyu cattle. And Sterling Ball of Big Poppa Smokers sells a 12-15 pound sirloin, which turned out to be two Top Block cuts.

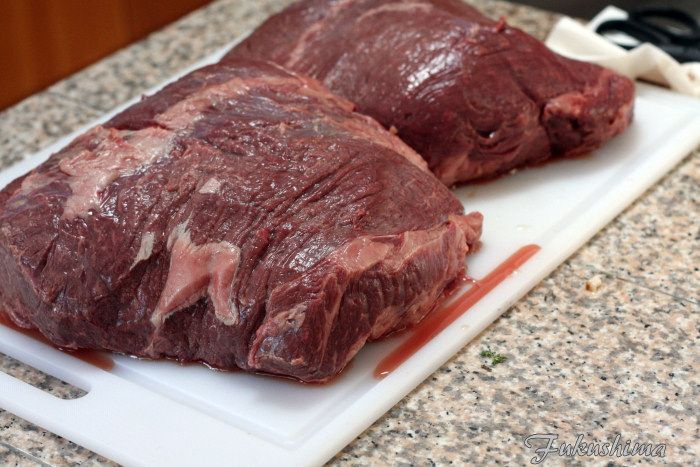
Top Block Sirloin

So, what is Top Block, and why do I want it. Top Block is the upper 4 to 6 inches off of the Top Sirloin sub-primal, it is the premium meat from this area of the steer. It is typically very lean, and have a bit of chew, and a distinctly beefy flavor. The color is usually a rich red. Since these were off of a Wagyu, I was not sure what to expect, the meat we got was very soft, but, lacked notable fat veining. It was well trimmed, although I decided to clean up a bit of this and that.

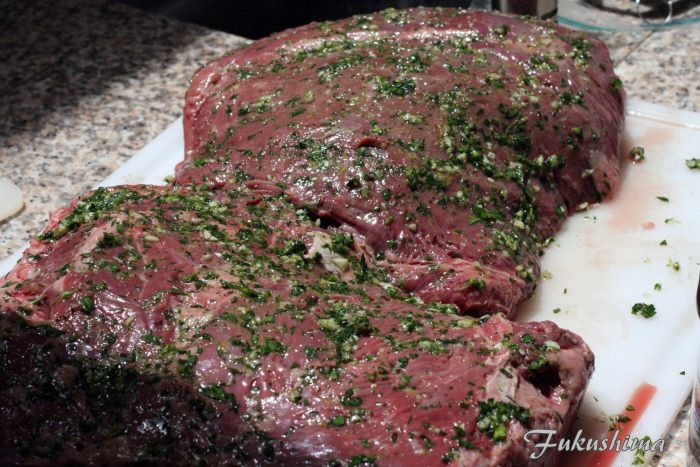
Dressed and aromatic

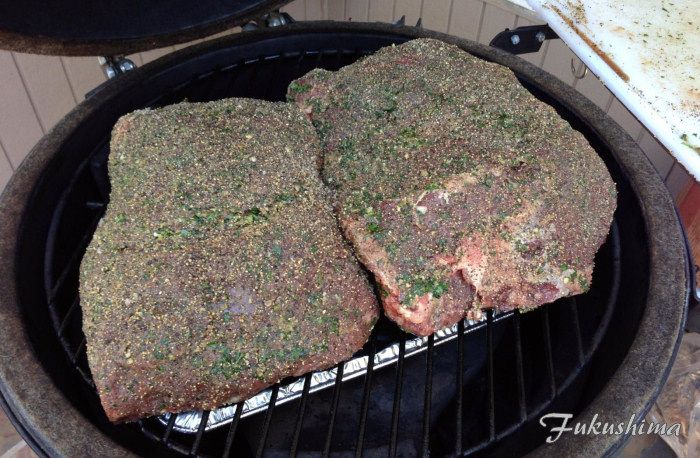
The tradition of Santa Maria BBQ is distinct, in that it was originally a seasonal celebration of the steer harvest, when marketable steer were driven down to the rail head for sale and distribution. The tradition deriving from the Spanish heritage of the California beef tradition, held that the men who worked the cattle drive would be treated to a dinner of beef and seasonal sides. The rub was generally simple and other then pepper, was mostly local products. The choice I made, was to rub the meat with a mixture of parsley, garlic and olive oil.

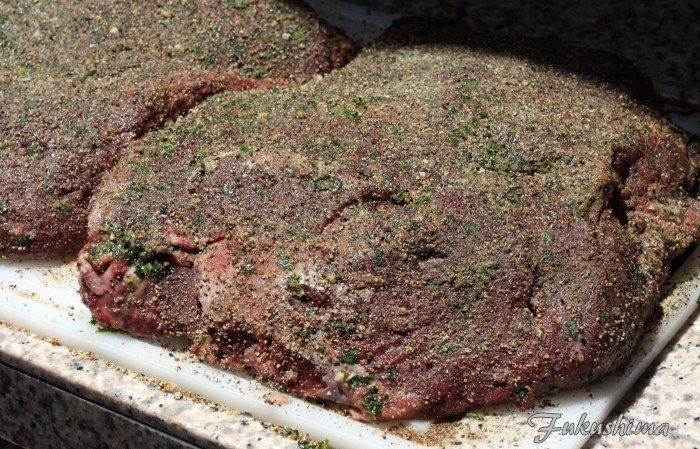
Rubbed and Ready

From there, the meat was rubbed with a spice mix, that was 45% medium grind black pepper and 45% sea salt, and 5% each of granulated onion and sugar. This was not allowed to melt into the meat, from here, it was straight to the BGE, our cooker of choice for this cook. An open rotisserie pit would have been the traditional choice, perhaps one of those great adjustable grate pits also, but, the BGE was what we had. I had opted to burn down some red oak, white oak and come lump charcoal, to build a coal bed.

It kinda fits

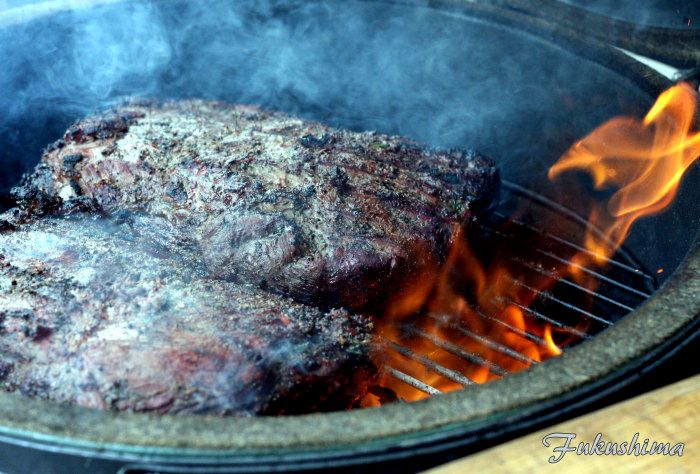
The meat was slowly roasted over this fire, indirect at 250°F for 90 minutes, about 60 minutes less than I expected. Thankfully, since I am still not comfortable with Wagyu beef, I had decided to check early, it was already at 125°F, my target temperature with 3 hours to dinner. I pulled the meat and tented it. About 45 minutes before dinner, I refired the BGE with more oak, this time with no plate setter, as I wanted the heat to be directly firing on the meat, and got a hot fire going.

Oooo...fire!

I put the meat back on, the roasts were both around 6 pounds each, so the internal temperature had dropped just a few degrees. Right onto the flames, and seared off for a nice color and surface texture, took the meat to 135°F, and pulled and rested under foil for 15 minutes.

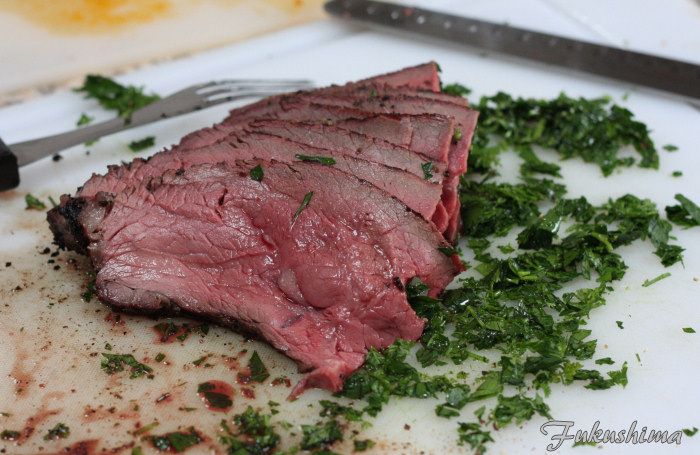
Kinda rare

The slices were mostly what I would call a uniform medium rare, although the center cuts, as you can see, were more rare. And yes, I season the cutting board for this kind of meat, with parsley, chervil, olive oil and sea salt. Each slice gets a little extra seasoning this way. There were a few slices of medium-ish meats, so that those with a background in parasitic sciences could be okay with the meat.

Little bit of a smoke ring

Overall, there was a lot less smoke than I expected, the cook time was much faster than I expected (something I am coming to expect with Wagyu beef) and the meat was leaner than I expected, but, exceptionally tender and with a nice flavor. We discussed the meal after and decided that the meat was well worth the cost and we would do this again. I really would like to add a real wood fired rotisserie grill to make these cooks even more in keeping with what I learned of /Central California coast/Santa Maria BBQ.

Just a little frou-frou

The most distinct difference I found between this, and the tri-tips and steaks I have eaten off of Wagyu cattle, is that this meat was clean tasting, very beefy, and had less of the mouth coating fat that the more marbled fatty cuts of Wagyu beef might have. This was great meat for summer eating, and remained melting tender, despite lacking the heavy, visible, marbling of what most people think of Wagyu beef.

Saturday, July 19, 2014

Smoked Spicy Chicken Wings

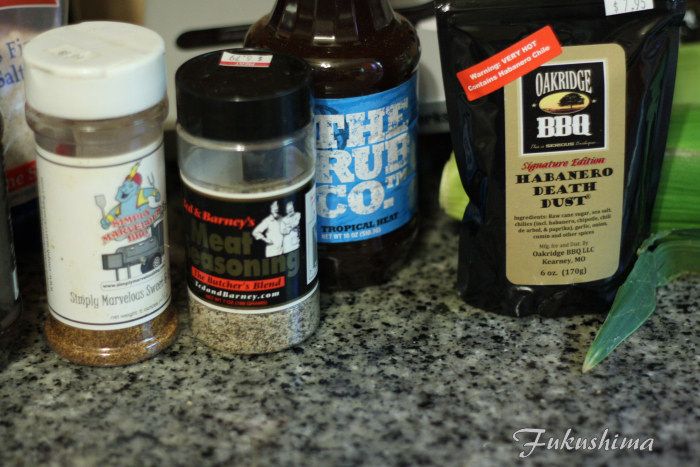
I got back into the swing of cooking and taking pictures, and today was the day to try out a couple of new-to-me products that I have been meaning to get around to. Finally did it. For a while now, my friend Ryan Chester has had out two new sauces for use in BBQ cooking, and I finally was able to get around to buying a couple of bottles. And the company Oakridge Rubs has had out a product called Habanero Death Dust that kept getting great reviews, and I finally ran across a bag of it.

The spices

The Death Dust was blended with some Ted and Barney's and Simply Marvelous Sweet and Spicy rubs. The ratio was:

60% Oakridge Habanero Death Dust
25% Ted and Barneys (much like a Santa Maria rub)
15% Simply Marvelous Sweet and Spicy

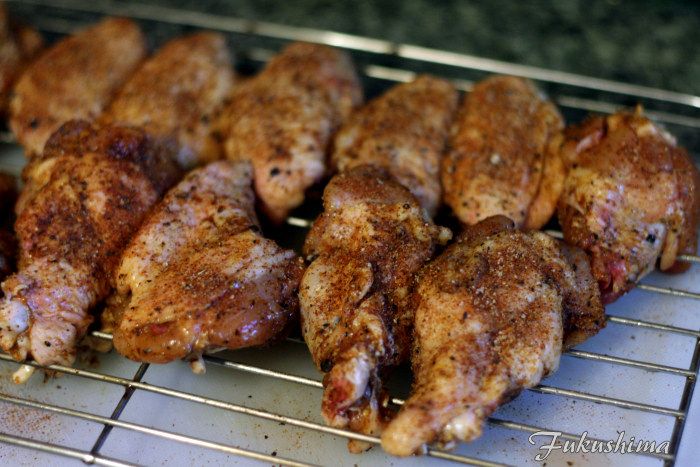
The chicken was washed and allowed to air dry, then coated lightly with the rub. I didn't want to go nuts with a rub called Death Dust, as I want to taste the chicken, and some complexity.

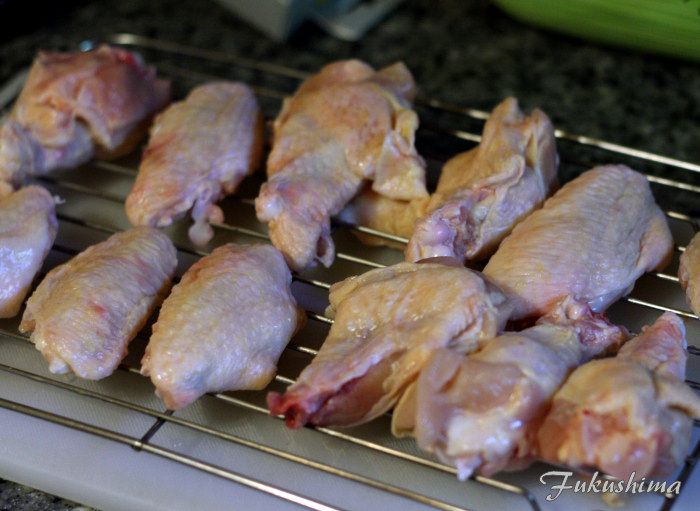
Yup, those look like chicken

Chicken with rub

The kettle was setup with some Royal Oak briquettes, no smoke wood, and was fired up at 300°F, indirect heat, the chicken went on first, for 20 minutes skin side up. After 20 minutes, the chicken was flipped, then the corn was added, indirect to heat the ears up. Another 15 minutes, and the chicken temped at 150°F, I moved the corn over the fire and tossed the chicken with the Tropical Heat sauce from The Rub Company. This sauce is sweet with a strongly fruity and complex flavor. I don't find it hot, but, that is what makes it perfect for these wings. I put the wings back on for 10 minutes indirect, while I flipped the corn about.

I also made a baste for the corn, combining some ideas I have heard of from various grilled corn sources.

Corn Marinade:
1 Tablespoon Mayonnaise
1 Tablespoon Lucky Dog Dia del Perro hot sauce
1 teaspoon Softened butter

I mashed all these ingredients together, then basted on to the corn once it was beginning to char. This sped up the char process and I used a mixture of the Habanero Death Dust and some umami salt I had lying around as a dusting.

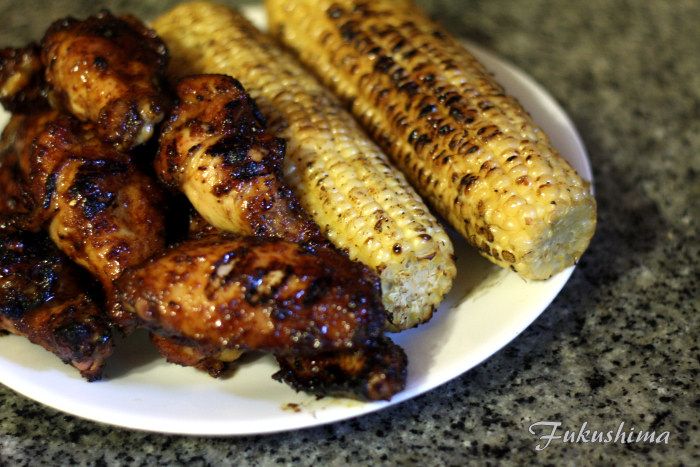
Mmmm...dinner

Everything worked great in unison, the spicy chicken, the sweet glaze and the corn all made for a nice finish. A little salad and dinner was a winner.

Chicken close-up

I am very pleased with the overall color and flavor of the combination of spices and sauce I used in this cook. The chicken really does shine with this sauce.

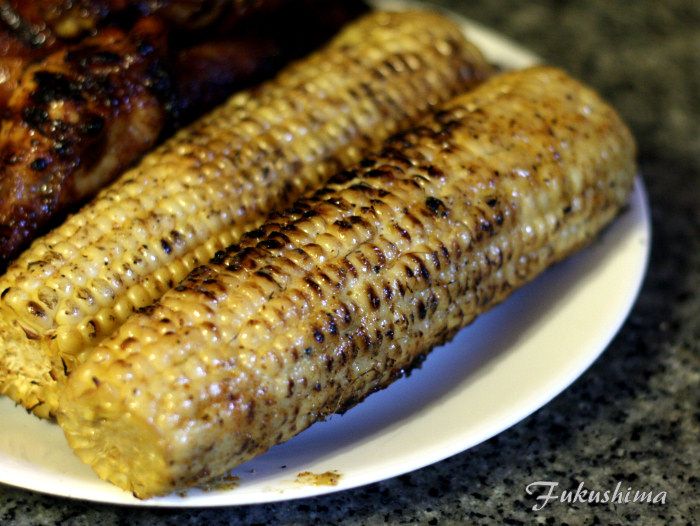
Yum, slightly over cooked corn

One of my favorites, slightly over-cooked grilled corn. This worked out great as well.

Wednesday, June 11, 2014

Fire Roasted Duck and Potatoes

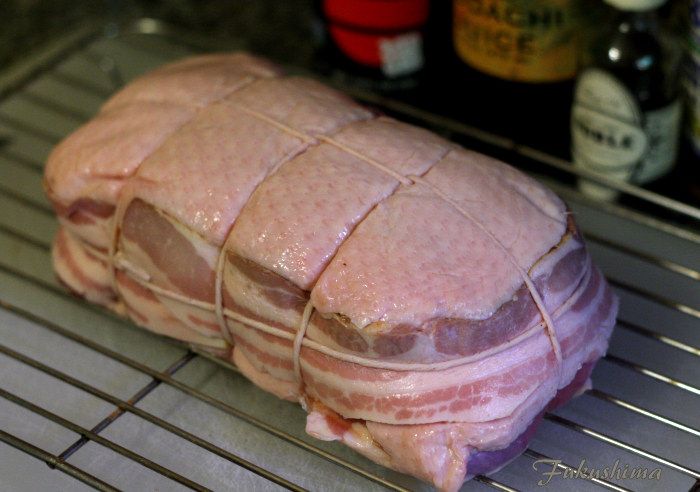
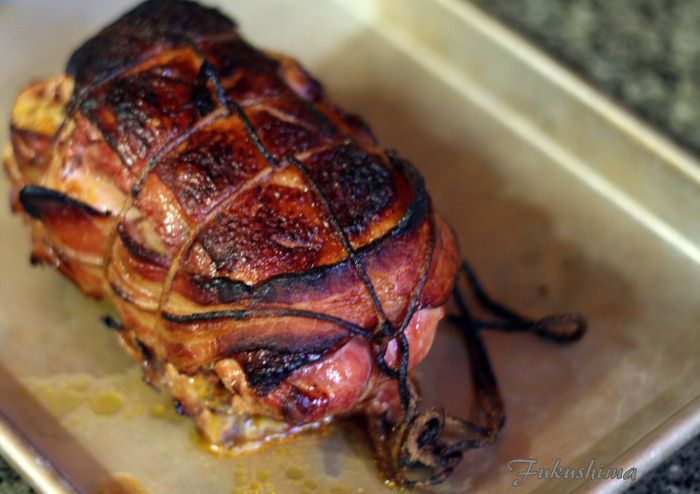
I know, dead blog come back to life. In any event, here it is, I received a roast from 4505 Butchers, for my birthday. It was a sandwich of duck breasts with chorizo sandwiched in between. This was going to be interesting. Chorizo needs to be cooked hot, to well past where I would want duck breast to be done. Upon really looking at the roast, I noticed that one side was thinner than the other, my answer. Clearly, I was to use the thinner side to the heat. Here is what happened.

Oh, there was bacon

The raw roast was a thing of butchering beauty. I decided I wanted the skin to be glazed up, and taking from the technique when making Chinese Roast Duck, I made a glaze.

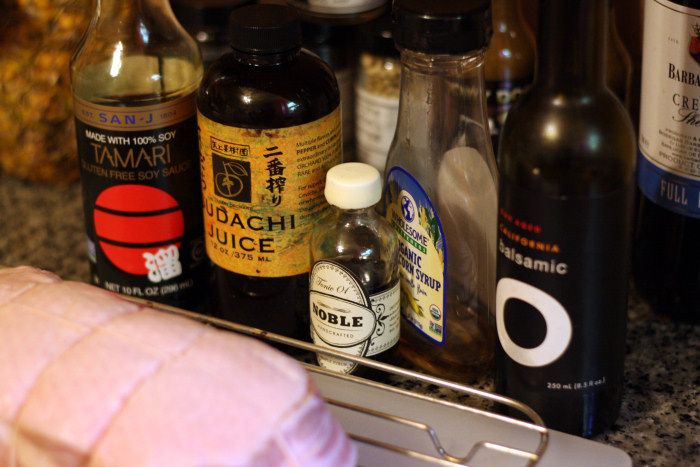
2 tablespoons of the corn syrup
1 tablespoon bourbon barrel maple syrup
1 teaspoon Tamari
1 teaspoon Sudachi (citrus) juice
1 teaspoon Balsamic-ish vinegar.

The Glaze Players

The duck was hung with care, and then brushed with the glaze. Four coats over a one hour period, with a fan blowing. The object was to "lacquer" the skin. I decided to do the entire surface.

That Duck won't Rustle no more

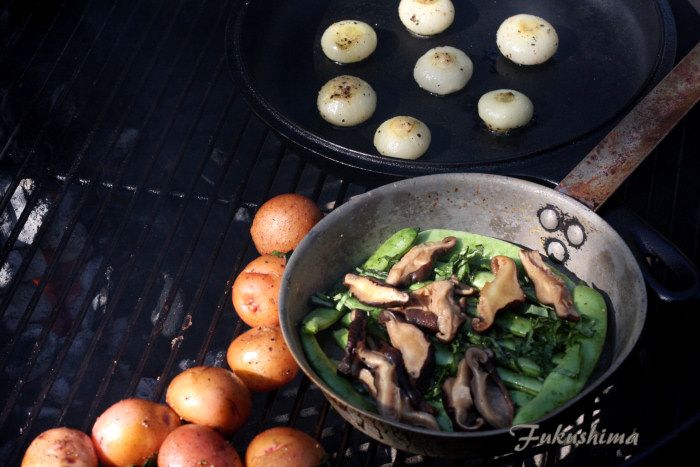
From there, I fired up the kettle and got some of the players going. Some Roma beans, Shiitake, Cippollini onions, some small red potatoes, all getting nice and roasted. The kettle was setup with a fairly neutral charcoal burn. Veggies ran at around 300°F.

That pan is 40 years old

Once these got a little soft, I pulled them, and got the roast warming on the counter. I let the kettle roll up to 400°F. I also had a demi-glace of duck stock and sherry going.

1 cup duck stock
1 cup Sherry
1/2 yellow onion, diced
2 cloves garlic, chopped in threes
1 small carrot, diced

This was all reduced down, and once it was reduced by half, I removed from heat and filtered. I then made a quick shiitake stock, with some tamari and rice wine vinegar, this was reduced by 2/3, then added to the duck demi-glace. This was further reduced by half, and the finely chopped onions along with some basil and parsley was added in.

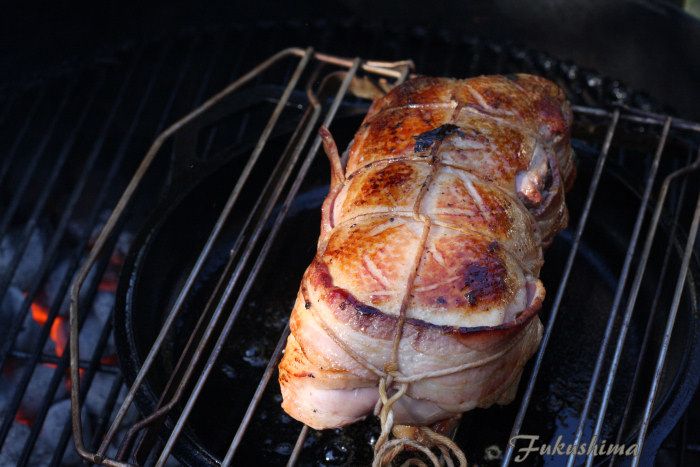
The roast on the kettle...seared on all sides

Seared

Ran at 400°F for 15 minutes, then down to 275°F for 25 minutes.

Done!

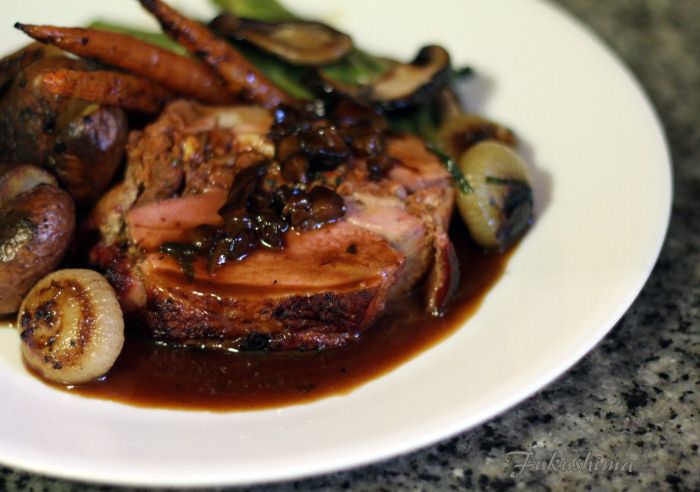
Plated!

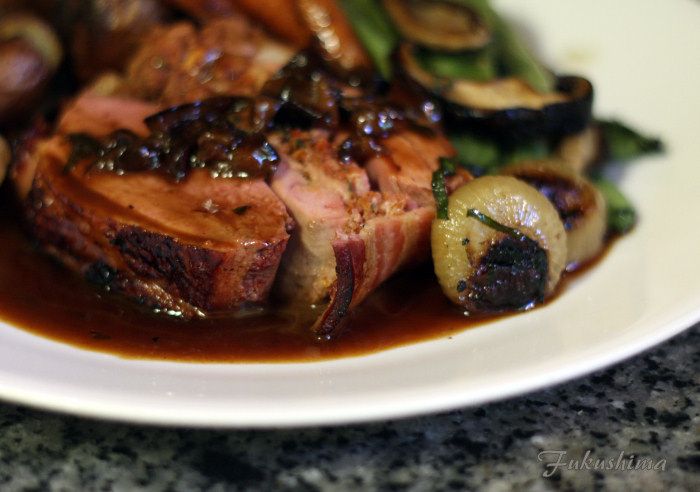
Shiny!

Yes, it was better than it looks.And the top breast was able to be kept to a medium rare, which I prefer, while the bottom layer cooked to medium, and the sausage was cooked. Overall, it worked out great.

Sunday, May 11, 2014

Brisket just for giggles

Decided to cook a brisket, it had been a while, and felt the need to run the smoker.

Details:
Packer Brisket, 16 pounds, Angus Choice grade
Cooked on UDS
CoShell briquettes and apple wood chunks
Cook temps-2 hours at 225°F, 5 hours at 295°F
Rested for 2 hours in cooker, with vents closed

The packer

The overall appearance was like a meteorite, there was a little scorching on the fat cap, but, that is acceptable to me. Overall, the feel of the brisket as it came off the cooker was that it was very soft and pliable.

The Lean

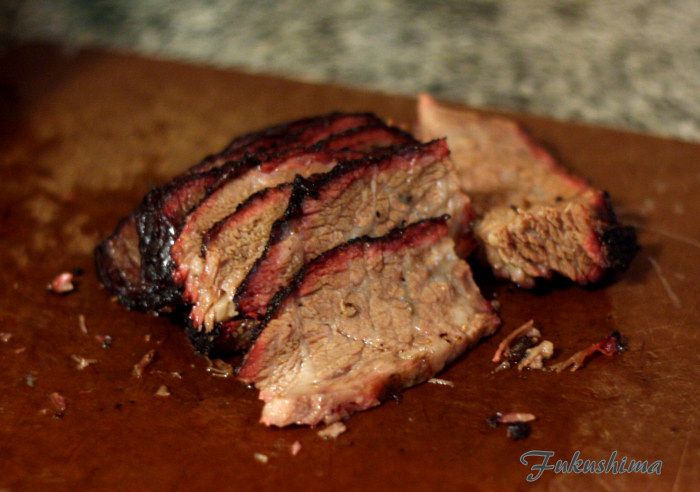
There was a little crumbling on the edge, but, overall, the slices held together just enough to be lifted from the board, The shot is deceptive, the flat was very moist and tender. The bark had a great saltiness to it, and the fat cap was nearly gone. Perfect flat cook.

The Point

Perfect for me, I prefer the point to be cooked on the packer, and not separated to make burnt ends. The point on this packer was cooked to where it just clung together, none of that chewy texture that flats can show when undercooked. Great flavor in the bark, just a hint of sweetness from the fat caramelizing, I think.

Ribs

Just a shot of ribs...
Cooked in the UDS, over charcoal and apple wood, rubbed with Melvin's, Simply Marvelous Sweet and Spicy and some of my Santa Maria rub.

Monday, April 21, 2014

Chuck Burnt Ends and a little Sausage

It was time to fire up the smoker, it's been a while, don't want to let moisture build up in there. The decision was to double smoke some sausage and get a nice batch of Chuck Burnt Ends. I also decided I needed dinner and that called for some CAB short ribs.

Details:
UDS running initially at 225°F for two hours, then ramped to 300°F for remainder of cook.
Fuel was a mixture of Coshell Coconut briquettes, Cowboy Lump and Pecan chunks

Sausage: Locally produced linguica and kielbasa
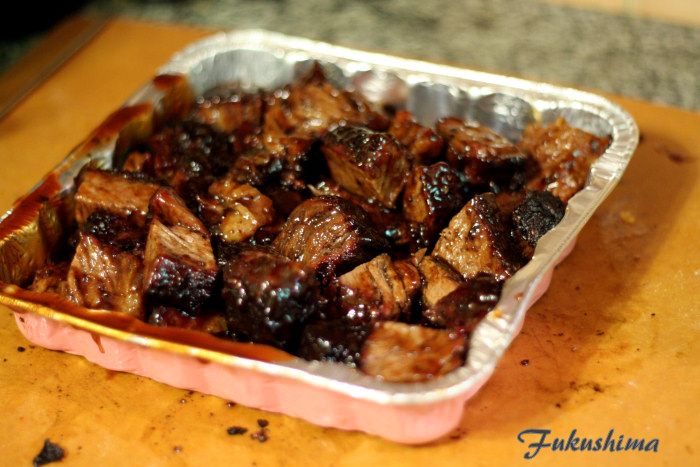
Chuck Burnt Ends: CAB chuck roast, seasoned with Simply Marvelous Sweet and Spicy, then The Rub Company Original BBQ, then medium grind Campot black pepper, Sauced with a 50/50 mix of Big Butz Original and Bart's Blazing Q Hot
Shortribs: Prime CAB, seasoned with Simply Marvelous Sweet and Spicy, then SM Cherry, then medium grind Campot black pepper.

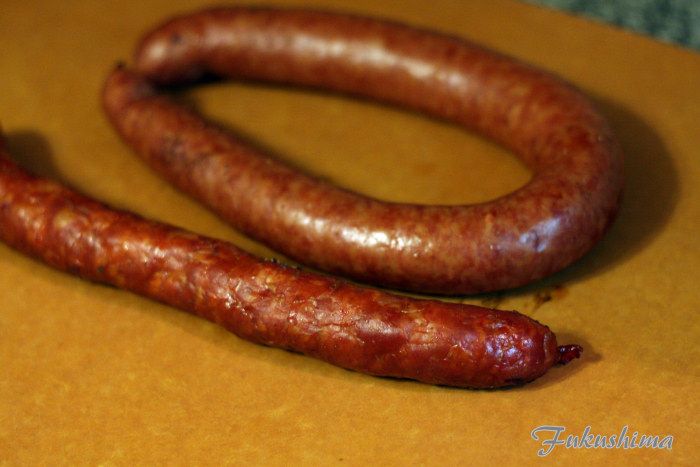
Double smoked Kielbasa and Linguica

The sausages were put onto the cooker at 225°F and allowed to smoke for about 45 minutes, all I am looking to do is get an additional layer of smoke into them. They were removed and wrapped for later use. This just kicks the smoke flavor up a bit. And makes use of the cooker a little more efficient while I prepare the other meats.

Nice Chuck Roast

Three layers of Seasoning

Nicely marbled short ribs

Three layers of seasoning

Cubing the Chuck

Sauced and Ready for more heat

Done!

Slicing the Short ribs

Tender and Juicy

Ready for the eating

The burnt ends worked out great, and the short ribs were fork tender and had great flavor. I did not sauce the short ribs, they were fine without, the cheesey hush puppies were just for kicks. Everything went per plan, a good return after over a month off from smoking something.